Post updated for 2022!
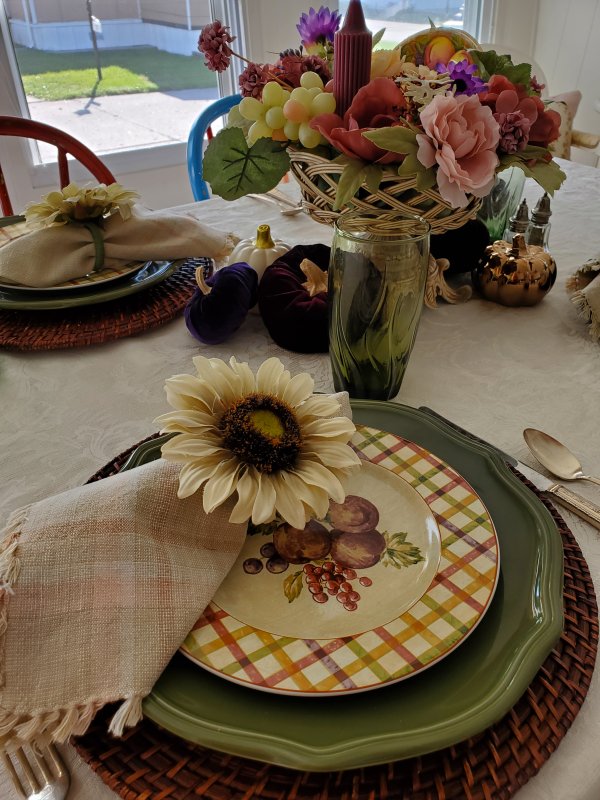
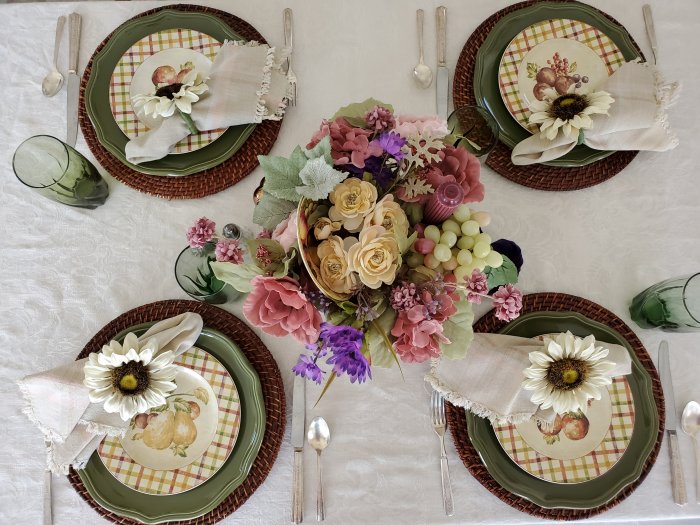
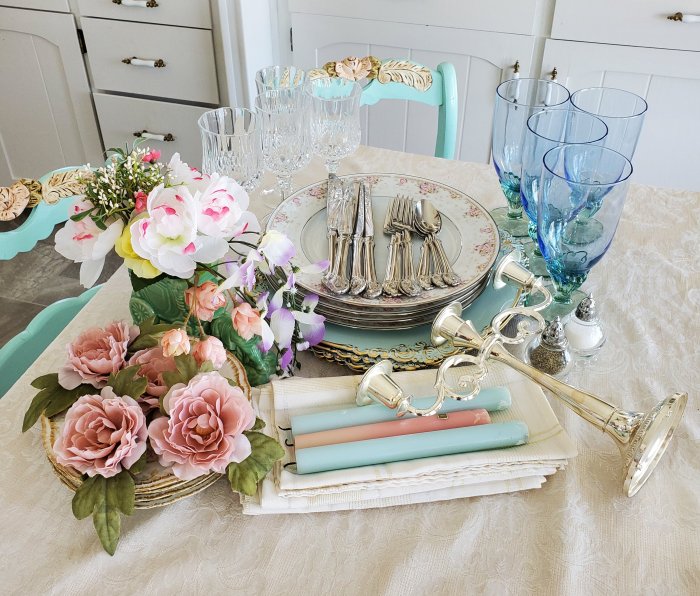
I’m a firm believer in the idea that you don’t have to spend a lot of money to enhance your table setting with a great centerpiece! In my Tablescaping 101 blog series, I give a few hints and tips for creating centerpieces. With this post, we’re going to specfically focus on inexpensive Fall and Thanksgiving ideas!
For me, the best ways to create centerpieces involve playing with color or texture, using unusual containers, making handcrafted items, and using unexpected elements. Thrift stores, consignment shops, and Dollar Tree are well-represented in these inexpensive Fall and Thanksgiving centerpiece ideas! In fact, I shop year-round for elements at secondhand and discount venues because it ensures I have a large stash of items to choose from when I go to actually create something.
Here are a few Fall and Thanksgiving ideas for you to copy or adapt, depending on what you find while shopping!
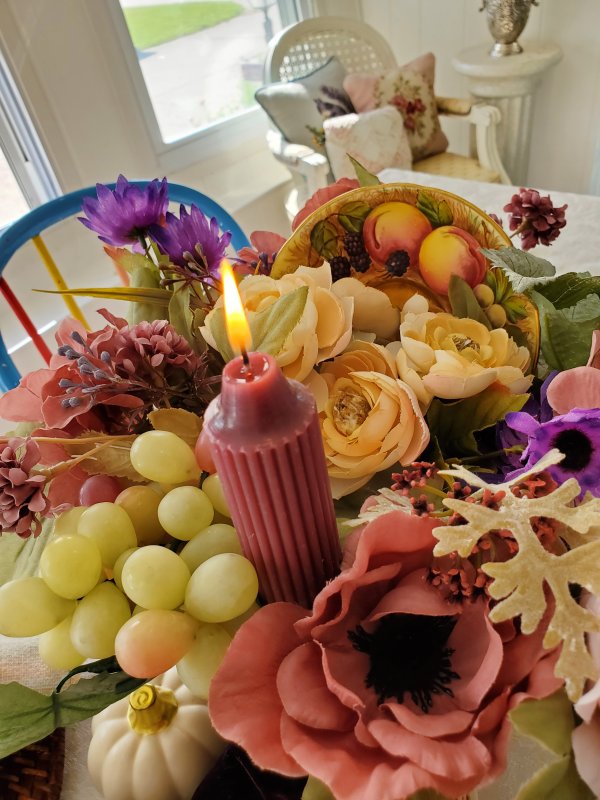
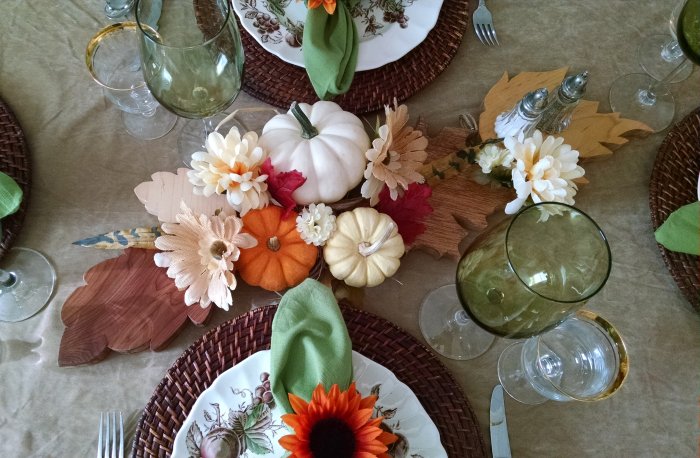
Floral Rambler Centerpiece
Swag Rambler
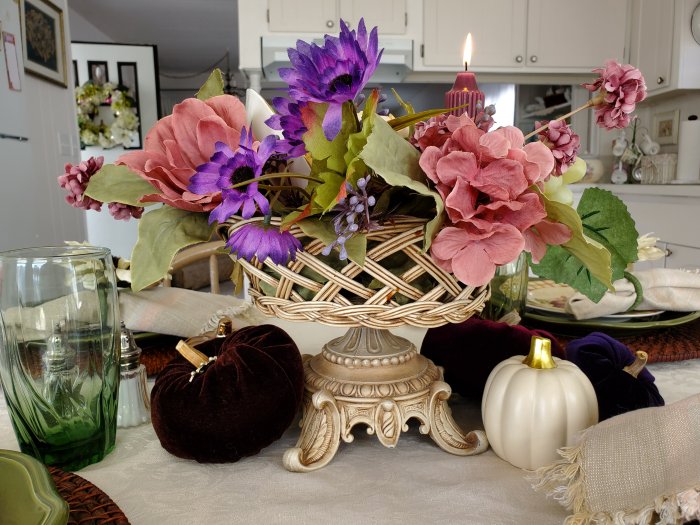
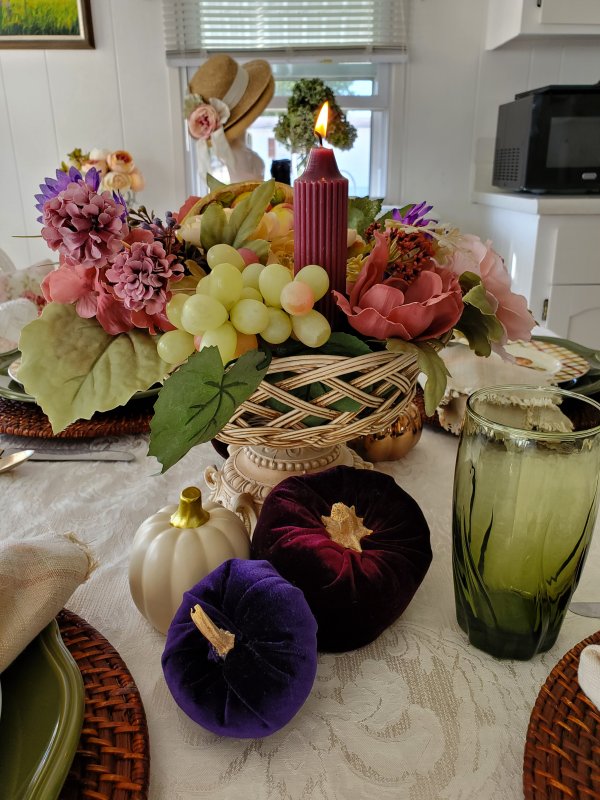
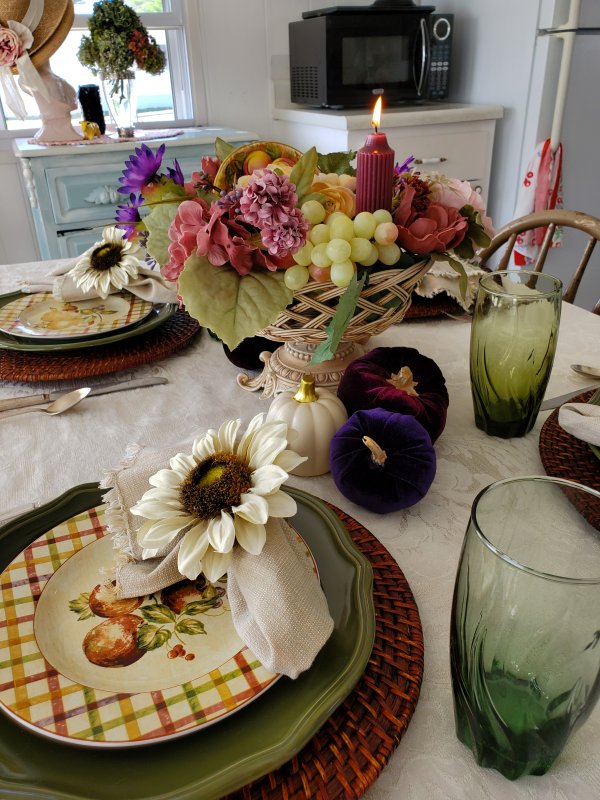
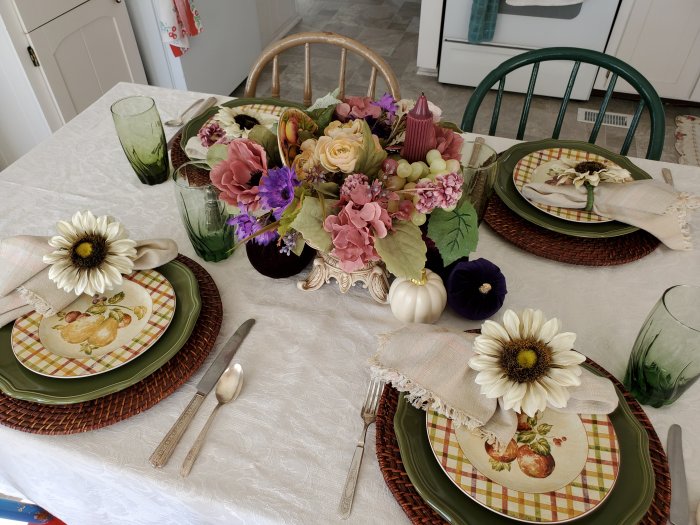
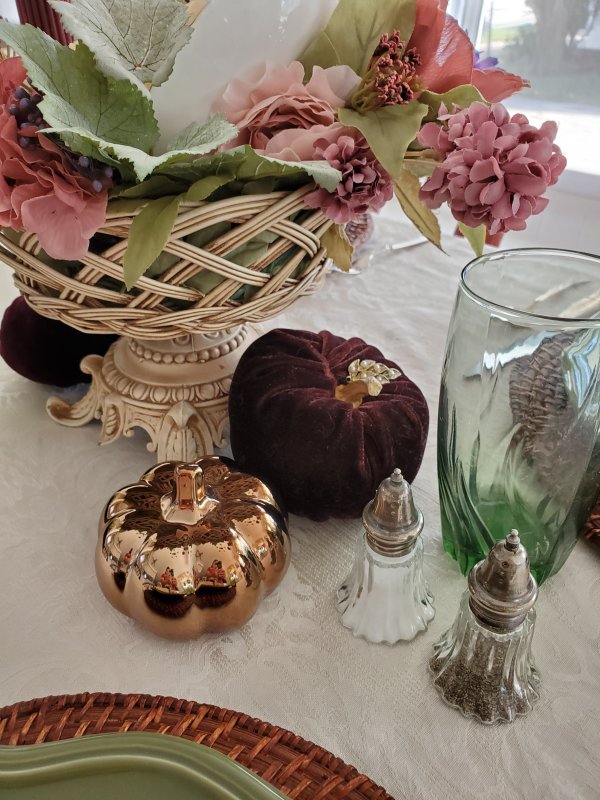
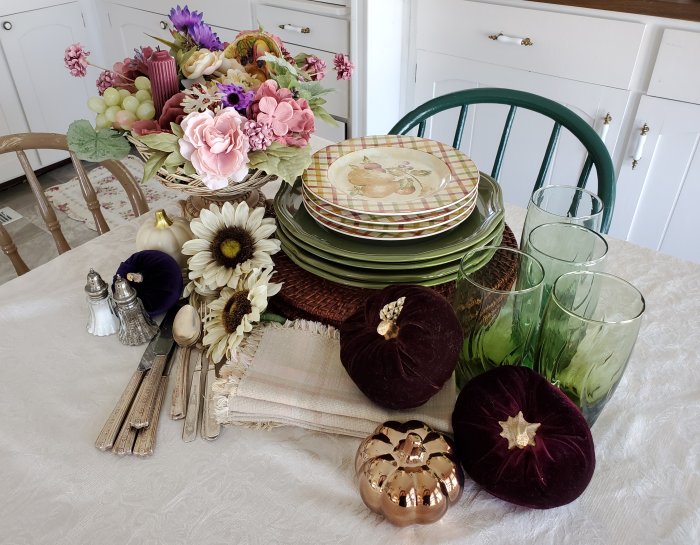
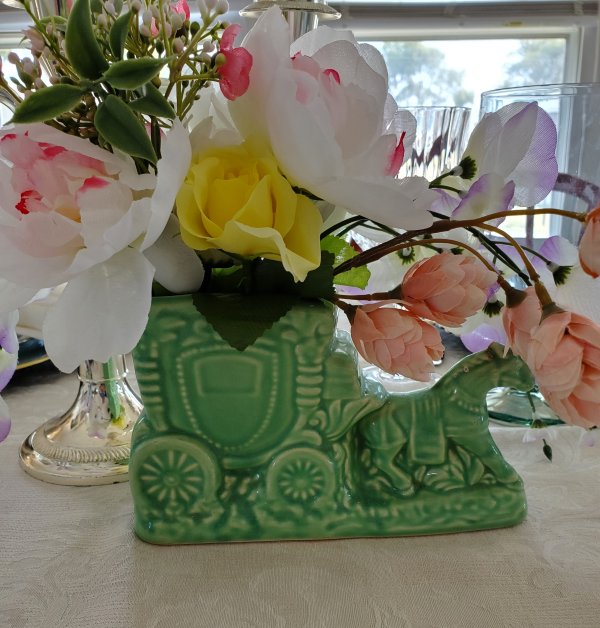
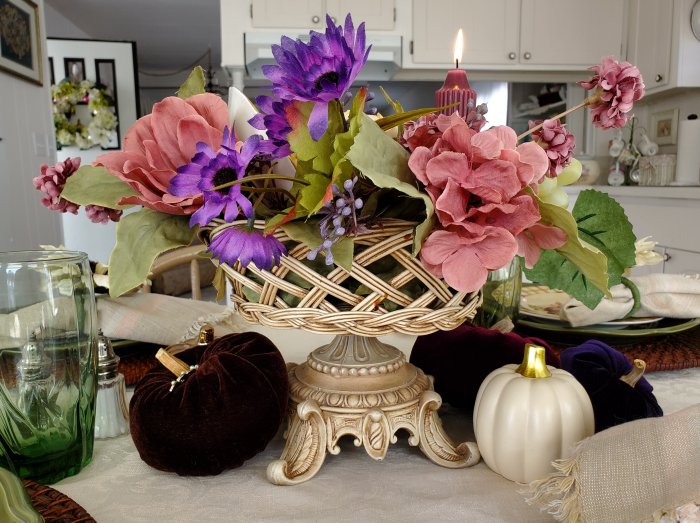
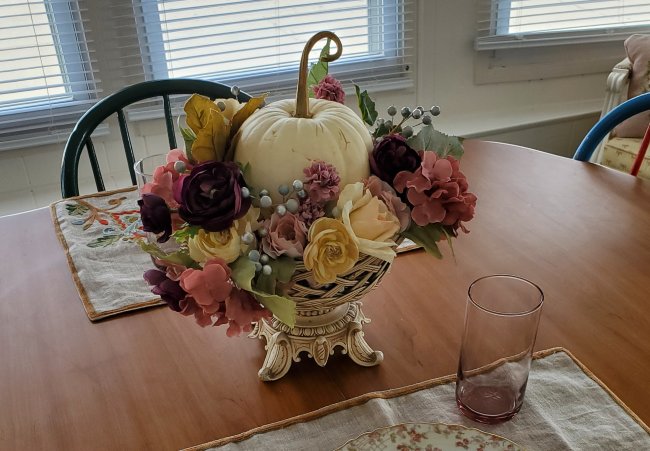
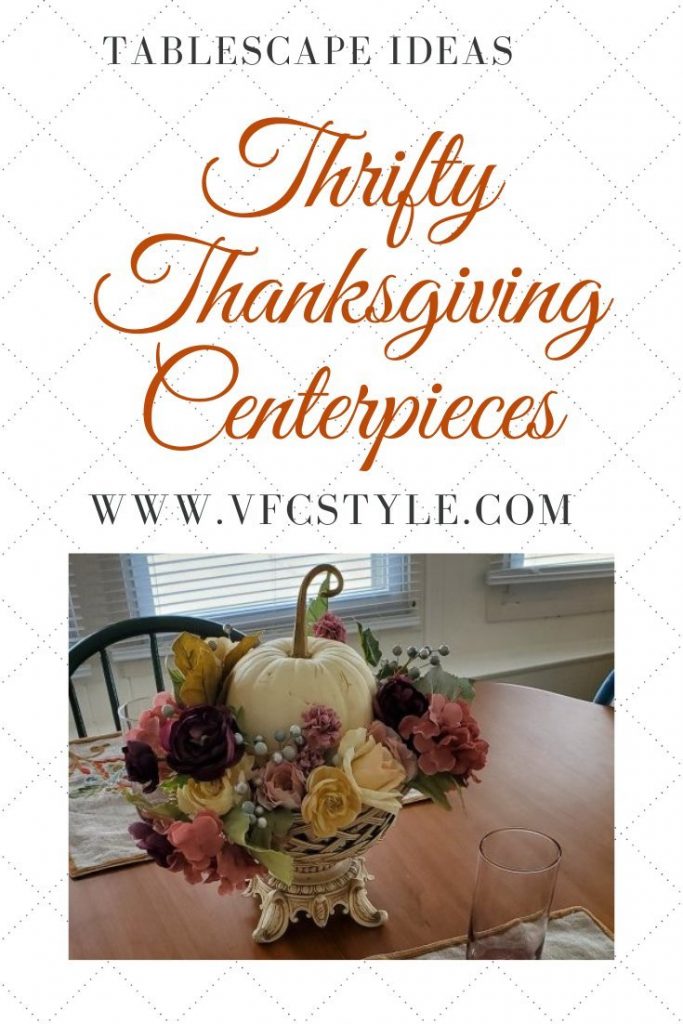
Italianate Pedestal Basket
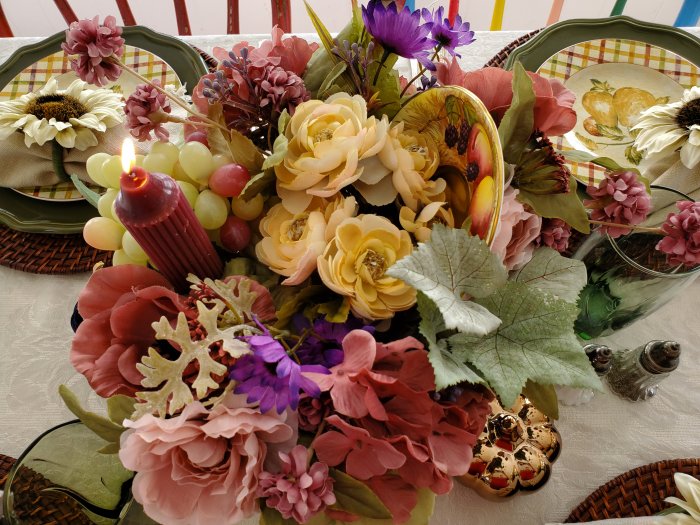
Here’s the same basket with different flowers. And can we just take a moment to appreciate that sweet little white pumpkin? The stem, people, it’s MAGICAL!
Bun-foot Pumpkin in a Dough bowl
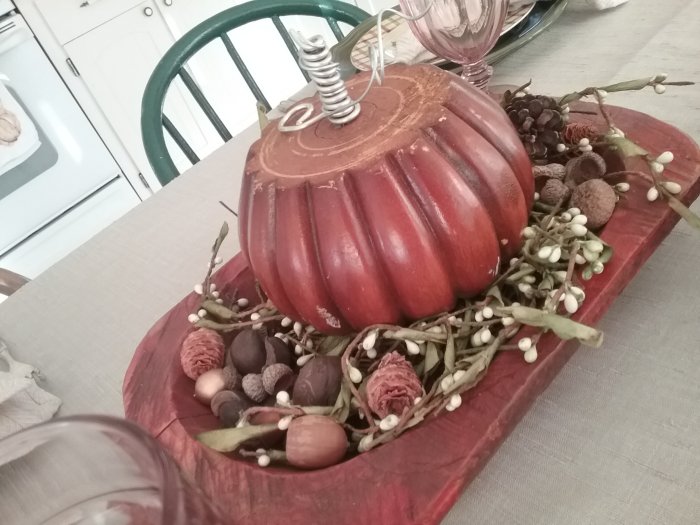
Here he is again in 2022.

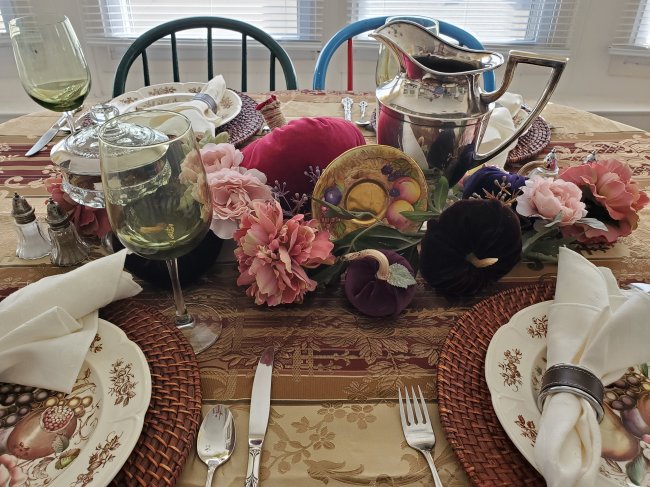
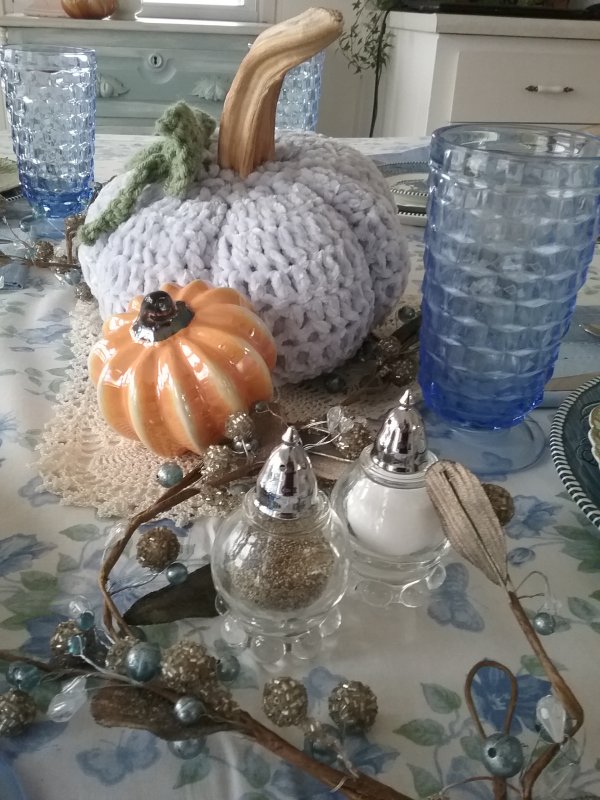
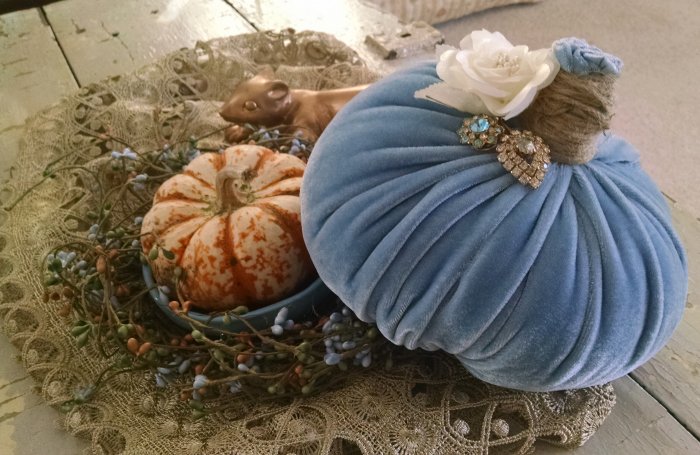
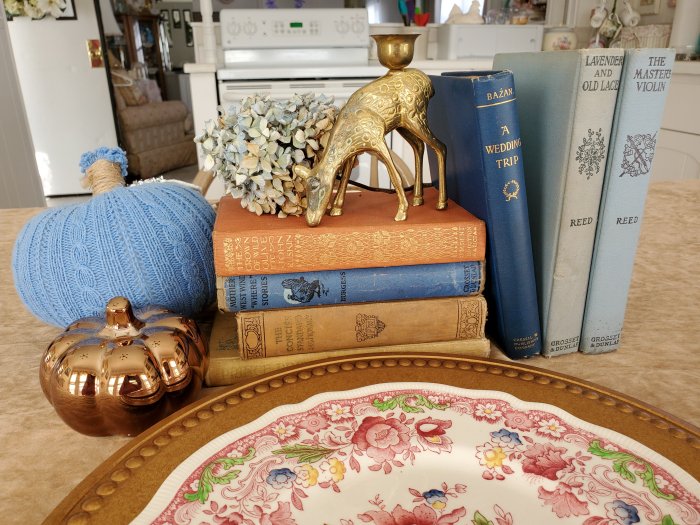
Velvet, Sweater, and Crocheted Pumpkins
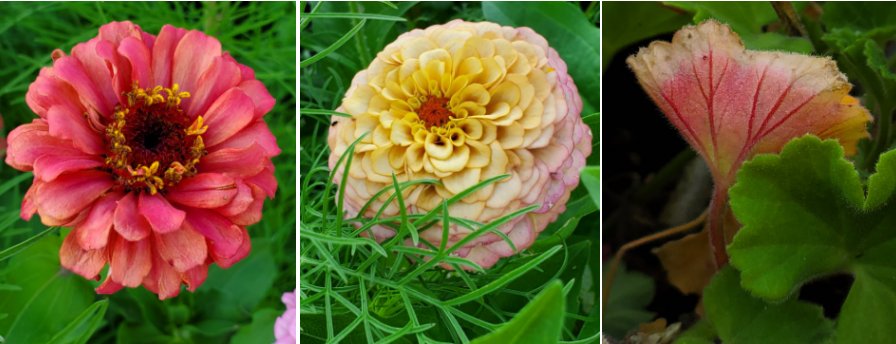
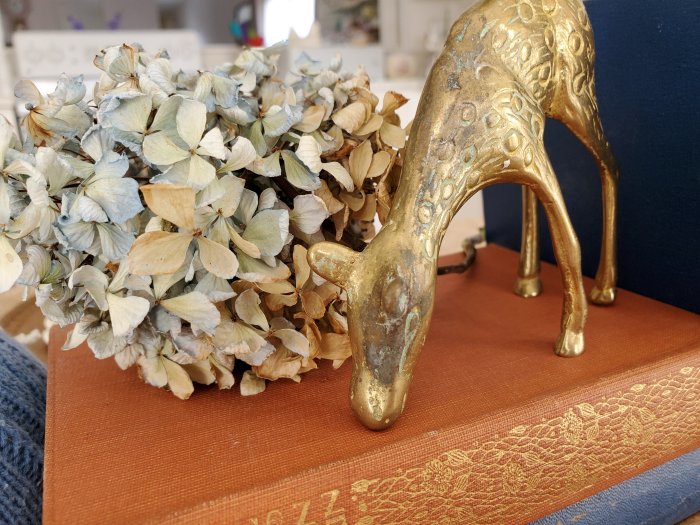
Dried Garden Flowers and Old Books
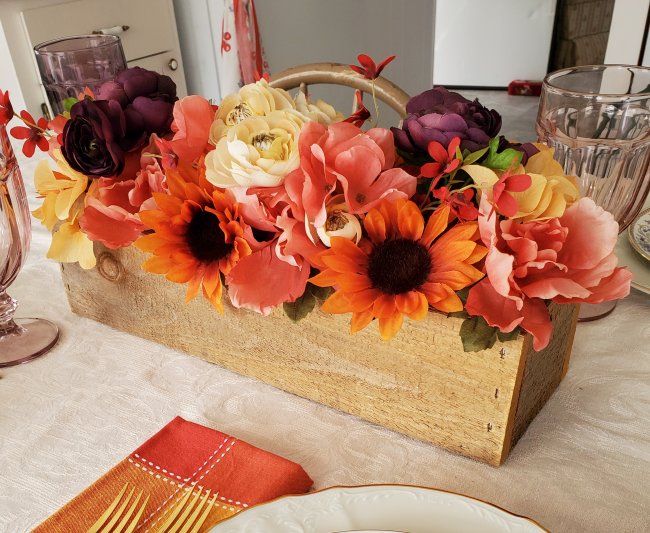
Handmade Rustic Box with Silk Flowers
It’s important to remember that because so many of my items are purchased second-hand, you might not be able to recreate these pieces exactly… but I promise – your own creative juices will start flowing when you begin looking at things you find in thrift store, yard sales, flea markets, and elsewhere with an eye toward making centerpieces, and your own creations will be even better!
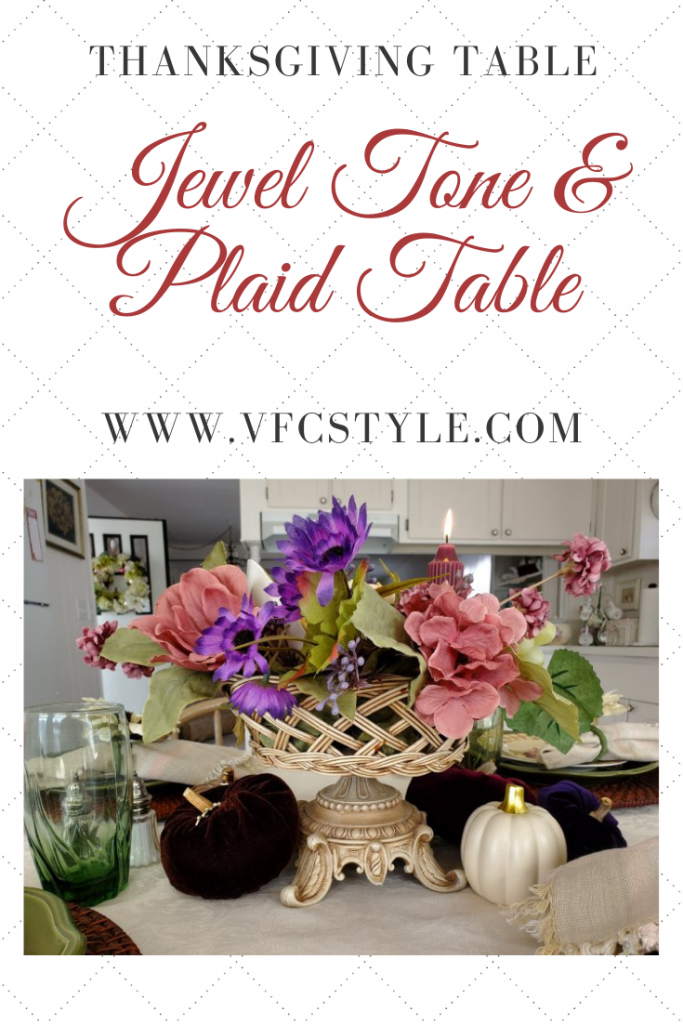
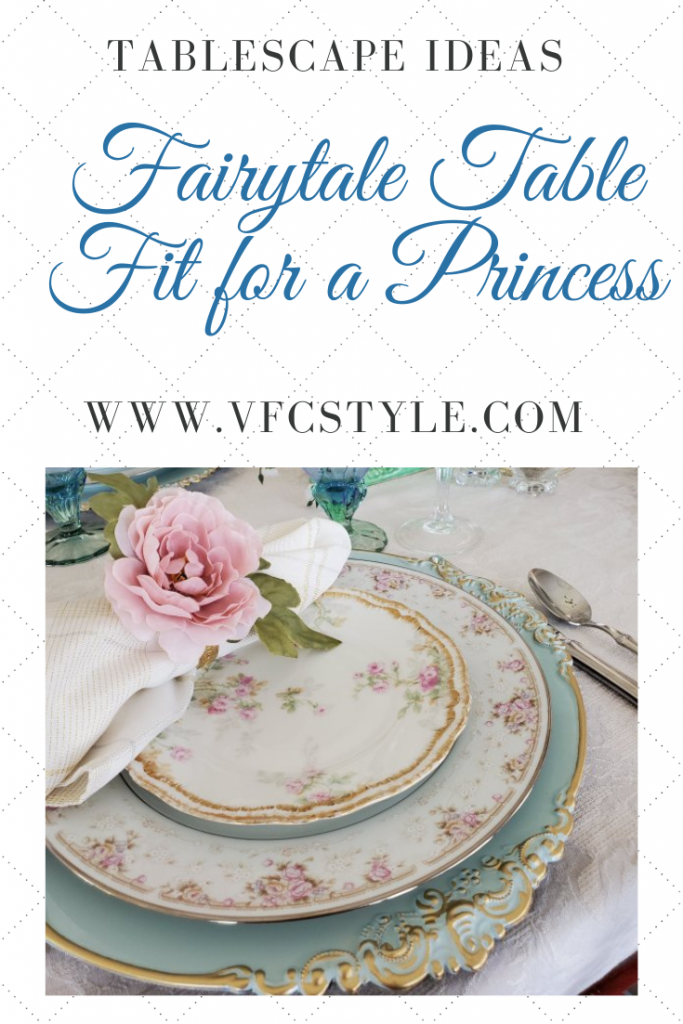
Here’s a Pinterest image for the original post in case you’d like to save these centerpiece ideas!
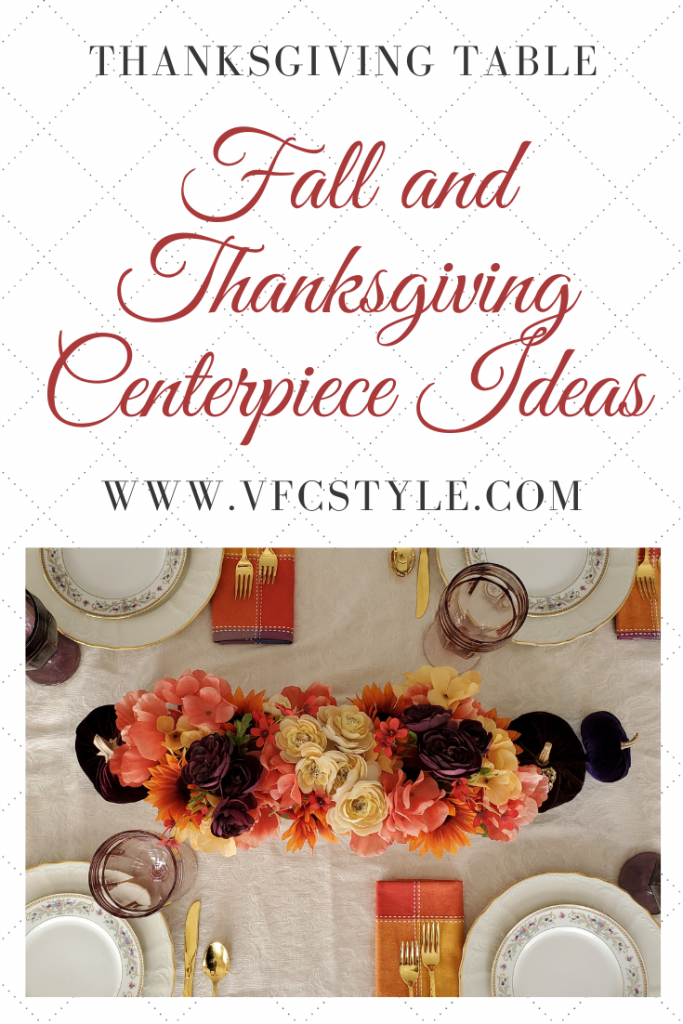
And here’s a Pinterest image for the updated post. Either image will work on your tablescaping Pin boards!
For more centerpiece inspiration, join my Facebook group Thrifty Tablescapers! It’s a creative and friendly group of people who enjoy setting beautiful tables on a budget!
And, be sure to grab your FREE Tablescaper’s Checklist so you never miss a detail when planning your tablescapes!