Affiliate links may be used in this post. Please see my disclosure statement.
Welcome back to Tablescaping 101 and today’s hints and tips for how to choose flatware for your tablescape! Before we dive in, here’s a quick re-cap of everything we’ve covered so far:
- Lesson 1: Creating a correct and proper place setting
- Lesson 2: Planning a tablescape
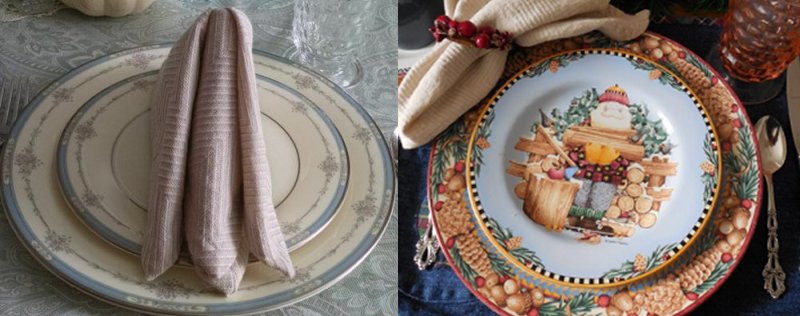
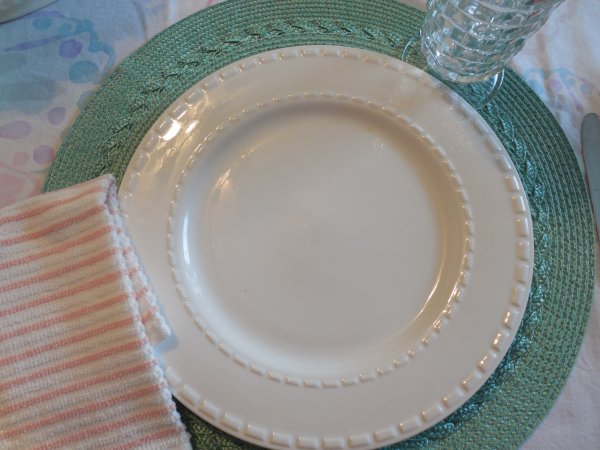
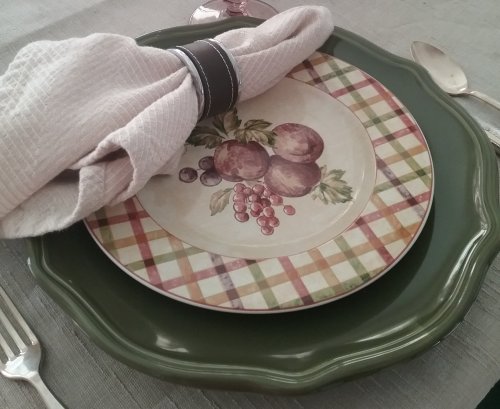
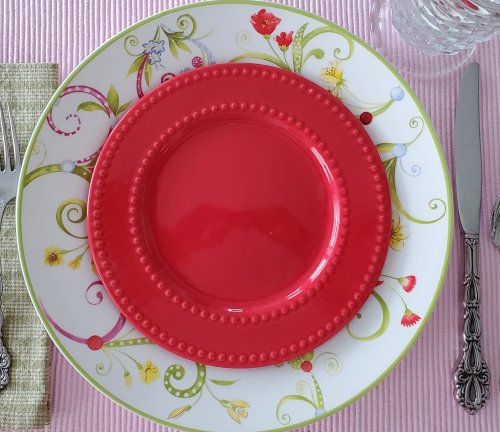
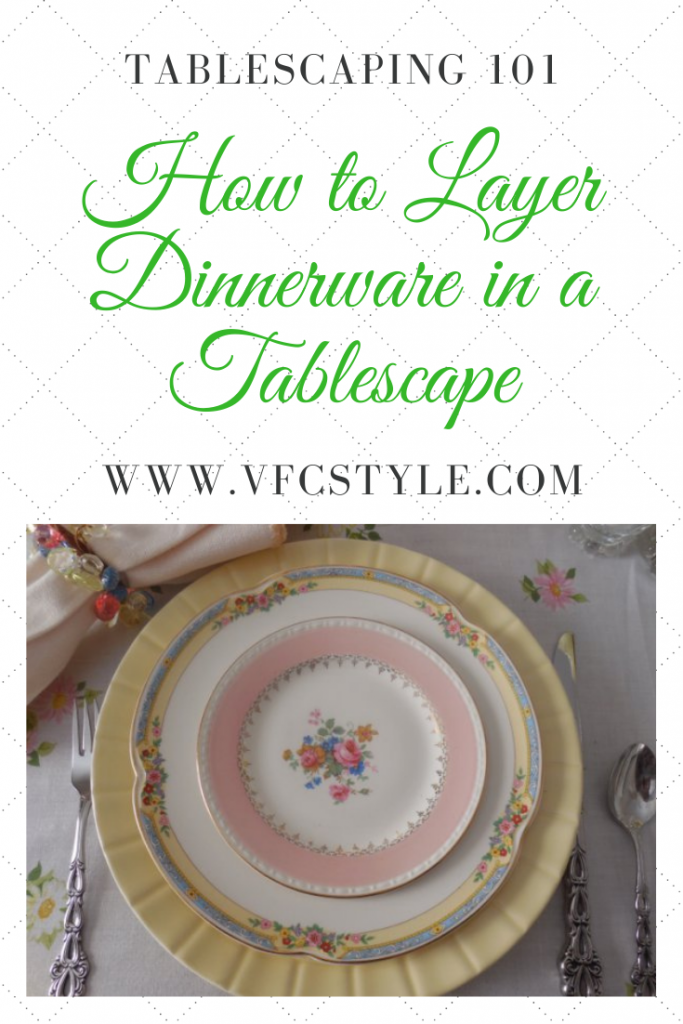
- Lesson 3: Layering dishes to create a great stack of dinnerware
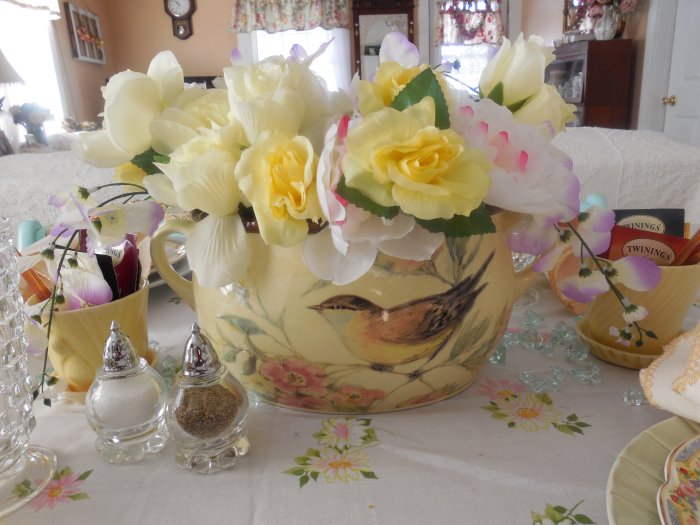
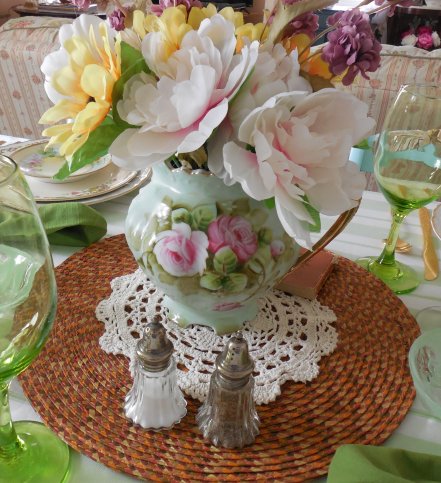
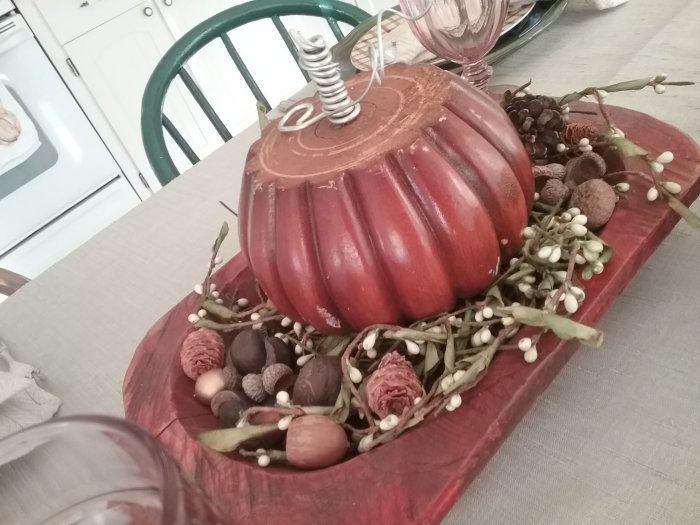
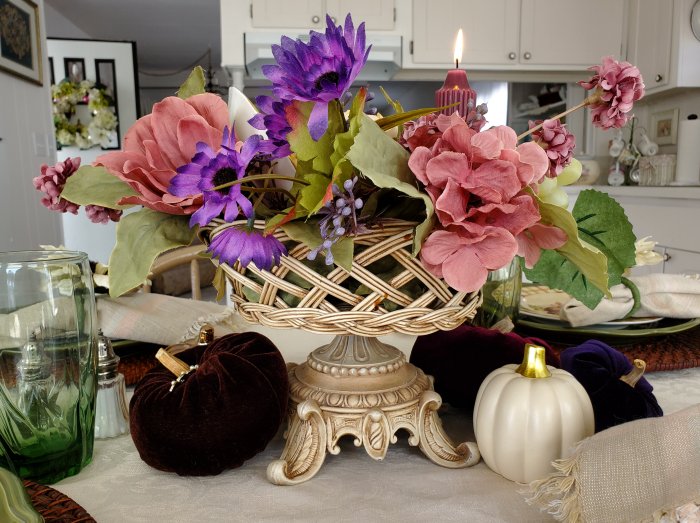
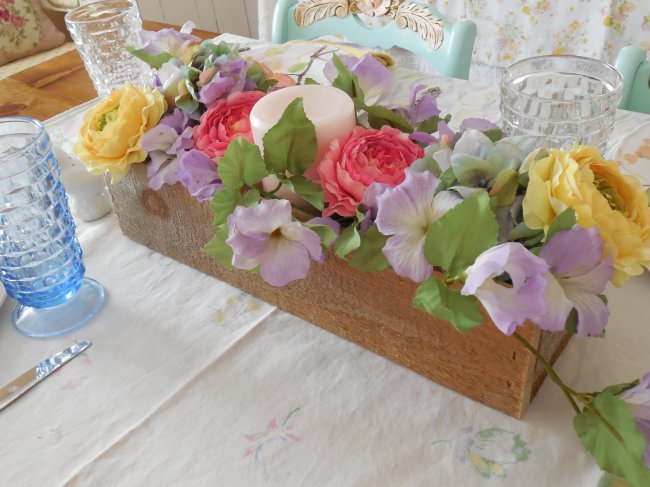
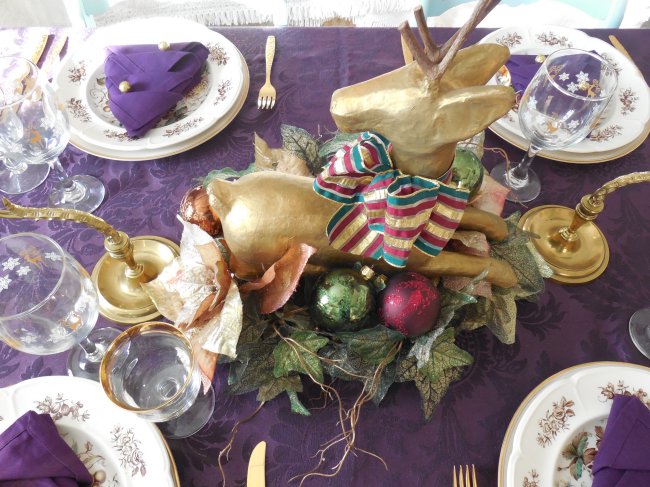
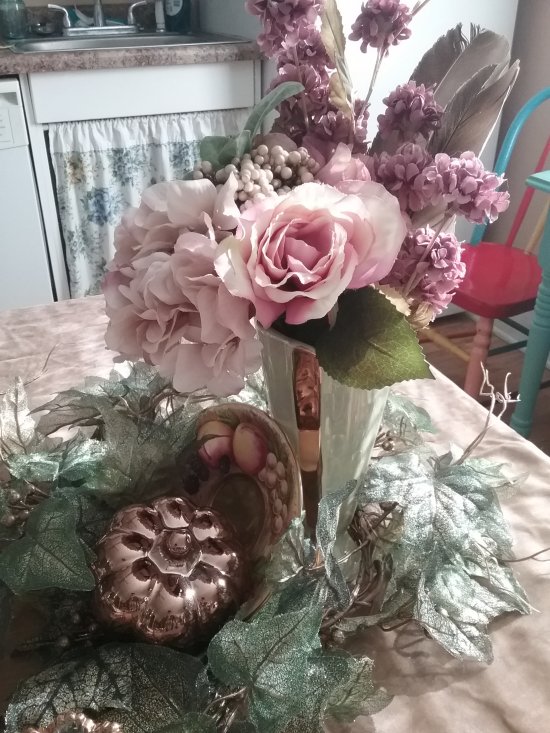
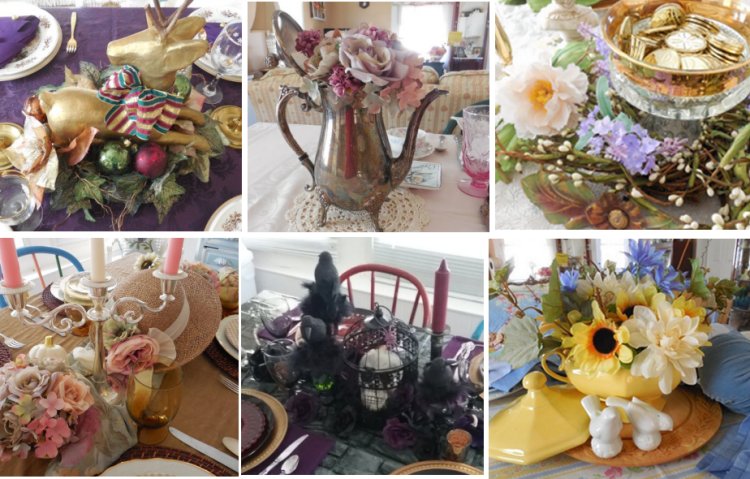
- Lesson 4: Creating a beautiful centerpiece
In our last two lessons, we had a lot of leeway as far as creativity in mixing and matching dinnerware and creating a pretty and interesting centerpiece. The rules are a bit more finite for flatware, and quite honestly I am still a “work in progress” when it comes to placement. (But then, so is my favorite restaurant – apparently I’m supposed to spread the butter on my roll with the same knife I use to cut my steak!)
For me the satisfaction in this step comes from the beauty and timelessness of the pieces themselves: there is just something about placing flatware that says to me, “families have been doing this for generations.” It gives me a sense that I’m connected to a very long timeline of humans sitting down to eat together.
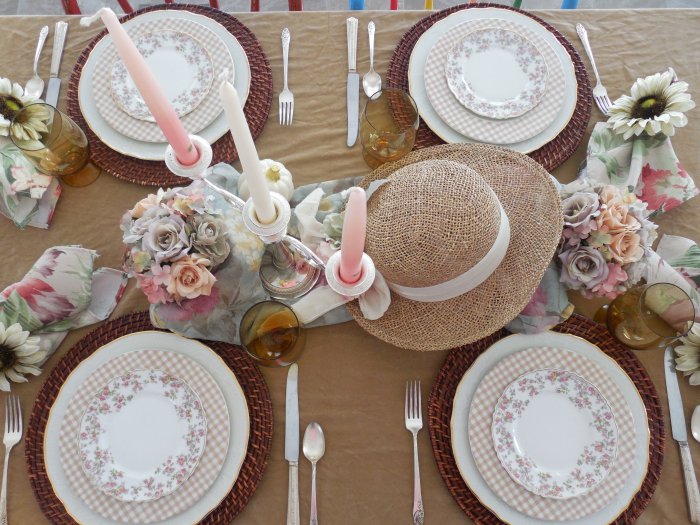
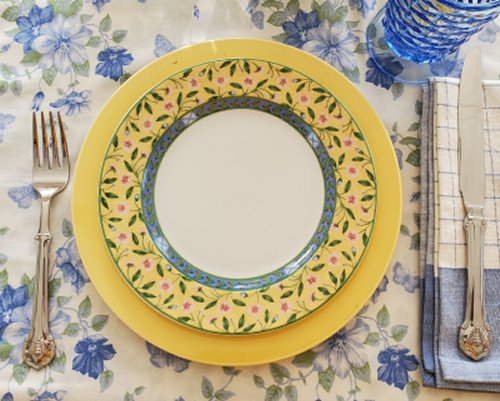
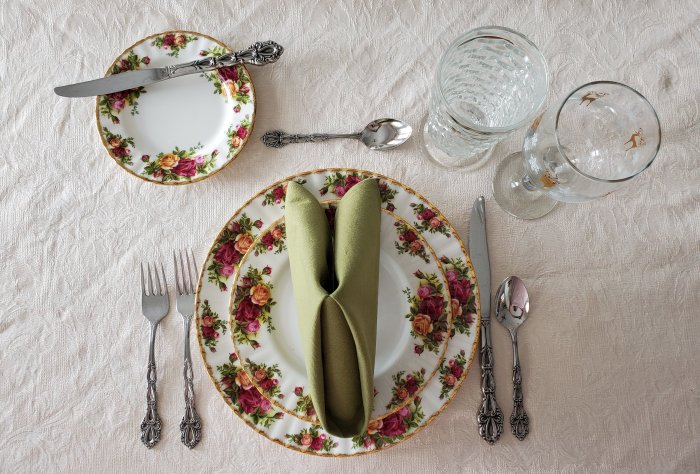
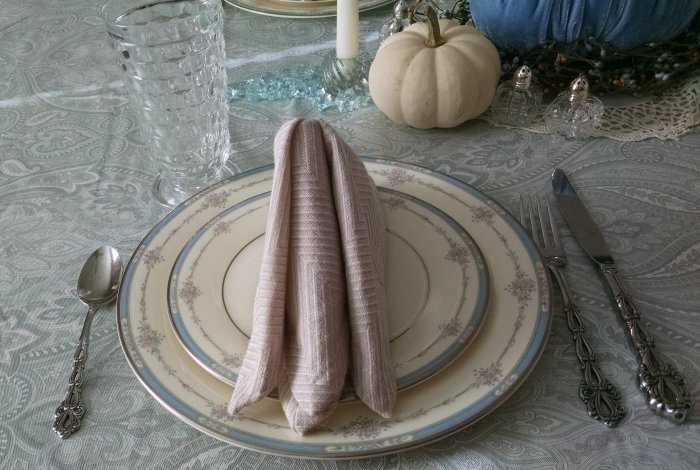
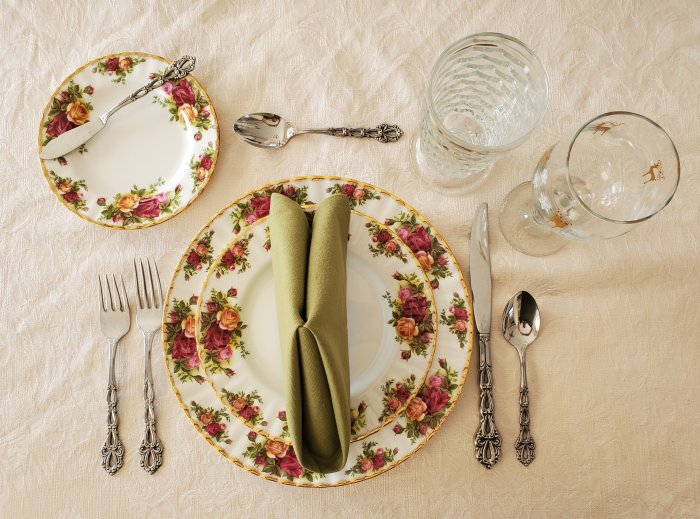
Here are the basic guidelines again for a formal place setting.
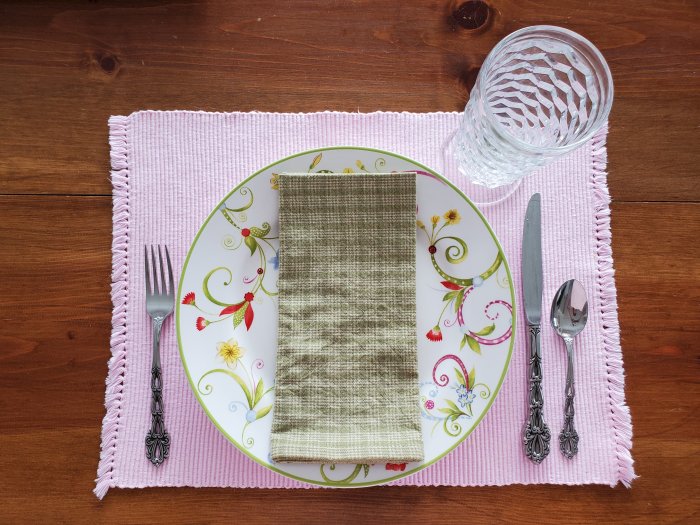
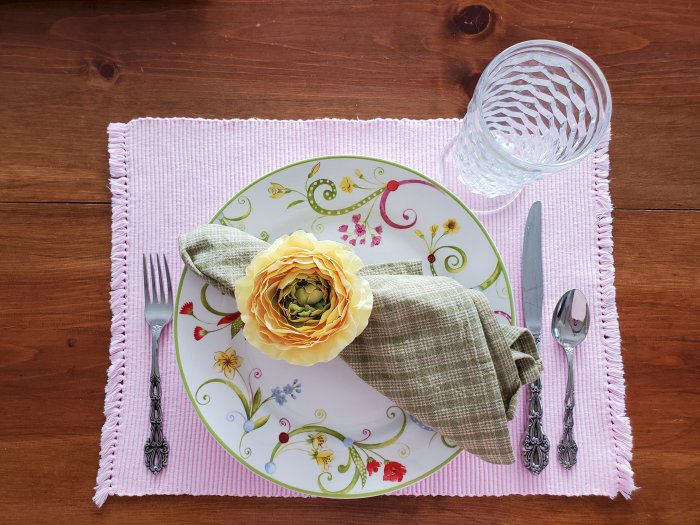
- Forks on the left side of the plate, with the first course utensil on the far left so that we can work our way in toward the plate with subsequent courses.
- Knives and spoons to the right of the plate, with the knife closest to the plate then again working our way from the outside in.
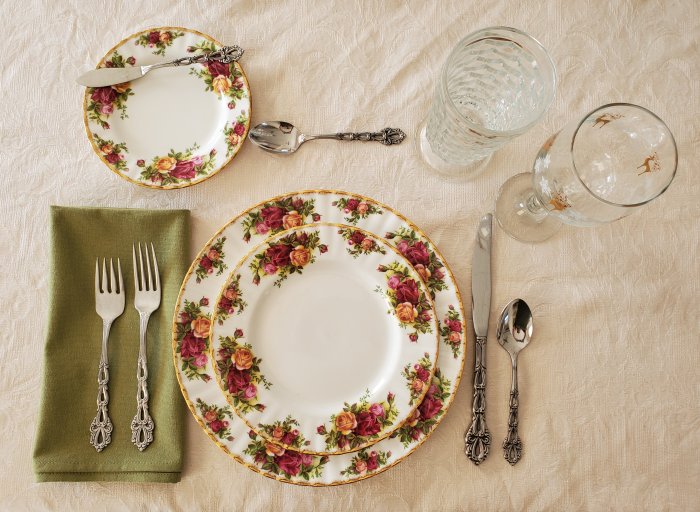
- In a formal setting, a dessert fork or spoon lays horizontally at the top of the plate.
- A butter knife lays across the bread plate at the upper left of the dinner plate.
Now it’s time to decide what flatware we will actually use, so let’s take a look at some options.
A typical place setting of flatware will come with four or five pieces: generally, a salad fork, dinner fork, dinner knife, dinner spoon, and teaspoon. A soup spoon might be included, or substituted, or available individually as “open stock.”

Common serving pieces available in the same pattern might be a slotted spoon, platter spoon, and meat fork. These pieces are larger than the individual place setting pieces. A relish spoon and butter knife, smaller than the place setting pieces, may also be available.
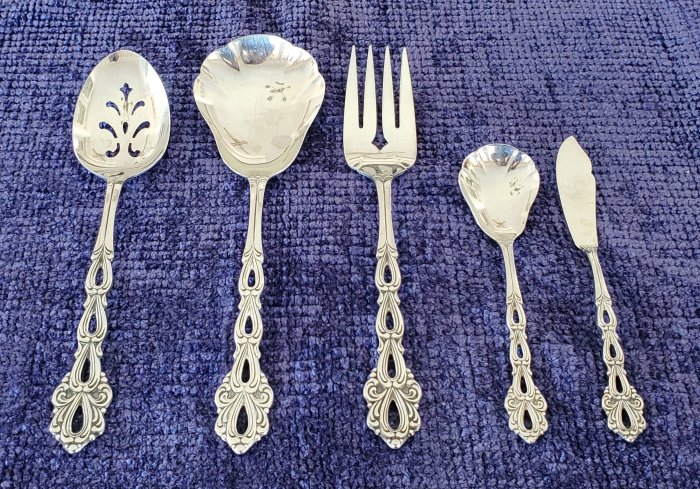
The above are just the most typical place setting and serving pieces. There are dozens of utensils for individual food items and serving purposes, especially in vintage flatware sets!
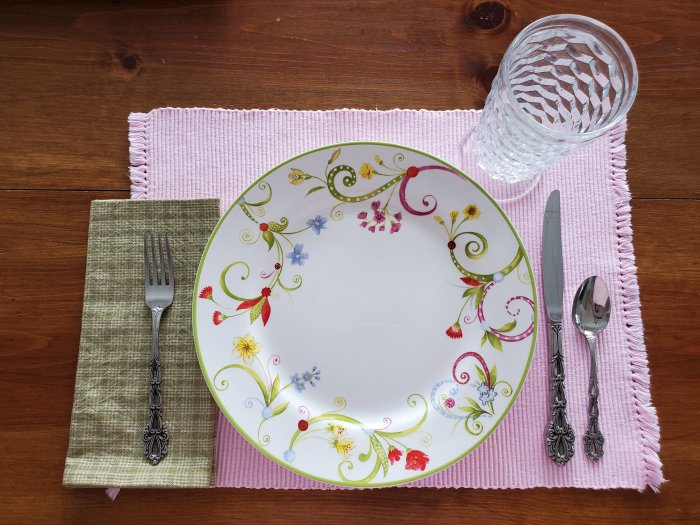
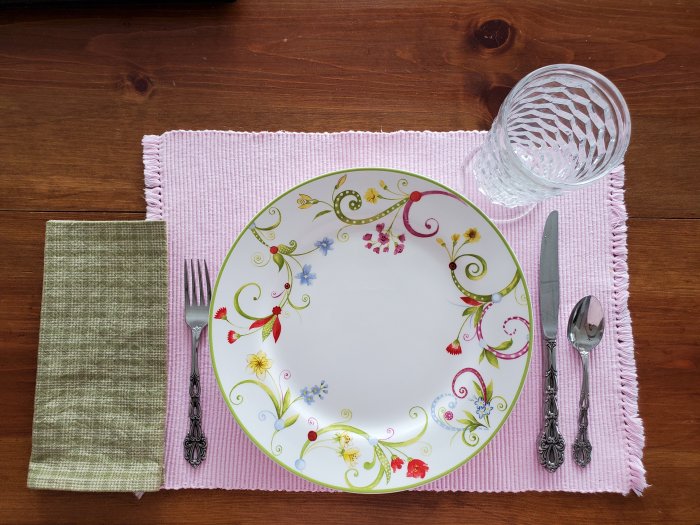
The flatware (or silverware) you choose for your table will depend primarily on what food you’ll be serving, what you have available, and what complements your tablescape design, theme, or color scheme. Speaking personally, my preference is for flatware to match, as opposed to the dinnerware which I love to mix. I do make an exception: I have a hard time resisting vintage silverware at flea markets because it’s usually dirt-cheap when sold by the piece. I have many pieces that I acquired for fifty cents or a dollar each, so I do mix-and-match those.
When I first started setting pretty tables, I only had one set of flatware. It was the beautiful and versatile stainless “Chandelier” by Oneida that I inherited when my great-Aunt passed away, and I’ve actually been using it daily for about 30 years.
As my stash of vintage dinnerware grew, though, so did my desire to own and try different types of flatware. I haven’t branched out too far in this category, but I do now have a few options that I’ve chosen very carefully for the distinct features that each brings to the table. Point being, don’t worry if you only have one set of flatware, but do know that there are many options out there if you are thinking about venturing past your everyday set!
Here are some of the options, and my personal thoughts on when to use them:
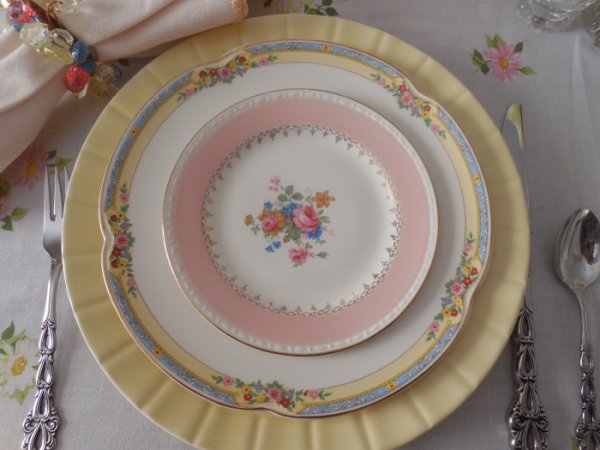
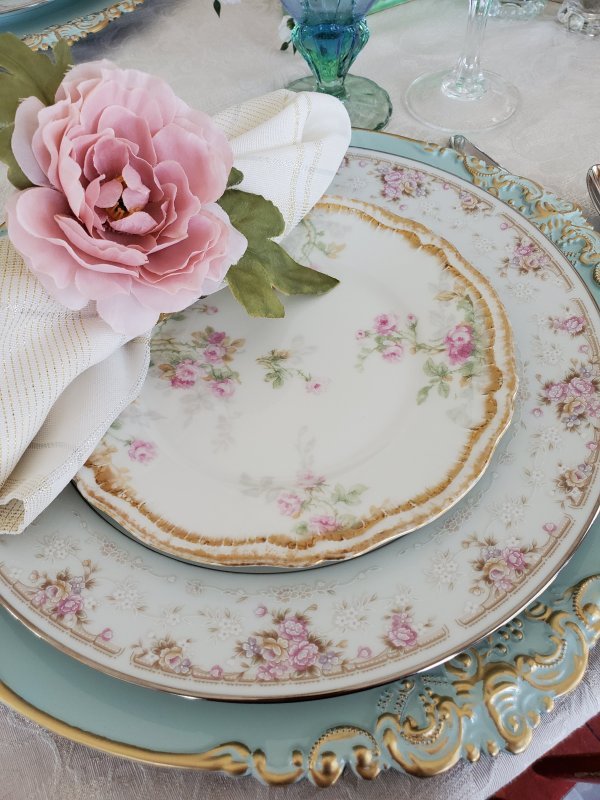
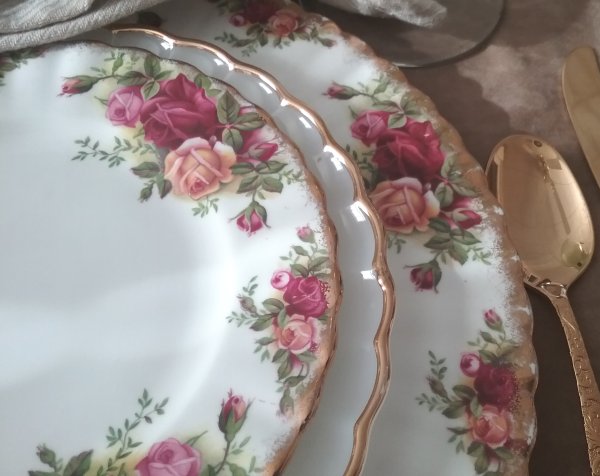
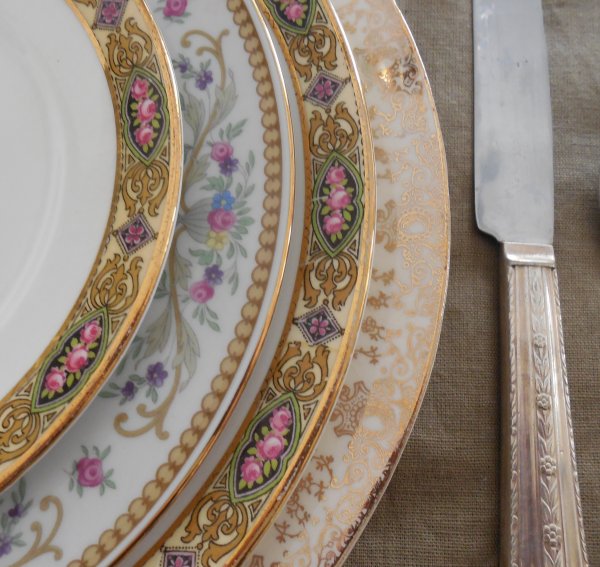
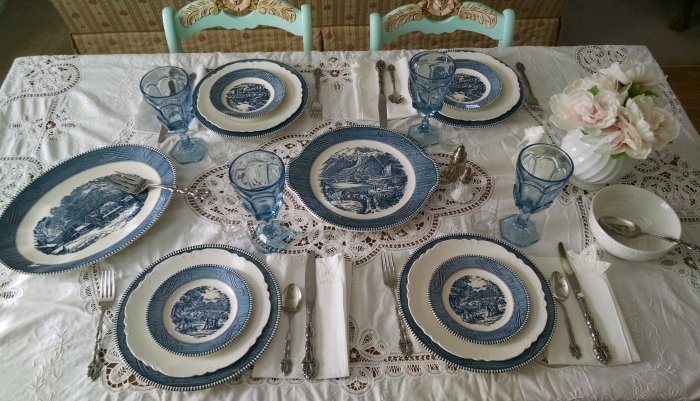
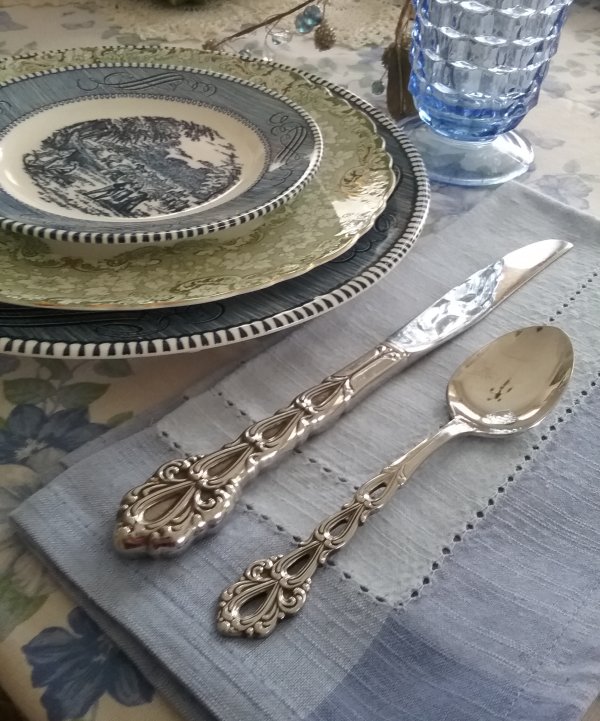
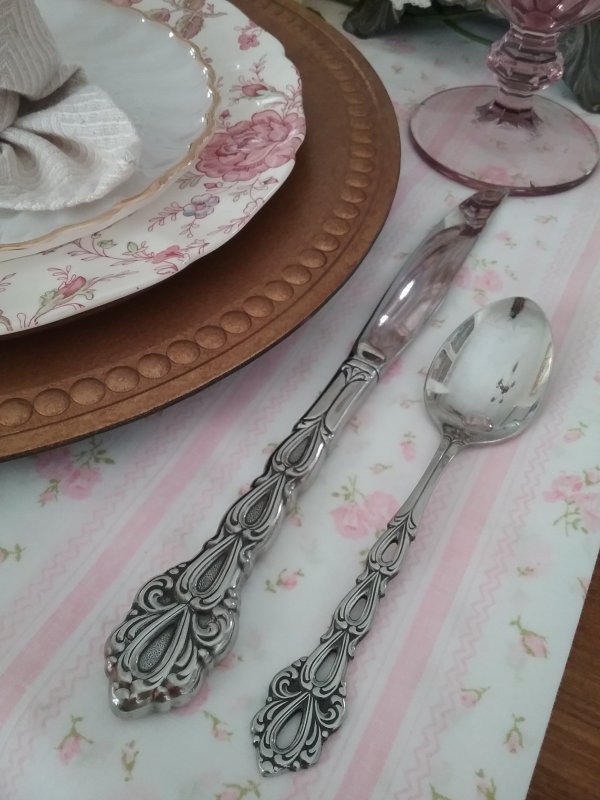
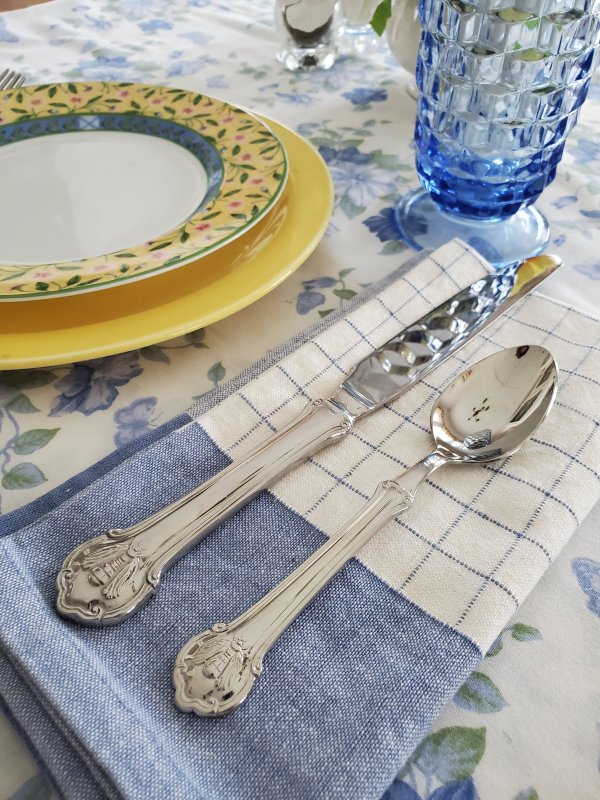
Silverware (or silverplate) is the stuff you polish. It has a beautiful and traditional heirloom quality about it. For me, real silverware is for tables that need a true vintage feel. It looks positively magical in candlelight.
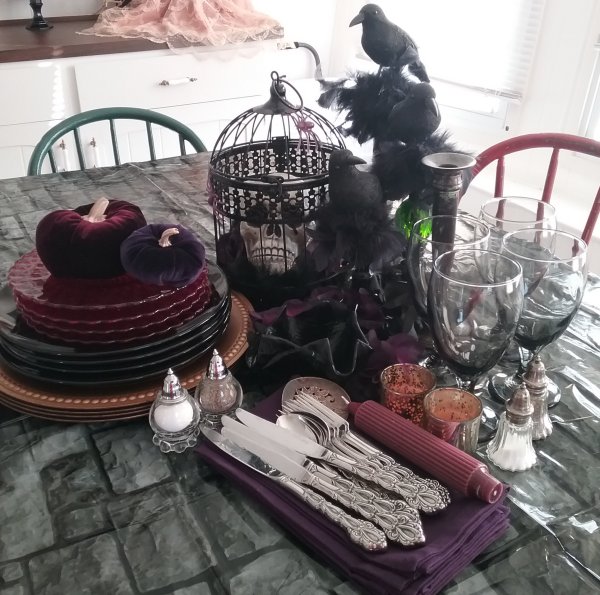
Stainless steel (“stainless”) is a more modern alternative to silverware and doesn’t need polishing. I use my Oneida if an elaborate pattern fits the theme or if I need special pieces like a soup spoon, because that is my largest set.
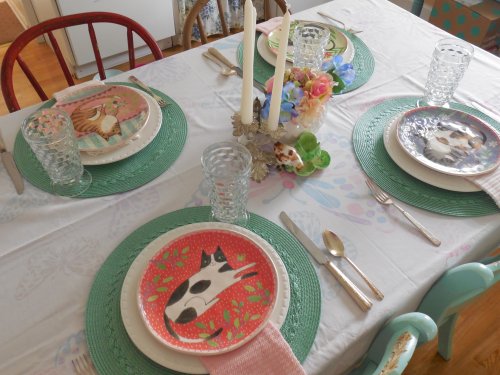
I also used my Oneida last year for my Halloween tablescape, because once I put it with the other table elements it seemed to take on a very “Gothic” vibe – perfect for that particular table!
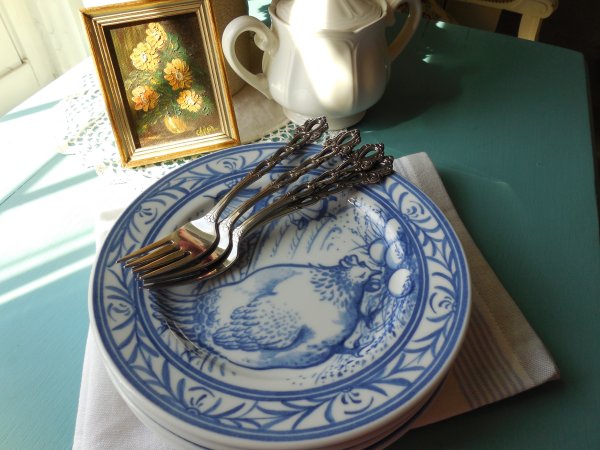
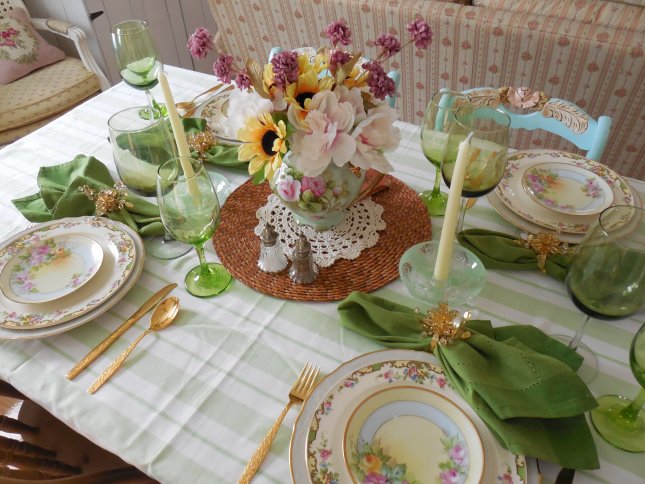
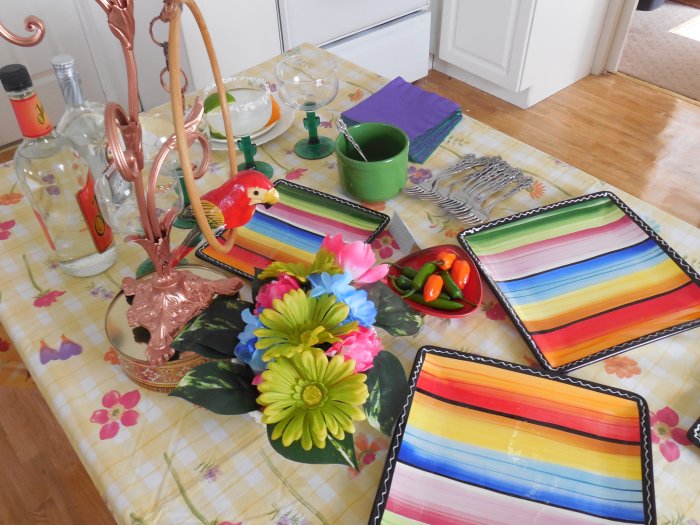
Also in the stainless category, I love to use Wallace Napoleon Bee for a table that has a nature or garden theme.
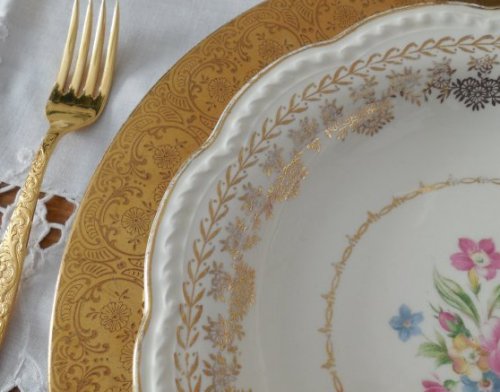
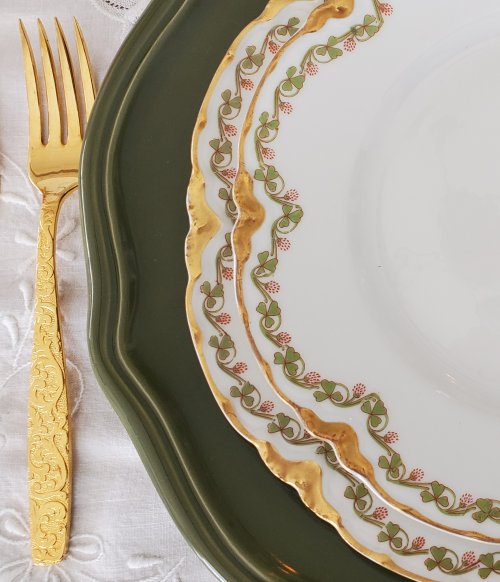
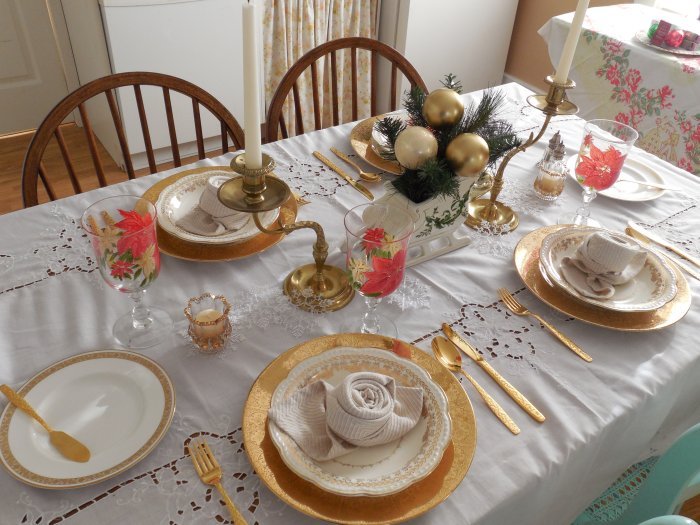
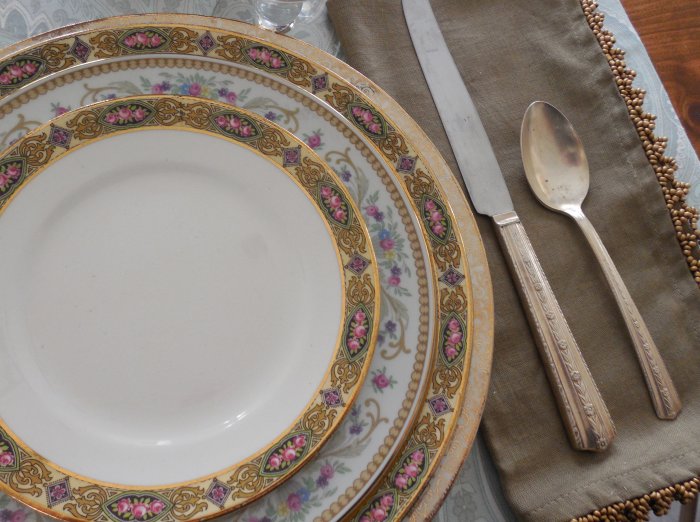
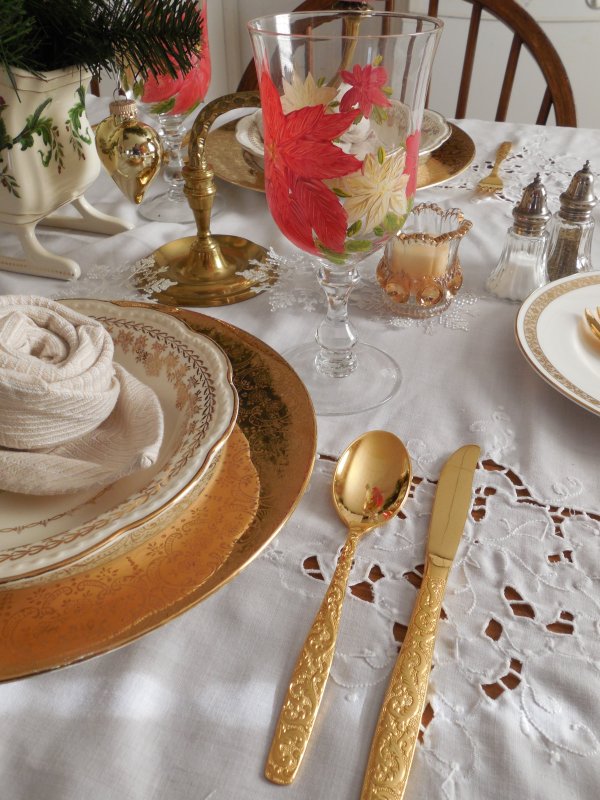
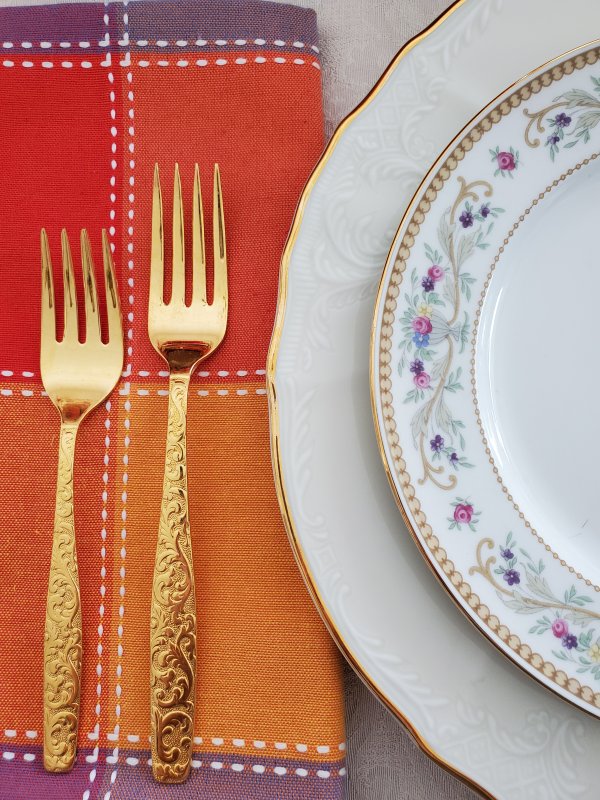
Gold electroplate adds extra opulence and sparkle to a table where the dinnerware has those beautiful gold edges or where gold is part of the theme. It also looks great at Christmas. I have a small set of “Americana Golden Heritage” by International Silver, acquired at a vintage mall, that I use whenever I need to go “over the top” on gold accents. This set has a few serving pieces, too. It’s also beautiful in candlelight.
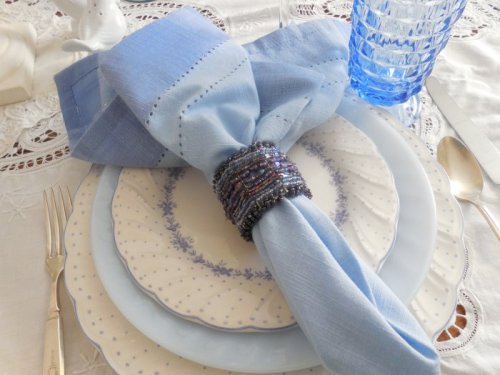
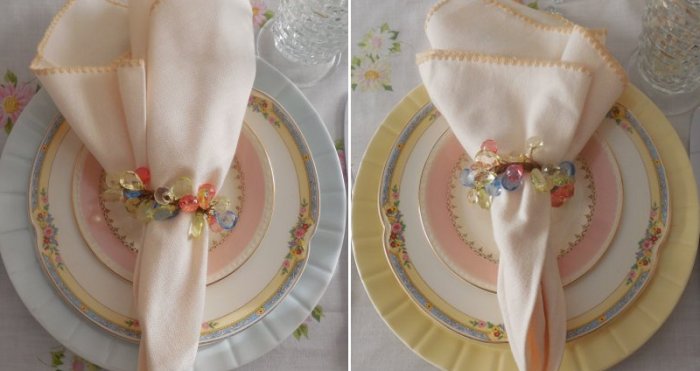
Plastic/acrylic, primarily in the handles. There are lots of choices in composite flatware where the utility end of the piece is stainless, but the handle is encased in another material. A style with a riveted handle has been popular – and available in many colors – for decades. And, this style – in every available color! (LOL) is on my list for someday. I do think you have to be cautious with plastic-handled choices – read directions carefully regarding suitability for the dishwasher.
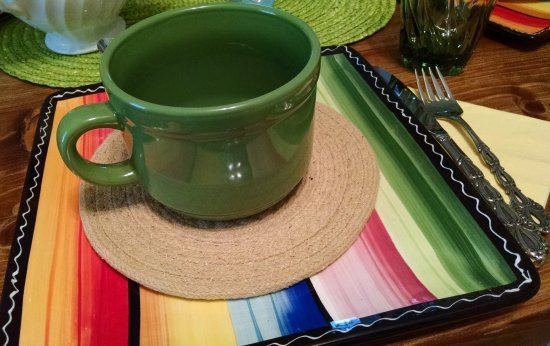
Most of my personal choices have a vintage feel to them, because “vintage” is my style. There are also a gazillion options with a much more modern vibe: Colorized stainless is a very modern choice, and so are highly stylized looks such as this twig-handled design.
Flatware is really a challenge for me – I don’t have a wide selection of large sets. Also, in daily practice, I tend to set the table with one fork because I don’t use a lot of salad plates so it is easy for me to neglect the “fork side” of the plate if I’m setting purely for creative purposes. If I were having actual invited guests, I would set more formally or perhaps have the wares for an entire course (such as dessert) set out on the sideboard to bring to the table after it’s cleared.