Extra sparkle for a Christmas that really needs it

Early this Christmas season, I vowed to bring a little extra sparkle into my holiday decor. I knew I was going to need it – “keeping spirits bright,” and all that, in a year when even my normally bright spirits really needed a lift.

The biggest sparkle I brought to my decor this year was a new-to-me tree. Normally I would be using my pink flocked tree with its sweet Shabby chic vibe. But this year I knew I was going to need something less subdued, more gold, more glittery, and just… EXTRA! I got very lucky right around Thanksgiving because I found the perfect tree at my favorite consignment store at a great price. Brought him home and – voila! – instantly brighter spirits!
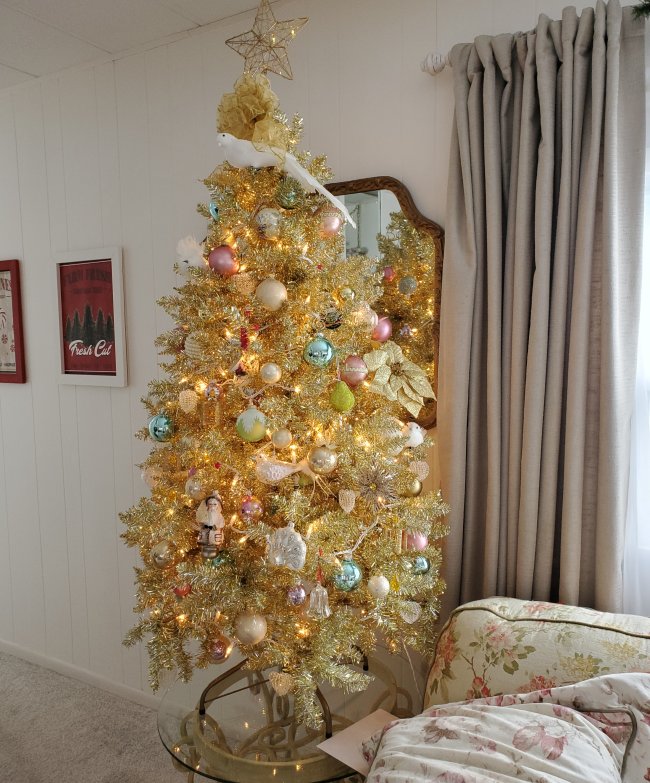
I didn’t even bother with a skirt because I liked the way the lights twinkled on the glass tabletop. It looks especially magical – as they all do – in the evening when the room is dimly lit, but truthfully, I’ve kept the tree lights on every waking moment this month.
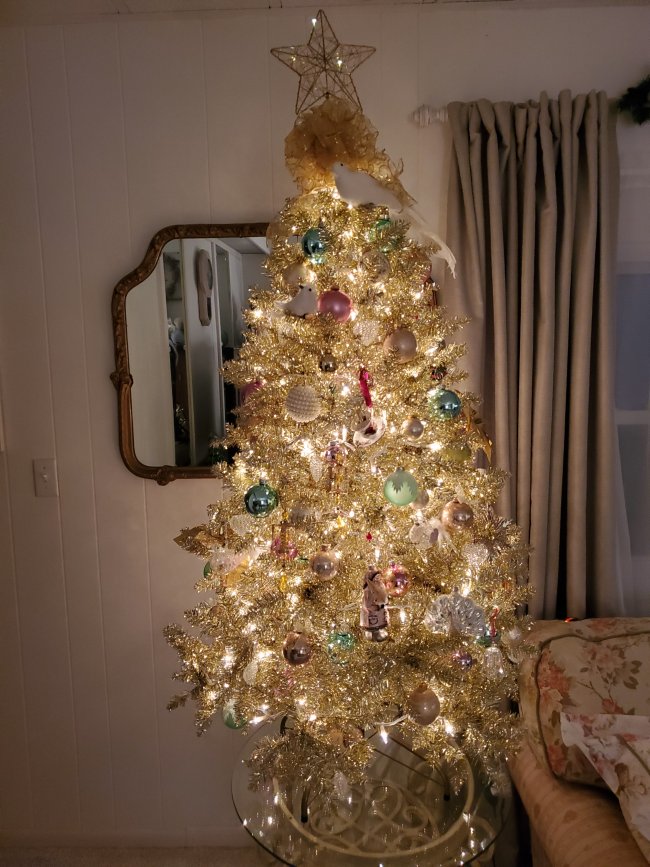
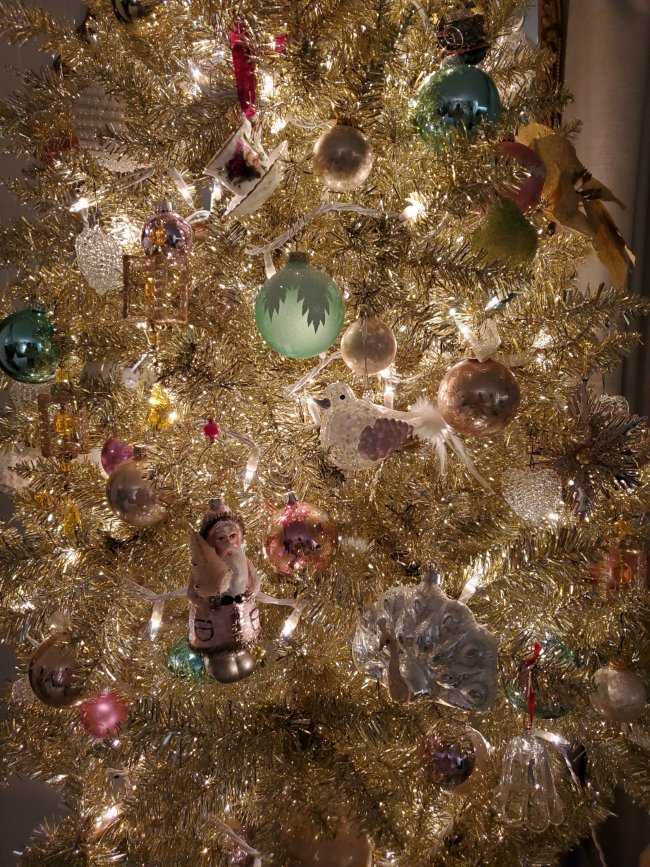
All of my existing ornaments look amazing on this tree – I only added a couple things this year: sparkly gold clip-on poinsettias from Dollar Tree and a set of gold “box”-style ornaments (with gold dangly jewels!) from the same consignment store. Here are some close-ups that hopefully capture the especially bright spirit of my 2020 Christmas tree:
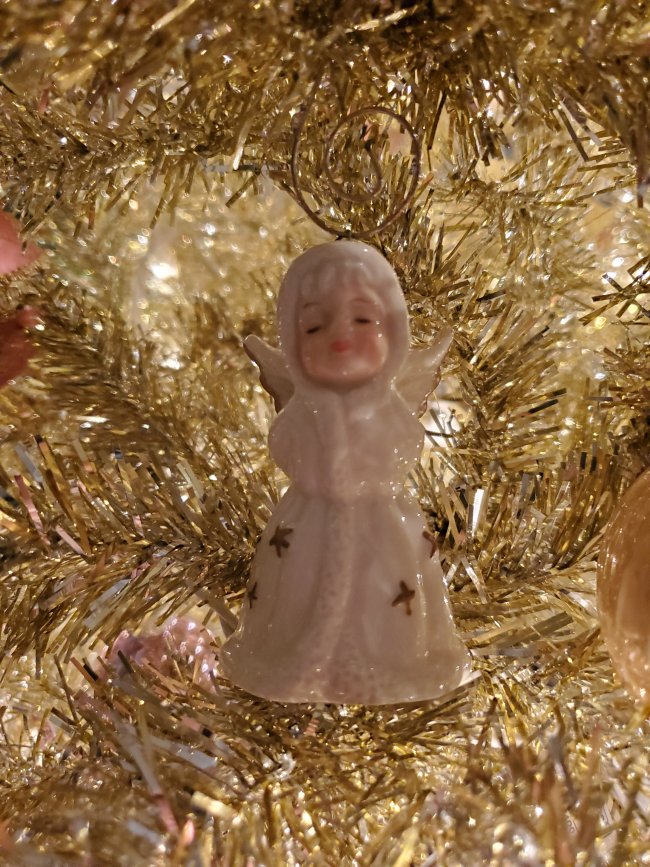
Vintage kissing angel ornament
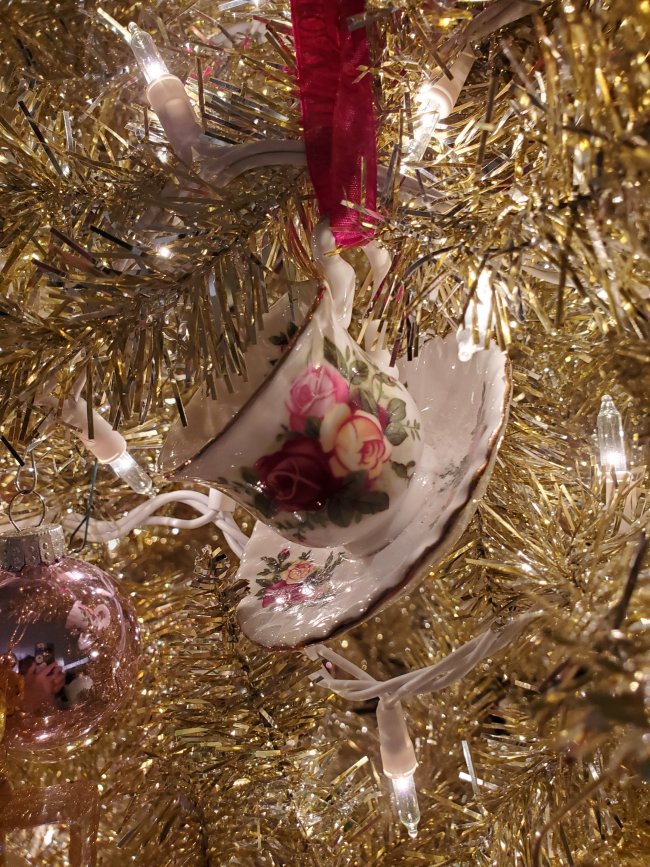
My extra-special Old Country Roses teacup ornament by Royal Albert China Co., a gift from my thoughtful daughter.
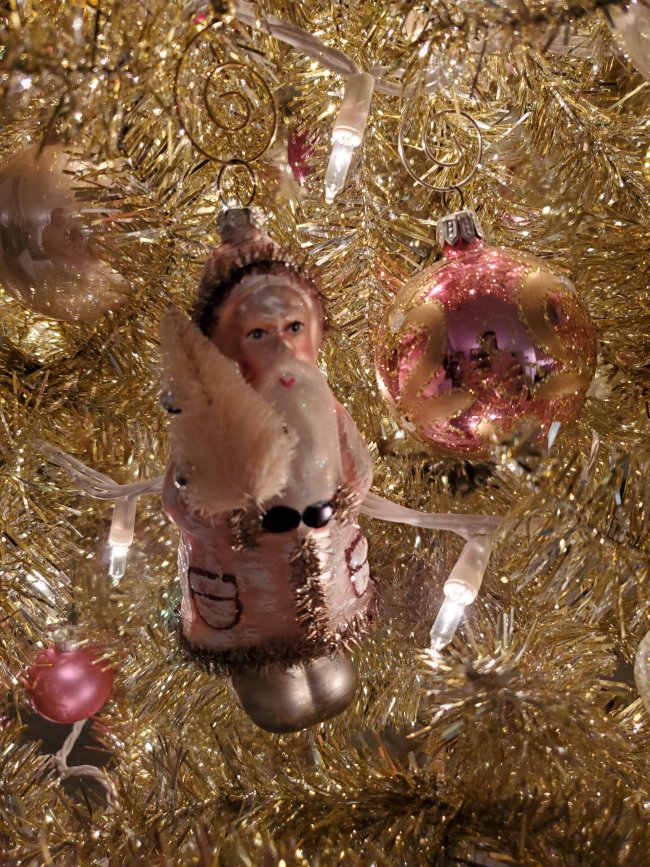
My shabby-sweet pink St. Nicholas ornament from Hobby Lobby. He’s got that vintage German-glass look about him.
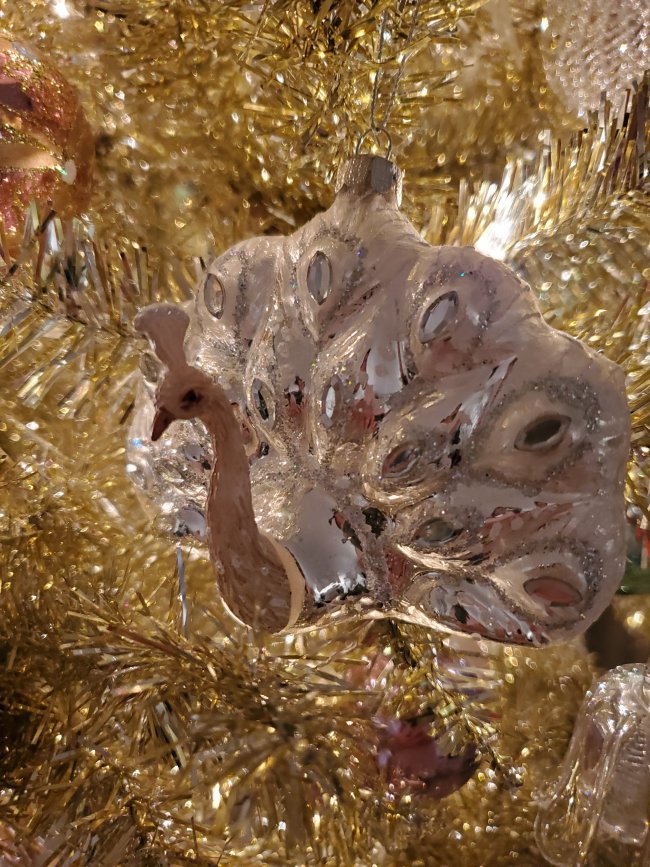
A shimmery silver peacock also from Hobby Lobby.
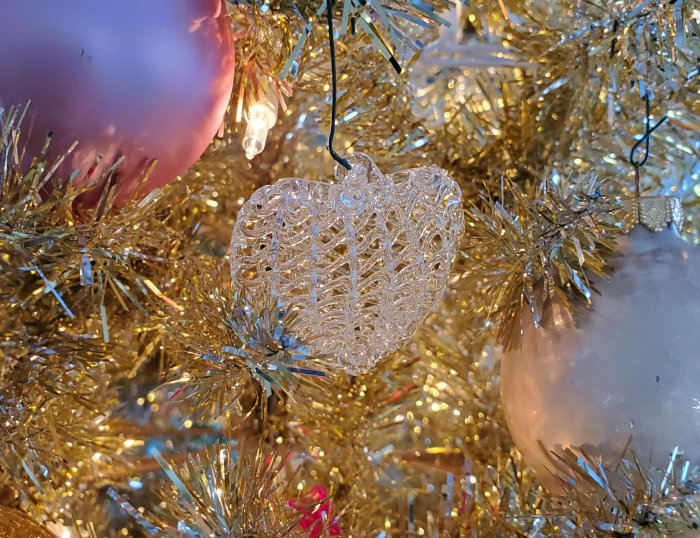
Set of 12 (oops – 10…!) spun-glass hearts found at a thrift store about 10 years ago.
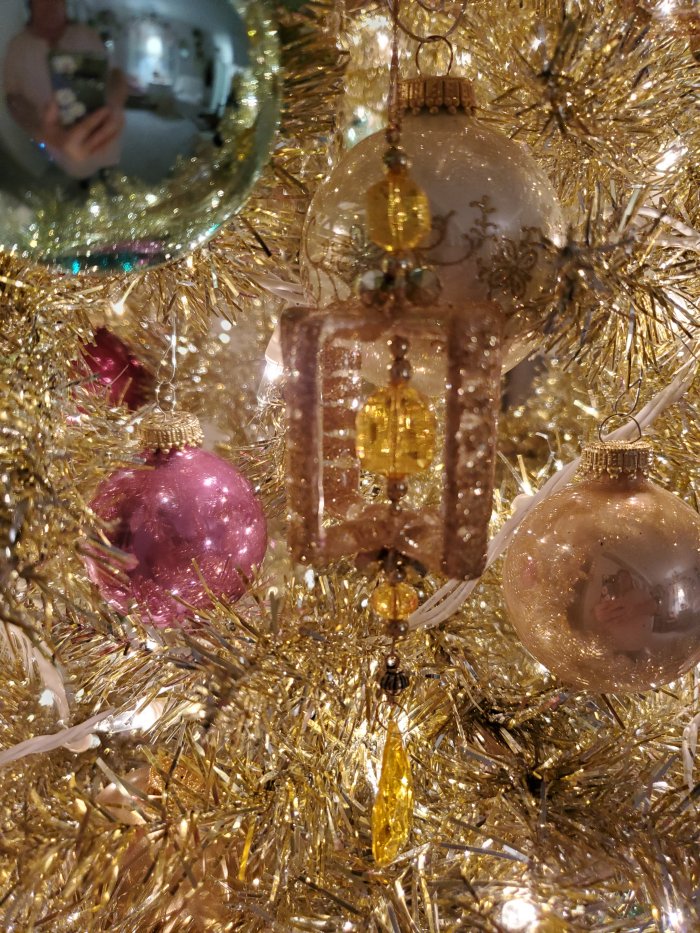
New this year: glittery gold cubes with dangly jewels, consignment store finds.
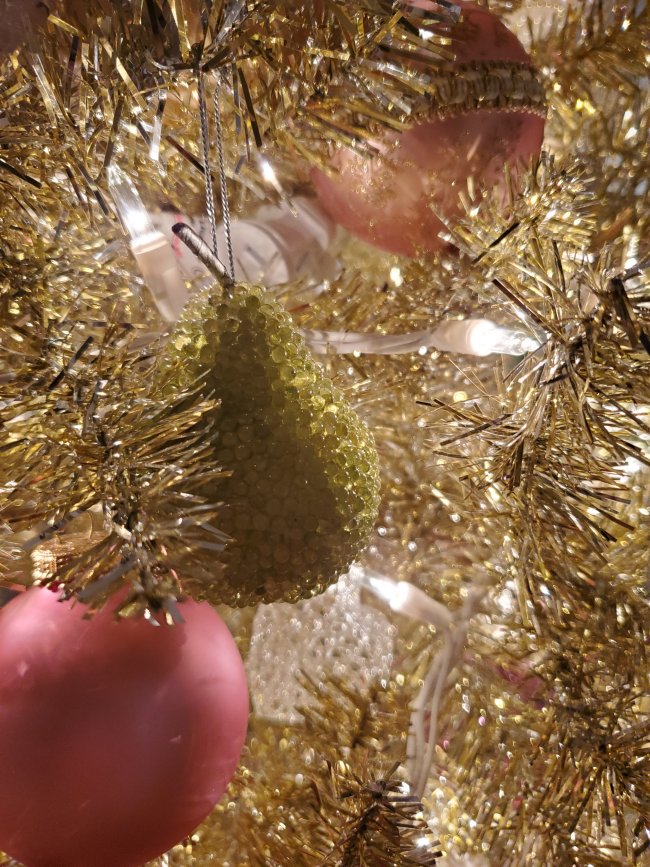
Green beaded pears – thrift store treasures. I only have 3 of these.
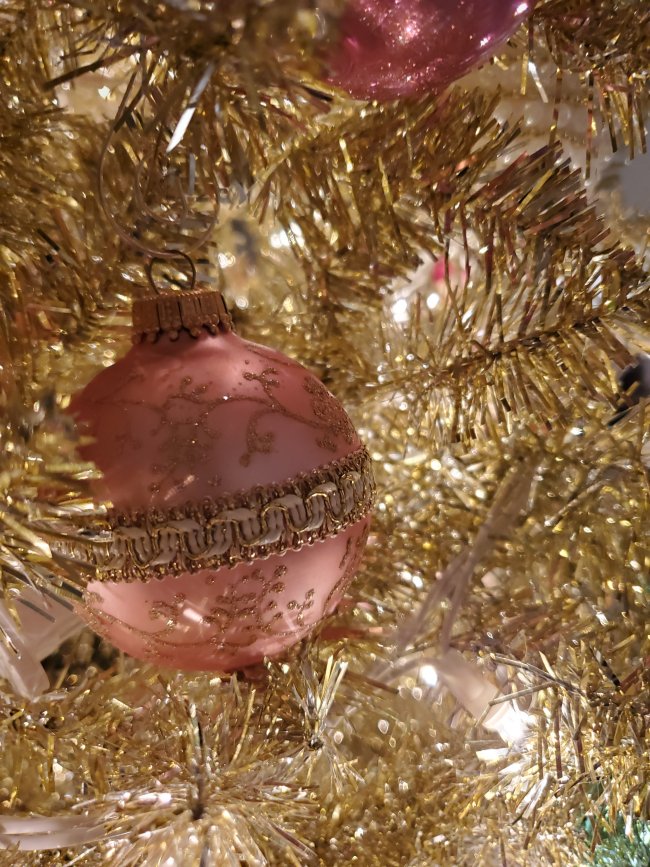
Pretty satiny pink with gold-trimmed ribbon
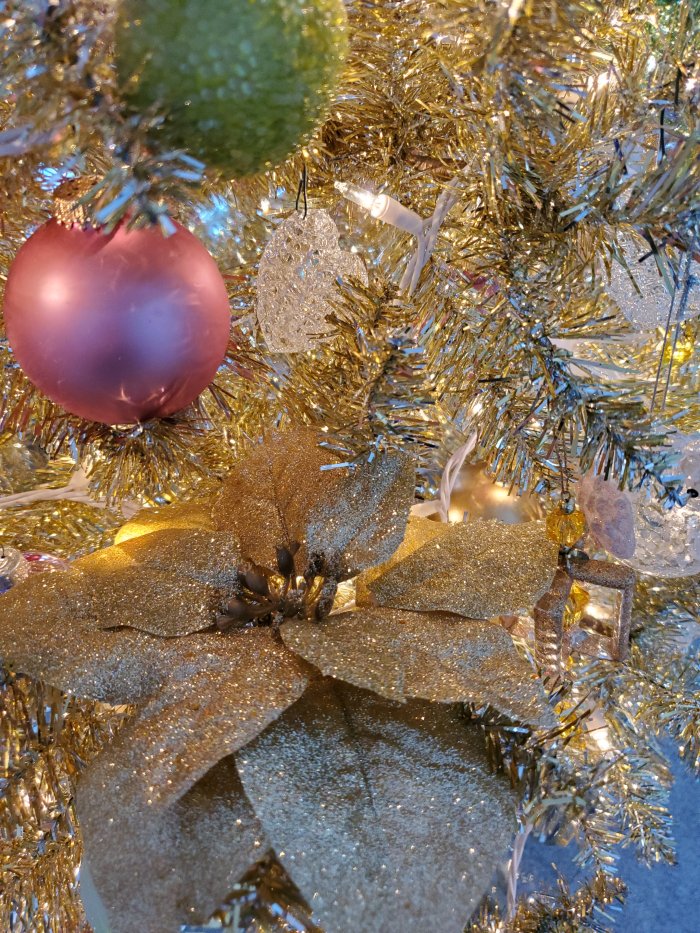
Glittery gold clip-on poinsettias from Dollar Tree.
A little bit of a lot of things!

I know my gold tinsel-tree isn’t terribly traditional (then again, neither is the pink-flocked one I’ve been using!), but for me it has been a huge bright spot while the days have been getting shorter. I’m so glad I went all-in for Christmas sparkle this year!
Posted in Decorating, Holidays | 2 Comments

My pink sparkly, feathery Christmas village carousel of joy

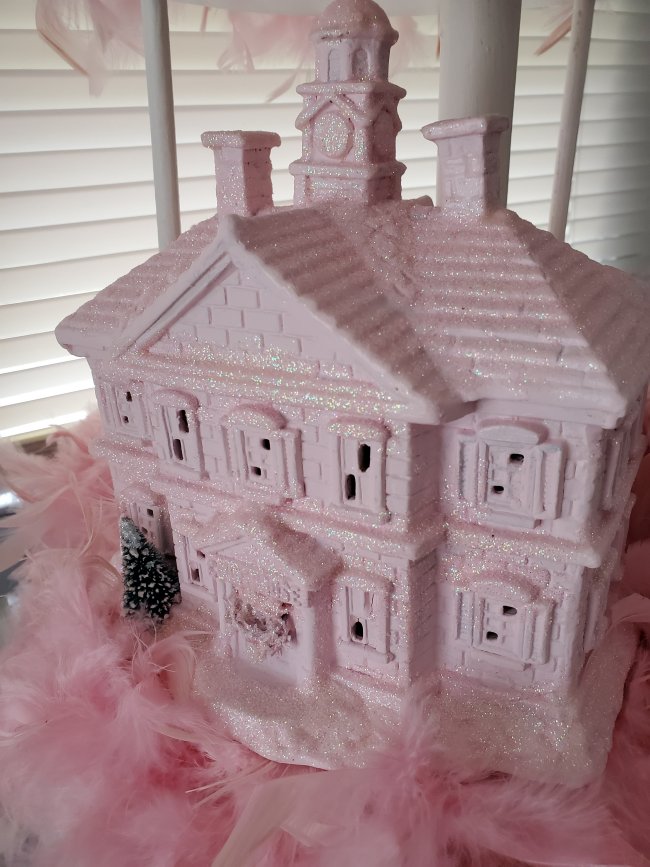
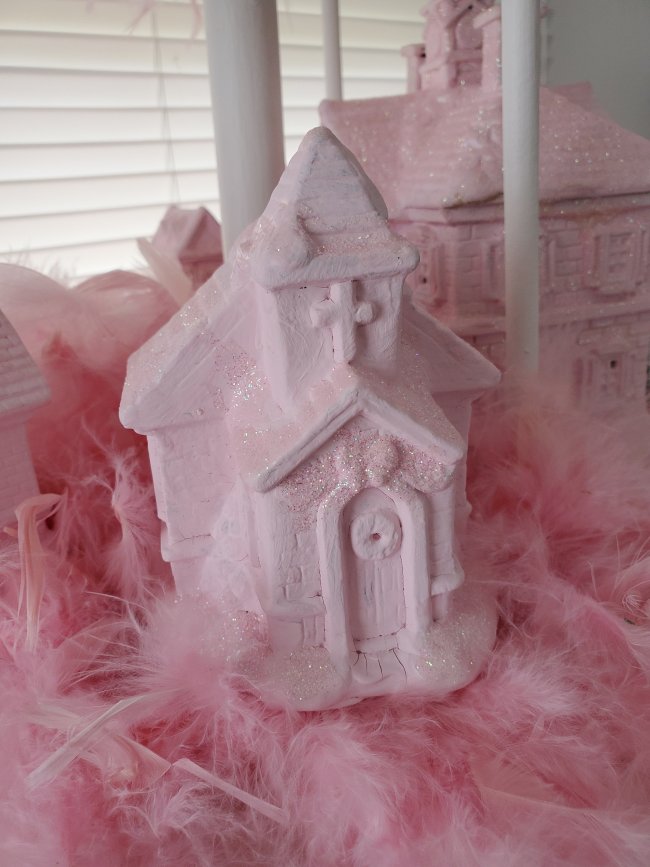
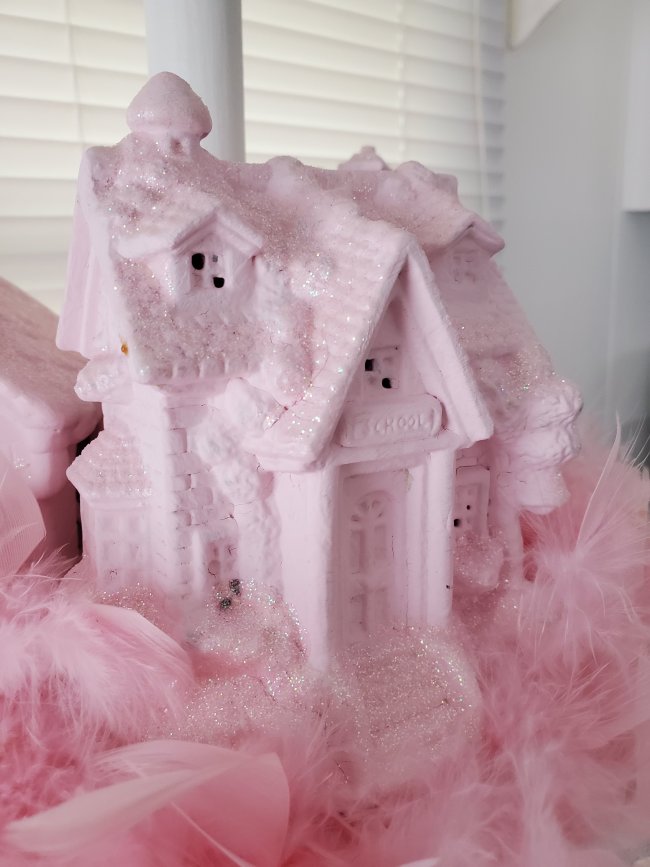
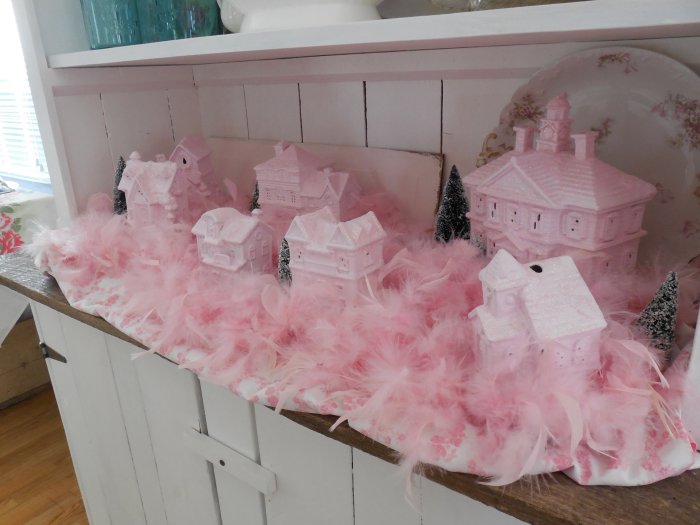
A few years ago, I put up a Christmas village made up of small buildings I’d acquired at Goodwill, painted pink, and then dusted with pink sparkly glitter-snow. I set it on a bed of pink feather boas, and it looked delightful. The next year, I added a few more buildings and displayed it on my hutch:

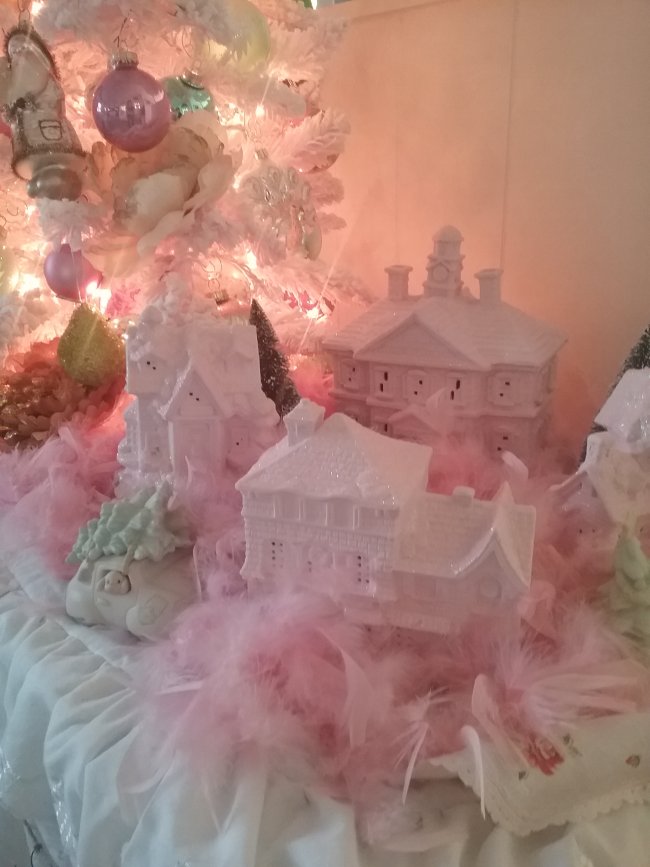
Last year, I only put out a few of the buildings at the base of my pink flocked tabletop tree, along with a Precious Moments figure from the “Sugar Town” Christmas series.

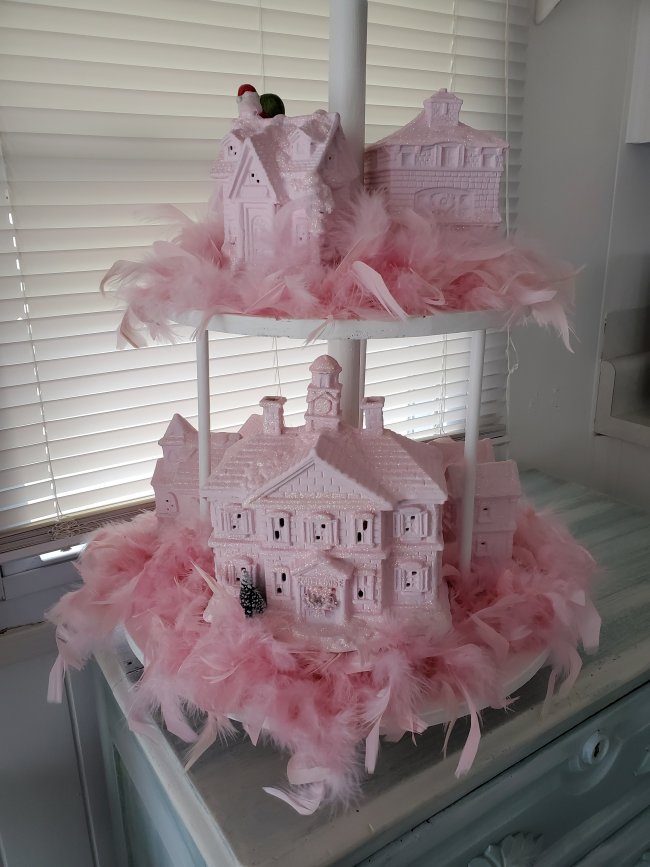
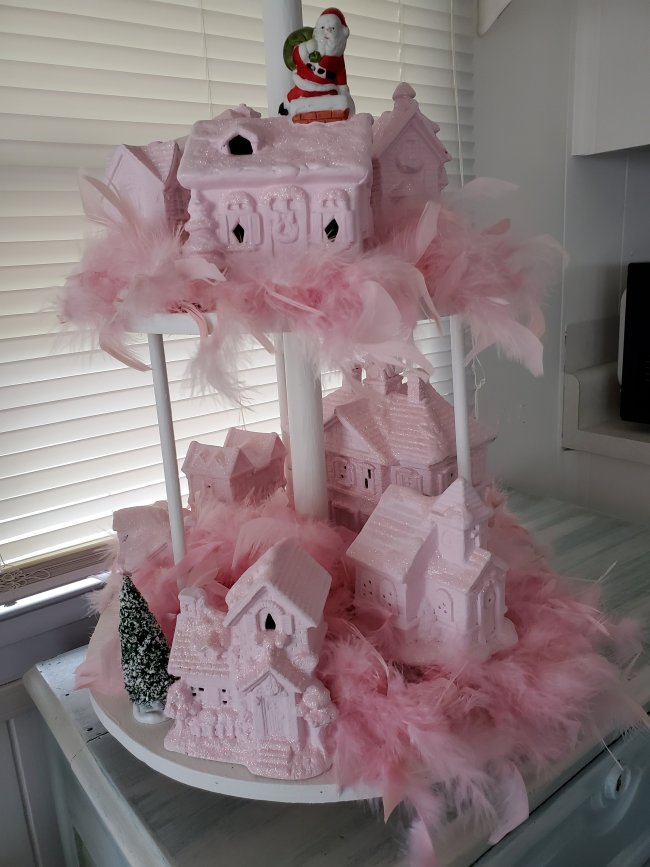
This year, I was considering not putting it out at all – I have a different tree and wasn’t planning to use the pink tabletop model. But I kept thinking about how I might stage my little village this year, and hit upon the idea to put it on a tiered stand so it would take up less room. But not just any tiered stand… it was going to be a spinning tiered carousel of pink sparkly feathery Christmas goodness!

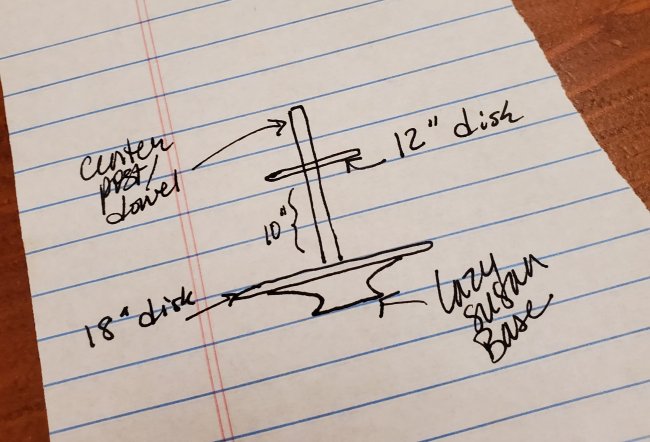
I sketched it out for Greg…

… and once again, he built exactly what was in my head.

I sort of feel like Ralphie’s dad in the movie, “A Christmas Story,” where he wins the leg lamp. He’s just so proud of it, and no one else gets it.

To this day, I’m not sure Greg understands the why of this project. But the truth is, I wasn’t feeling very Christmasy at the start of this season. Acquiring my gold tinsel tree helped (you’ll see it soon!), and when this project was completed, I took a step back… asked Alexa to play “Need A Little Christmas,” and made it turn… and it literally gave me goosebumps. It was just so… Christmas!

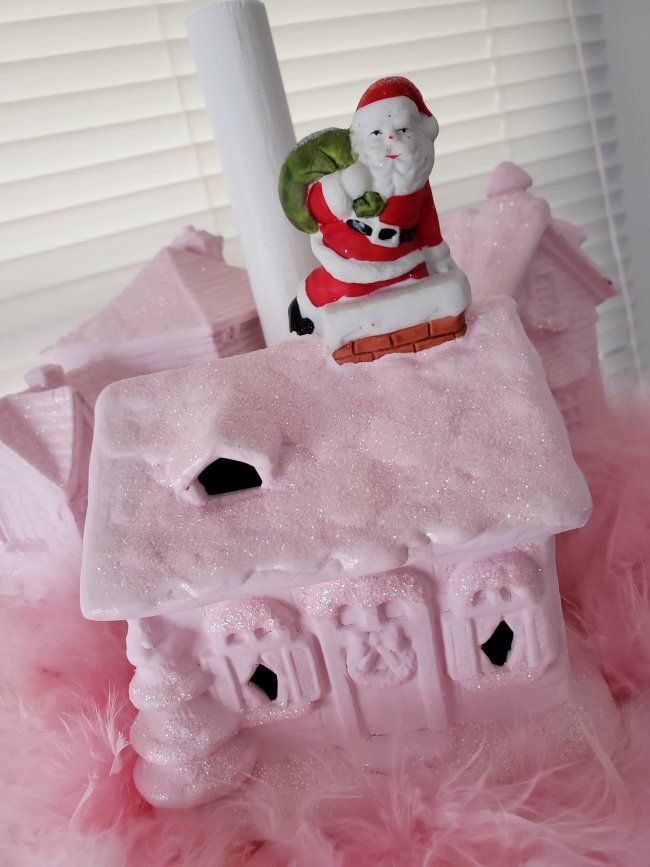
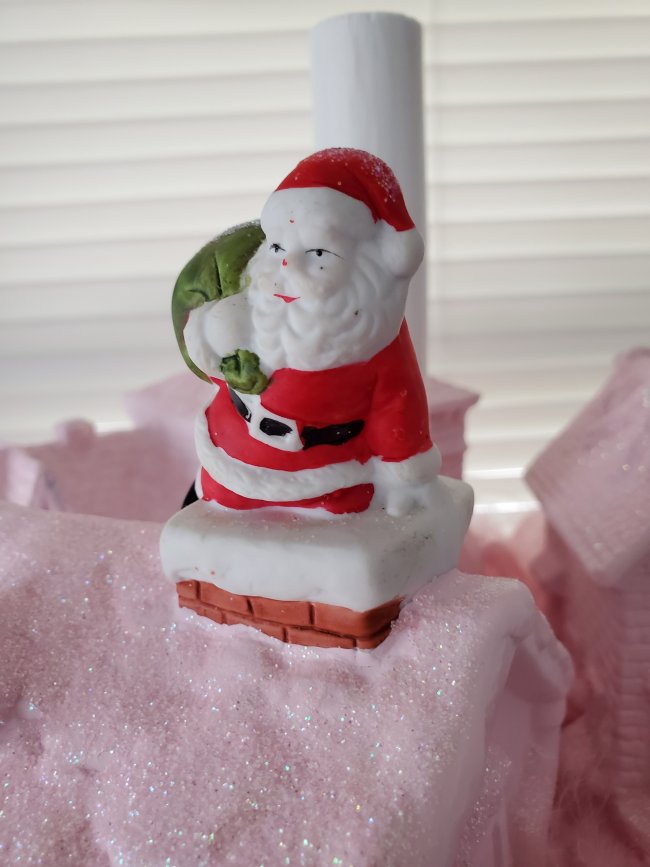
The Santa figure on this little house is the only thing I didn’t paint – I felt that Santa needed to retain his true color scheme in that sea of pink froth.

I have a few finishing touches to add for next year: the center post is a little tall and might need to be cut off just a bit. It needs a sparkly star or village “welcome sign” or something on top. I’m going to glue some gold ribbon around the edges of the platforms. Maybe some tiny battery-operated fairy lights… and I’d love to find a way to put a little motor on it so it spins on its own, kind of like that little cake plate my aunt used to have that turned and played “Happy Birthday” when you flipped a switch.

What has lifted your holiday spirits in this rather challenging year? Are you struggling to enjoy your usual Christmas cheer? Is there something you’ve done or discovered that helped you regain it? Tell me in the comments – let’s hold each other up in joy!

Posted in DIY & Crafts, Holidays | Leave a comment

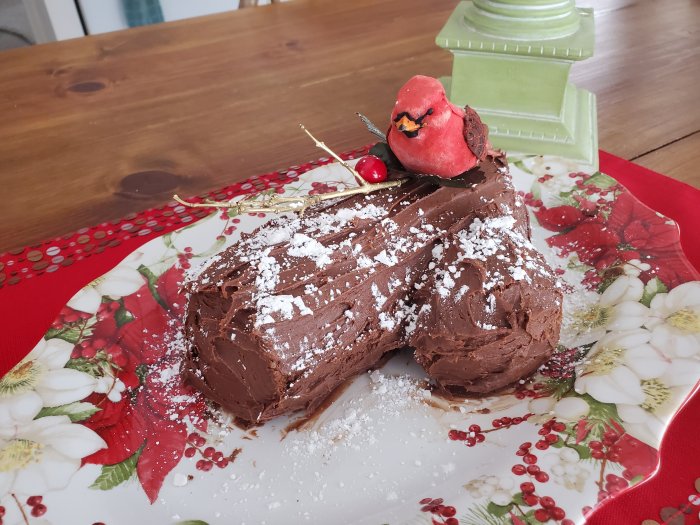
I made a Yule Log Cake – Buche de Noel!

The tradition of the Yule log goes back hundreds of years. It was believed that a log large enough to be burned for the entire Twelve Days of Christmas (December 25-January 6) would bring good luck to a home and its family for the entire year. Eventually cake makers devised a recipe for a Yule log cake (the first one being documented around 1615). The traditiion was popularized in France, the cake was called Buche de Noel, and its popularity reached its peak in the English Victorian era. The cake is essentially a rolled chocolate sponge cake with cream filling, which is then frosted to look like a log, dusted with “snow” (powdered sugar) and decorated with elaborate marzipan elements such as animals and leaves.

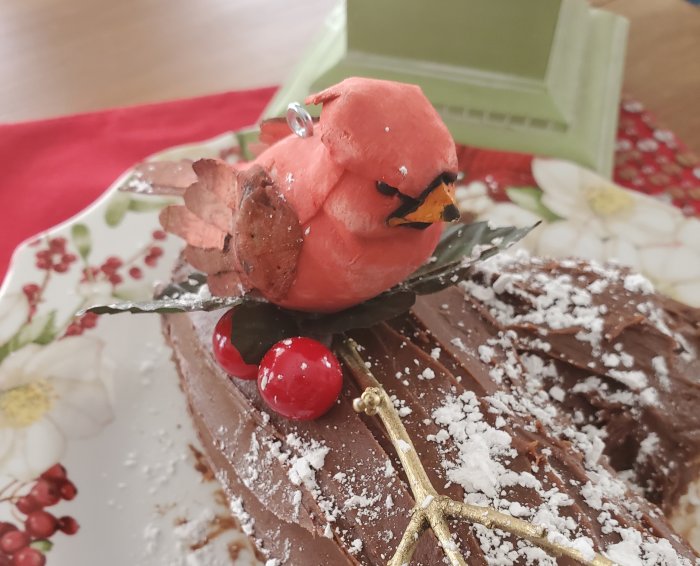
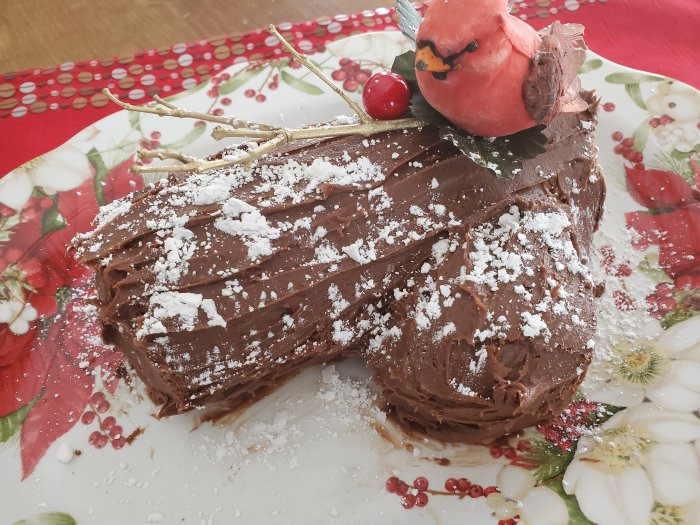
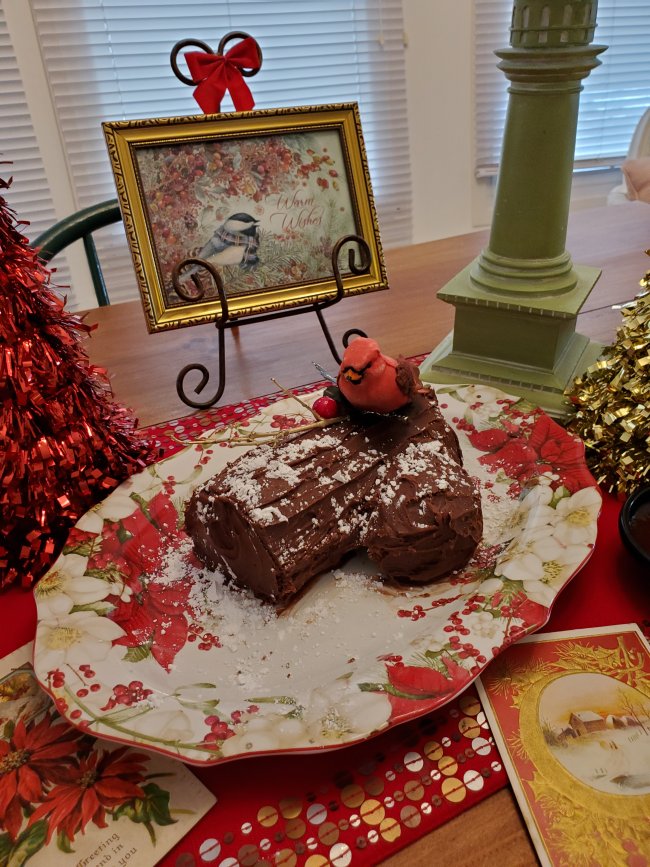
I got motivated to try this cake one evening recently while watching cooking shows on YouTube, and because I started so late in the day (around 8 pm) I had to alter the recipe a bit to accommodate ingredients I had on hand. I substituted a bit of mayonnaise for a couple of the eggs, and I used chocolate filling instead of white cream because I didn’t have heavy cream available – I just made chocolate frosting, and used it both inside and outside the cake. I also (and for this I apologize profusely to the culinary world) used inedible items for my decorations – I wanted to create a cute and good-tasting cake, but I didn’t want to spend the time making edible decorations given my lack of on-hand ingredients.

Here’s the result:

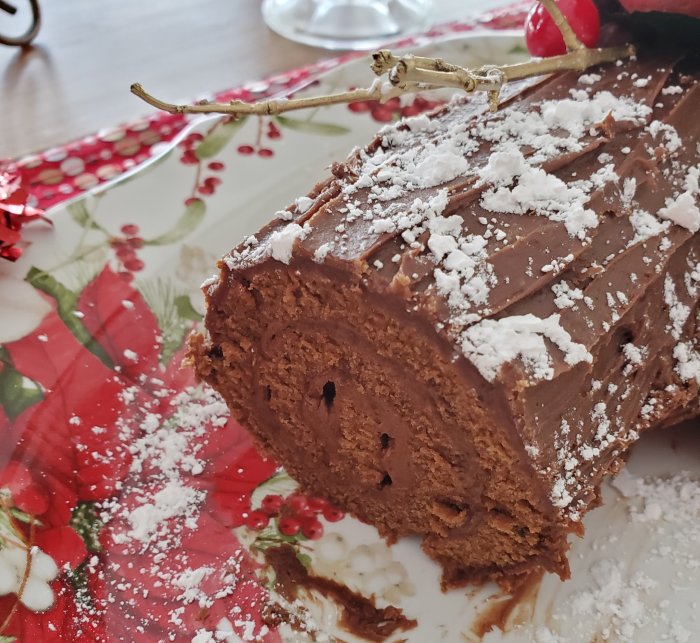
I mean – come on – it’s adorable!! Am I sorry the decorations aren’t edible – honestly? Not really – it’s pretty obvious you just remove them when it’s time to slice the cake, and the presentation is just as pretty as if I had labored for several more hours. Besides, I wasn’t nearly as worried about using inedible decorations as I was about achieving the rolled cake itself – but turns out that part was fairly easy. I think the fact that I used some mayonnaise instead of 2 of the eggs made my cake a bit easier to roll without cracking and coming apart. As soon as I figured out that the roll was going to work, the rest was a breeze. Here’s what it looks like inside:

There are any number of recipes online for this lovely cake – I read through a couple of them and just followed them step-by-step, and I watched Randy Sharp’s Dinner Party Tonight Buche de Noel episode for a demonstration. For my filling, I used this recipe for Chocolate Cream Cheese Frosting.

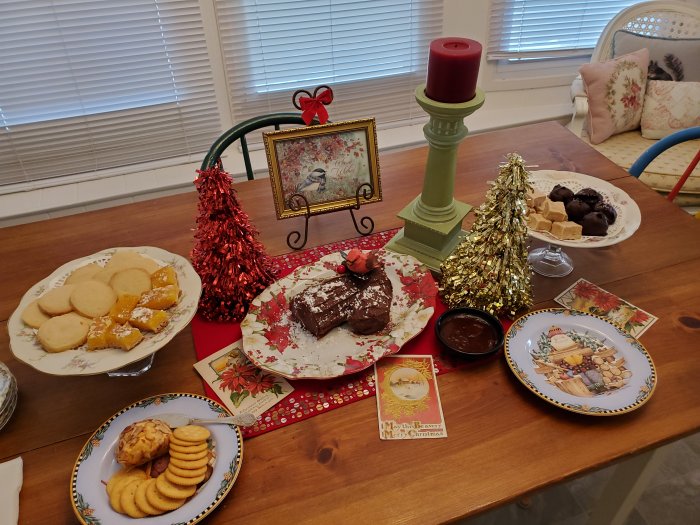
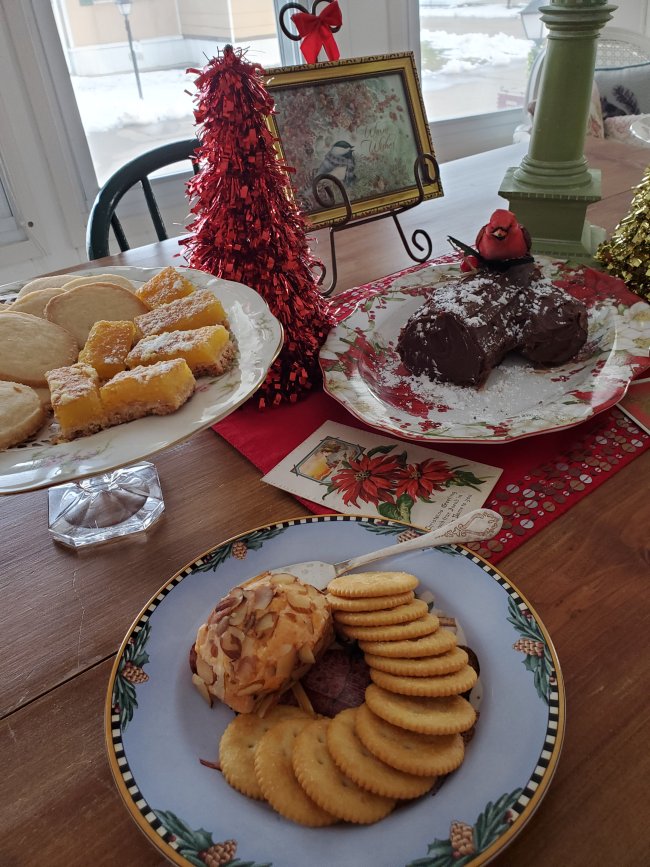
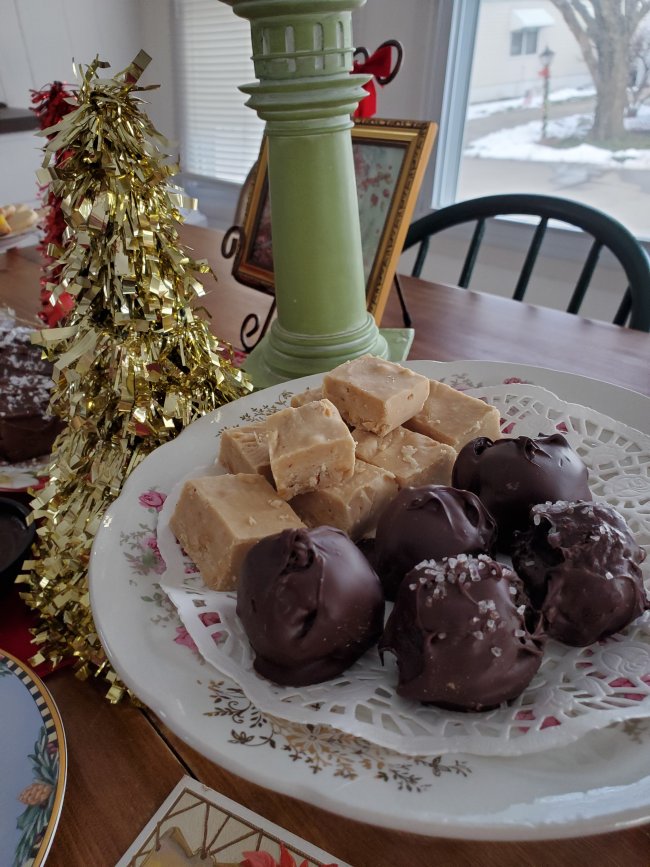
My Buche de Noel became the centerpiece for my snack table when my daughter and her sweetheart came to celebrate an early Christmas this past Sunday! Other treats included Lemon Sable (butter cookies), peanut butter fudge, Oreo balls, lemon bars, and spicy baked chicken wings.

One thing I’ve learned, especially from Randy Sharp on YouTube – it never hurts to try something new! As she likes to say, “You’re not afraid, because you’re a ‘dinner partier’!” Will you try Buche de Noel? I’m so glad I did!

Posted in Holidays, Recipes | Leave a comment

Simple Woodland Santa table for two and Hasselback potatoes

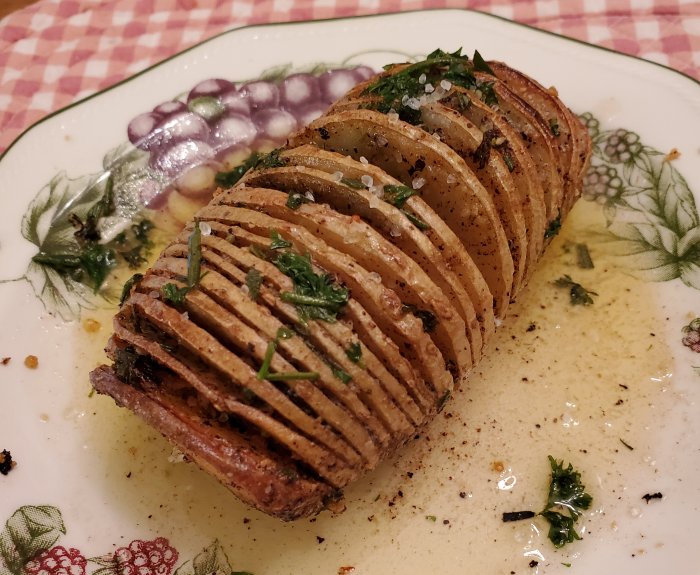
I’ve been trying to introduce as many people as possible to Hasselback potatoes ever since I learned to make them watching Randy Sharp’s “Dinner Party Tonight” videos over on YouTube, and this past week I invited my friend Tracey over for dinner so we could have them along with beef tenderloin filets. It was a fun evening with a good meal and after-dinner conversation centered around things going on at our mutual workplace and the antics of our respective cats.

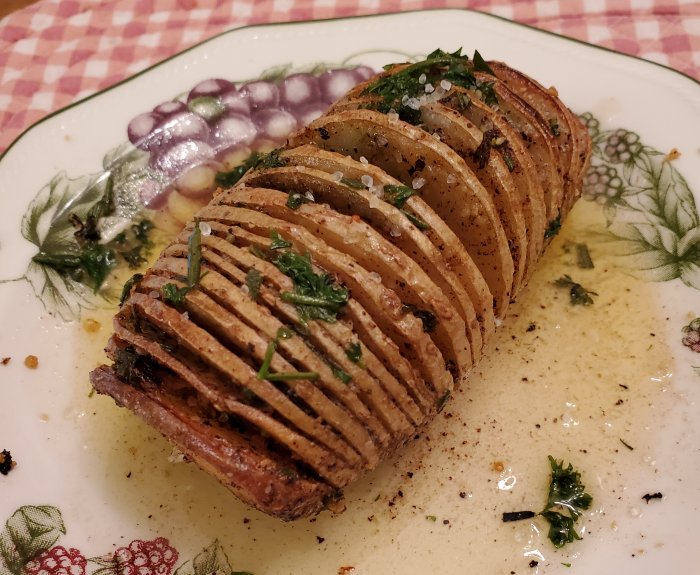
Hasselback potatoes are essentially thin-sliced russets that you then slather in herb butter and bake. Super-simple and really delicious!

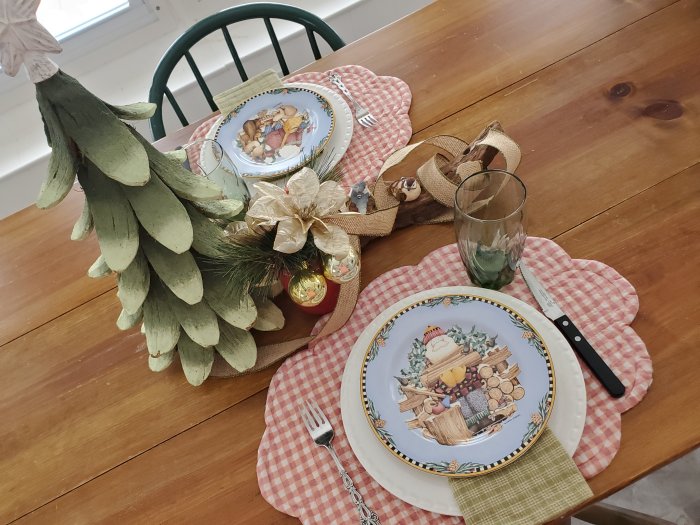
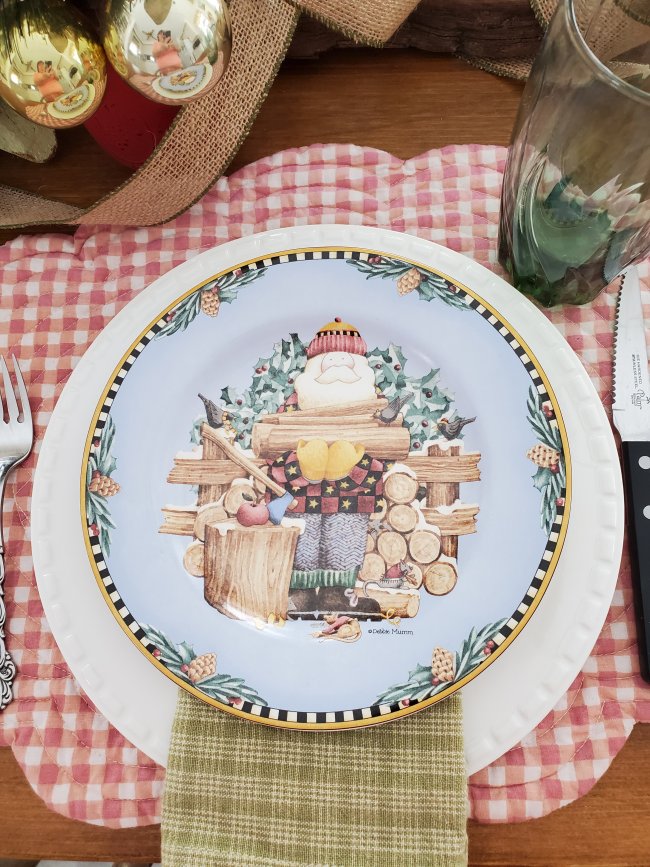
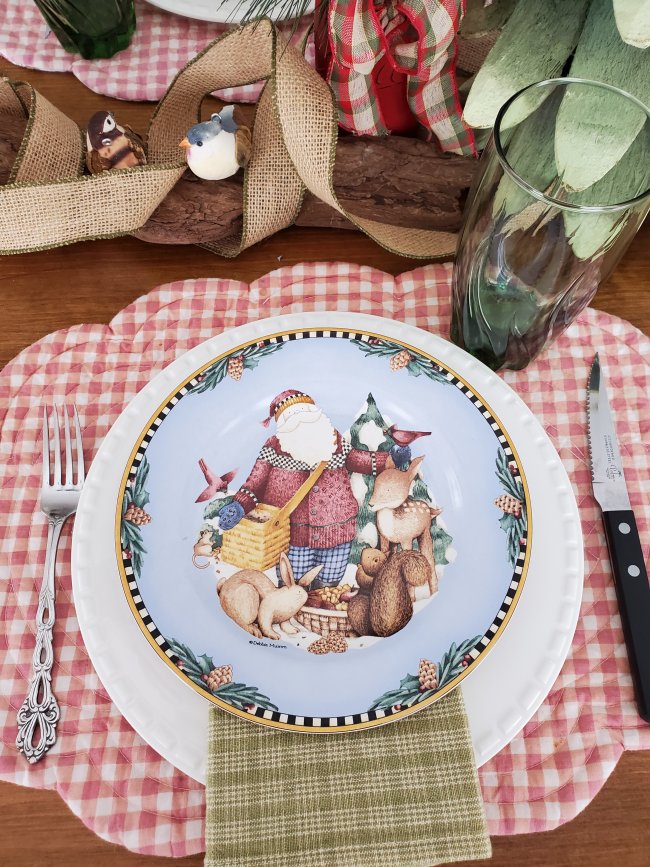
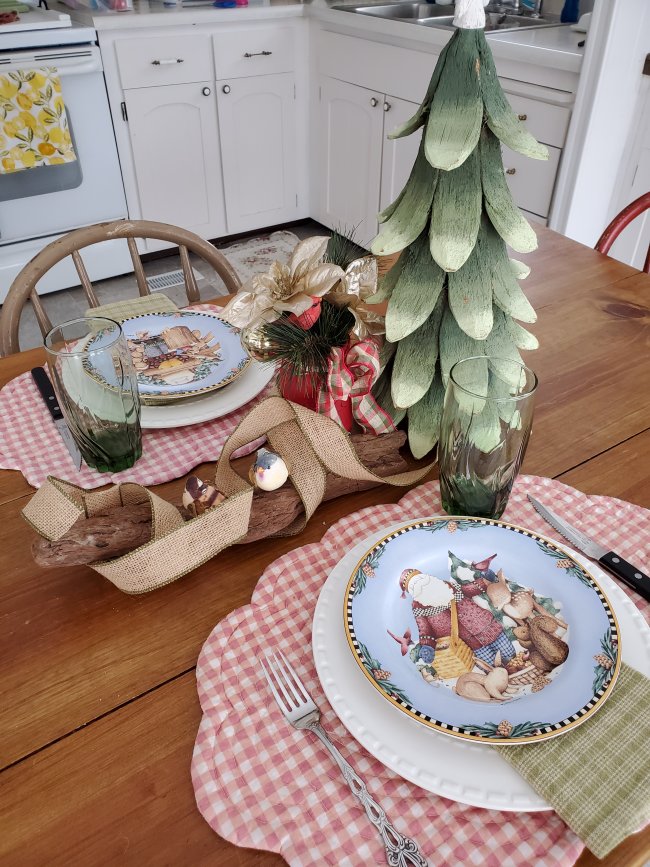
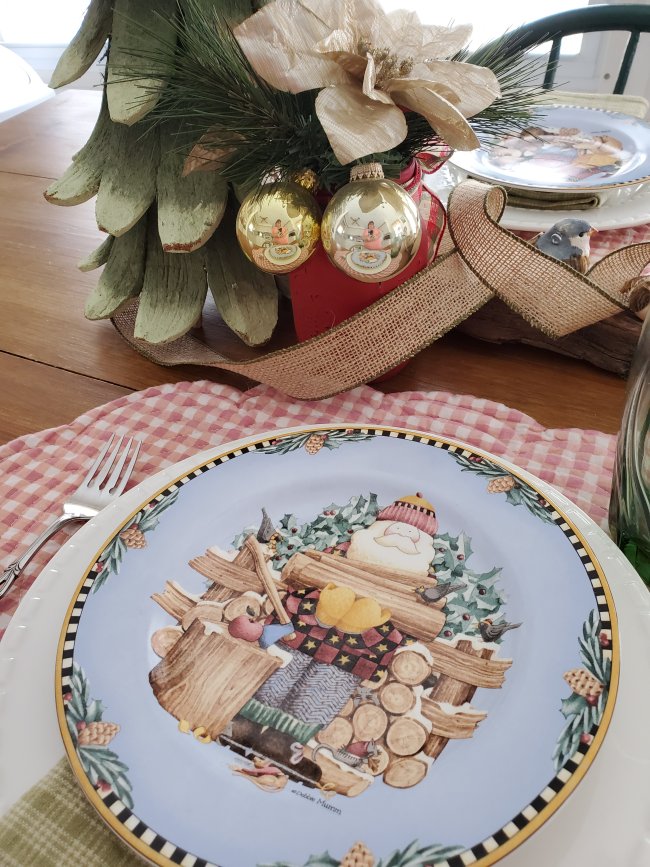
I set the table using “Woodland Santa” salad plates by Sakura (with adorable artwork by artist/illustrator Debbie Mumm) and my versatile stitch-border white dinner plates from Home Goods.

My Santa was chopping wood for the long winter ahead.

And Tracey’s Santa was feeding the birds and wildlife, who were happy to gather around him!

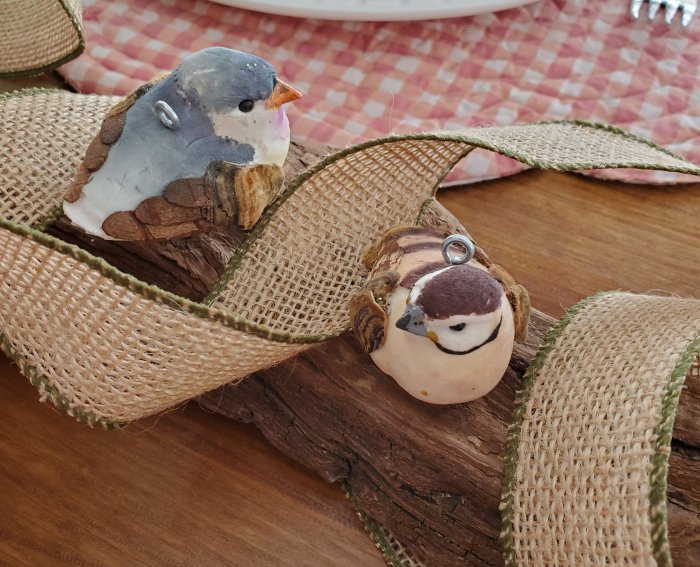
Everything for this table came from my stash and was purchased in thrift stores or deep-discounted retail. The centerpiece attempts a woodland look with the tall woodchip Christmas tree, small piece of bark, rustic burlap ribbon, and sweet bird ornaments resting on the “log.”

Now as it turns out, Tracey had already heard of Hasselback potatoes – apparently they are kind of a 70’s thing, but they were new to me this Fall and I really like making them. Here’s the recipe for you to try!

Hasselback Potatoes for two:

2 Russet baking potatoes
8 Tablespoons butter (1/2 lb)
2 Tablespoons chopped fresh or dried Rosemary
2 Tablespoons chopped fresh or dried Thyme
2 Tablespoons chopped fresh parsley
1 teaspoon chopped fresh or dried sage

Pre-heat the oven to 350F. Wash/scrub the potatoes but leave skin on.

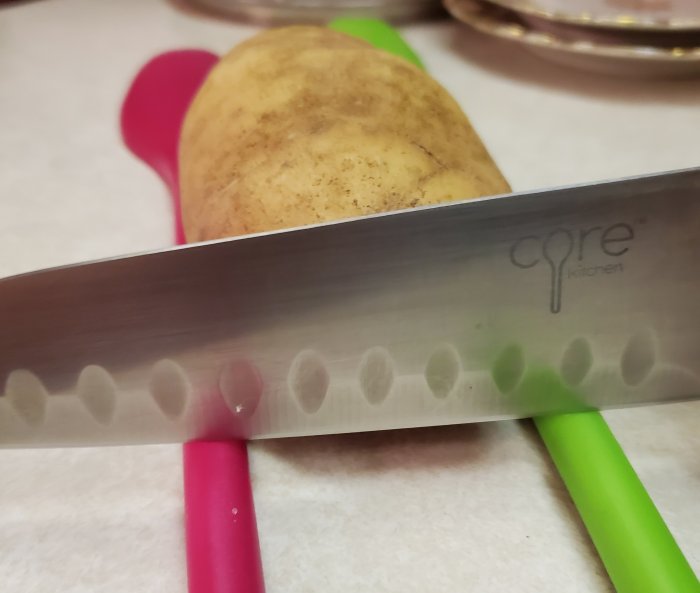
Slice the ends off each potato and discard. Carefully slice the potatoes as thin as possible but NOT cutting all the way through the potato. TIP: I use two mixing spoons as a “stop” for my knife by holding the potato firmly between the spoons as shown, so my knife stops at the height of the spoon handles and doesn’t cut all the way through.

Melt the butter in a saucepan over medium heat, then add the herbs and stir til thoroughly combined. Place the potatoes in a baking dish, then brush the herb butter over each potato, working it down in between the slices. Your prepared potatoes should look like this:

Bake potatoes at 350 F for about 1 hour to 1-1/2 hours or until fork-tender. Occasionally brush the herb butter from the dish up over the potatoes as they bake, working it down into the crevices. (For faster baking, try 400F for 30-45 minutes.)

Remove potatoes from the oven when tender and drizzle any remaining herb butter over the top and down in between the slices. Serve hot – I recommend a separate plate for the potato, as the butter will go everywhere! You can sprinkle grated Parmesan cheese on top if you like.

Posted in Holidays, Recipes, Tablescapes | Leave a comment

Frame up Christmas Decor with Dollar Tree Gift Bags

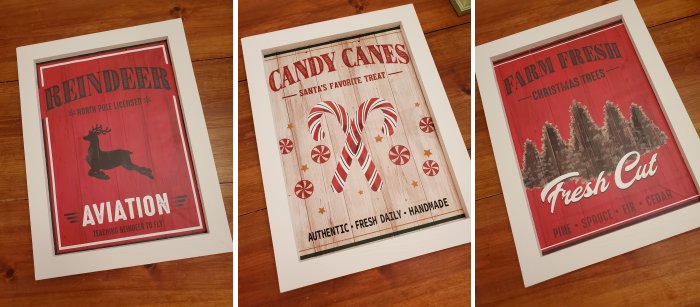
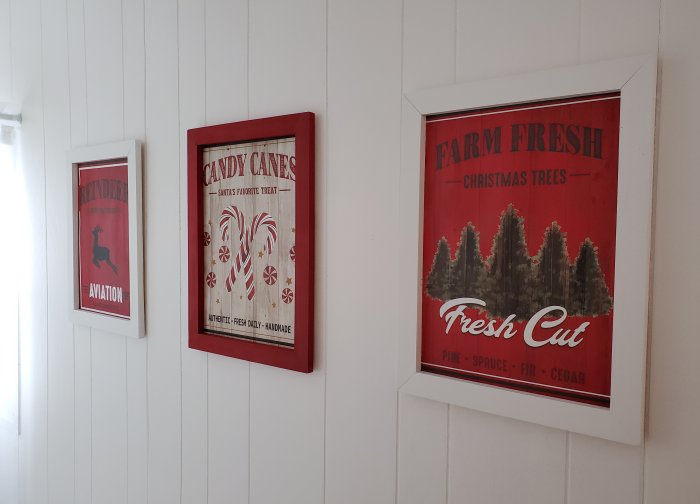
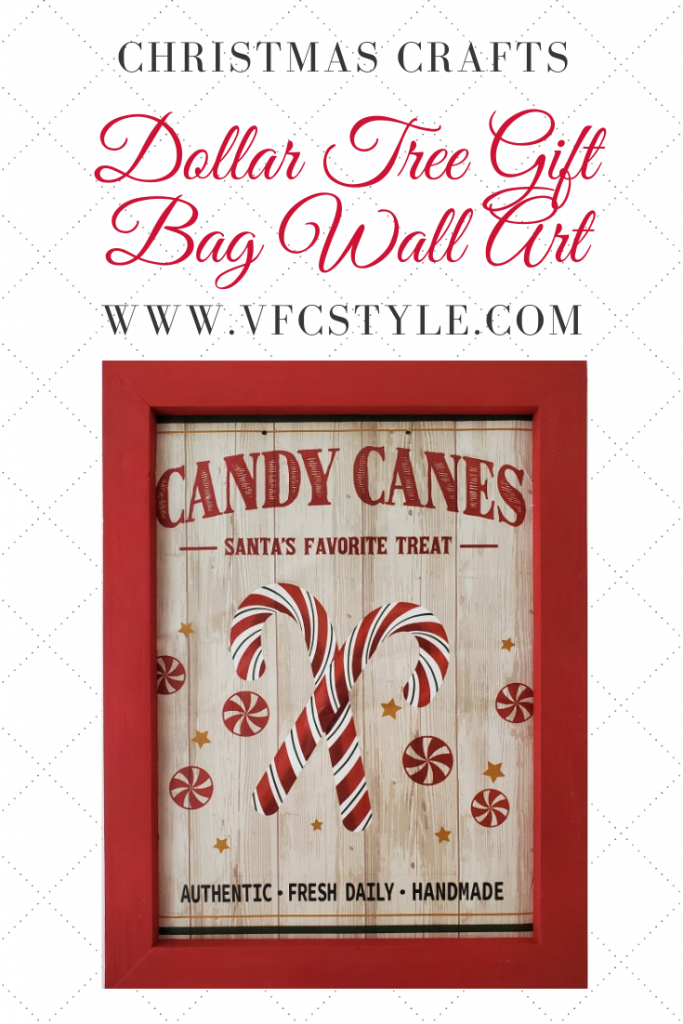
This project is so simple it’ll make you smack your forehead and wail, “Why didn’t I think of this sooner?” I was in Dollar Tree the other day, looking at the Christmas decor and discovered that their gift bags are really CUTE this year! I found several that I liked, and I was wondering how I might use them as decor instead of giving them away. And then it dawned on me – wall art!
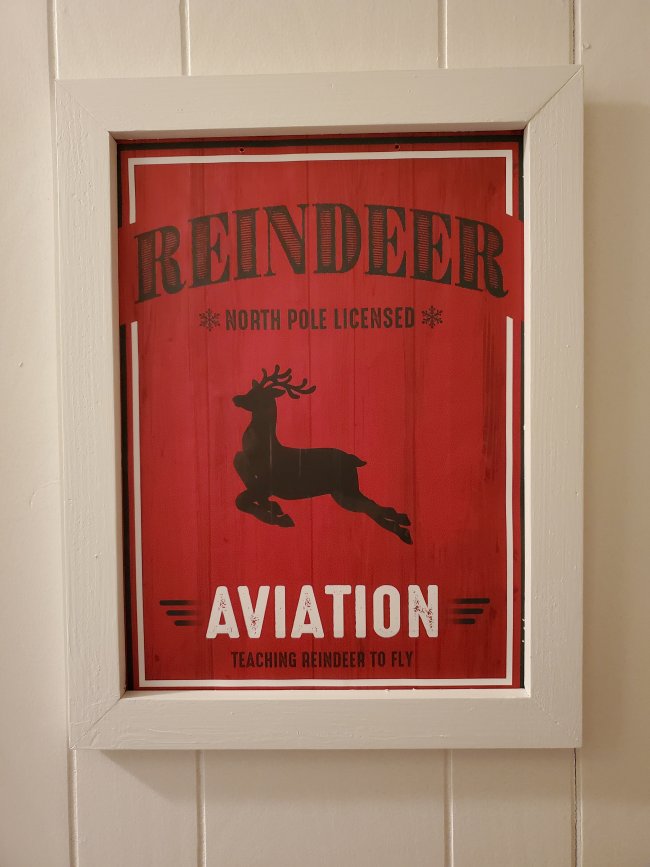
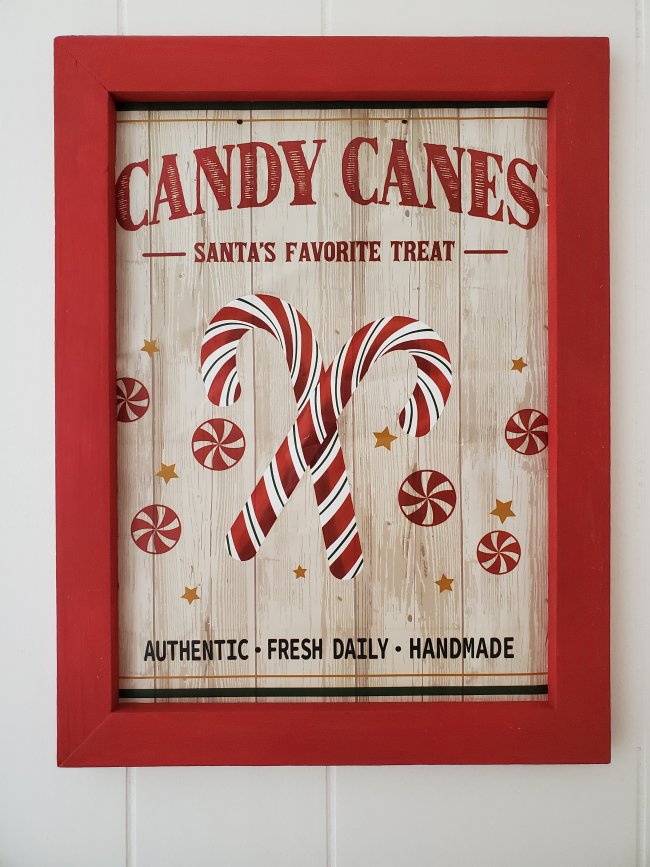
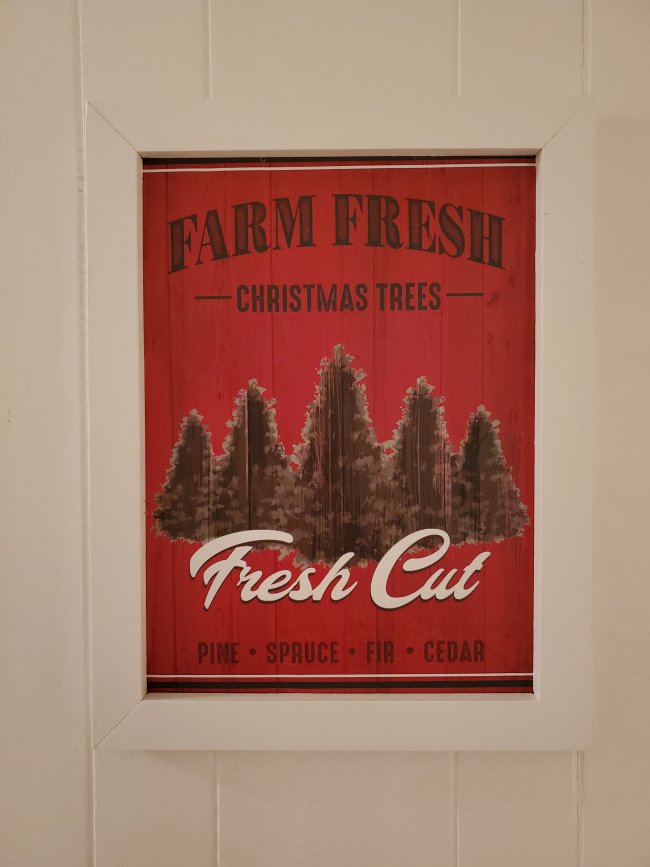
So I found this set of three designs that seemed suspiciously well-coordinated, and my collection of rustic cabin/cottage-themed Christmas wall art was quickly born!

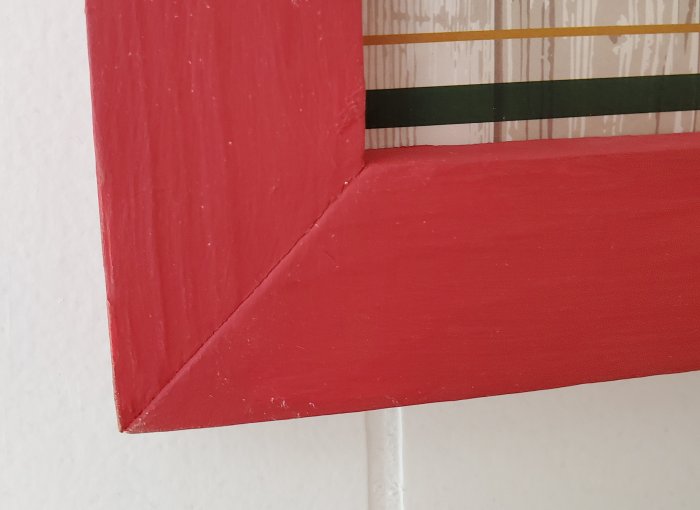
Now – frames were a challenge. These are gift bags, so they don’t follow standard picture frame sizes. I knew it would take forever to find anything even close to the right size in the thrift stores, and buying new would be ridiculously expensive. So I did the only thing a gal with a handy sweetheart could do – I asked Greg to whip up some super-simple frames out of 1×2 lumber which I then painted, two in white and one in red.

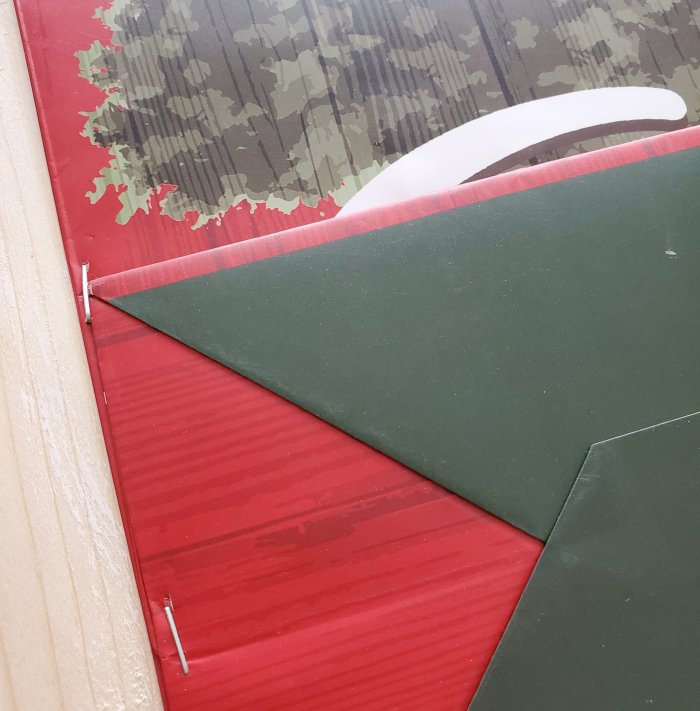
Once the frames were done, I simply stapled the bags to the backs of the frames.

I didn’t even try to hide the holes where the string handles had gone through – I removed the strings, of course, but the holes aren’t even really that noticeable unless you look for them.

Cute gift bags come in a variety of sizes and design styles, and depending on the design you choose you might be able to trim the image down to fit a standard size frame. In which case – hello, Dollar Tree frame aisle!

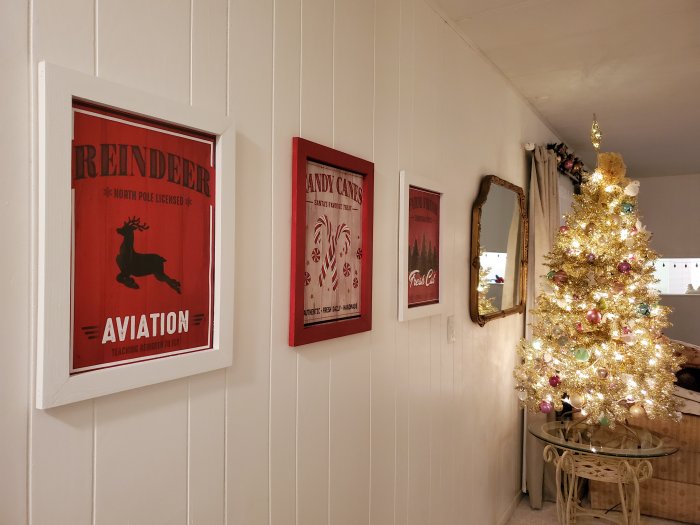
I’m just so enamored with this project! (Hard to get a picture in my long narrow hallway, but they are adorable!)

Here’s an image to Pin if you’d like to save this idea for future use!

Posted in DIY & Crafts, Holidays | 2 Comments