Editor’s note: WOOHOO!! I FOUND all the pictures of my old patio that I thought I had lost! I had this post all ready to go with a few stragglers that I had managed to dig up, but then I found where I had actually saved ALL the pictures on my computer. I did not (and DO not) remember doing that, but I am so glad I did! I’m sharing my favorites here!
Our old house didn’t have much to recommend it – it was small, next to a dusty gravel road where young drivers liked to spin their tires, and over time the neighborhood around it had evolved into a bit of an industrial area so it was located right across the street from a factory. But it was the house my husband grew up in. Our daughter was born there, and we lived there as a family for 17 years, from 1991 – 2008 when it was finally destroyed by flooding. Here it is in winter:
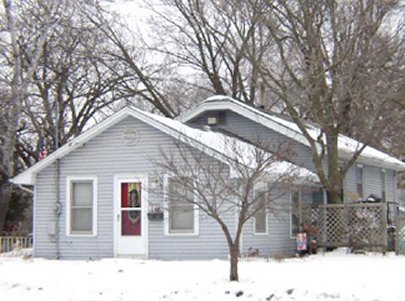
My favorite part of the house and property was the patio on the east side of the house. (In the photo above, we’re looking north. The patio is behind the fence on the right side of the picture. And yes, that big tree is wayyy too close to the house – and yes it was becoming a problem.) The patio was a slab of blacktop surrounded on three sides by a three-foot deep perennial border, and a lattice fence. On one end of the patio was a healthy row of large, old peony bushes – one of my favorite flowers.
Every year in the Spring and early summer, I would spend just about all my spare time tending the perennial border – moving plants around, adding new ones, arranging the “garden junk,” and just generally puttering. I absolutely was in heaven in this space, and I’ll be honest: while I don’t miss a lot of things about the house, I do miss the patio.
Here is the entry to the patio from the back yard. I built the path myself as a little walkway under the arbor, which was built out of plumbing pipe by my father-in-law sometime in the 1950’s when he owned the house.
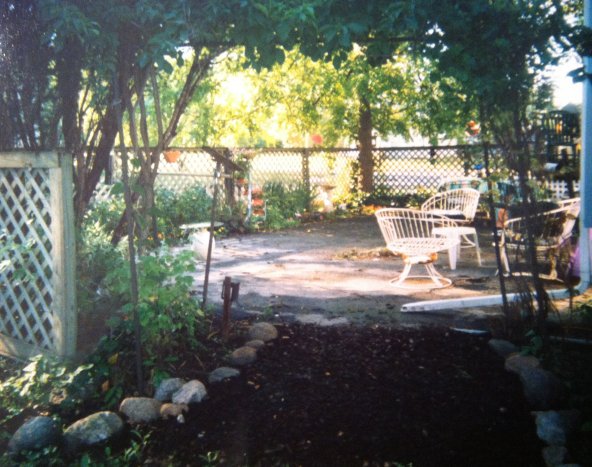
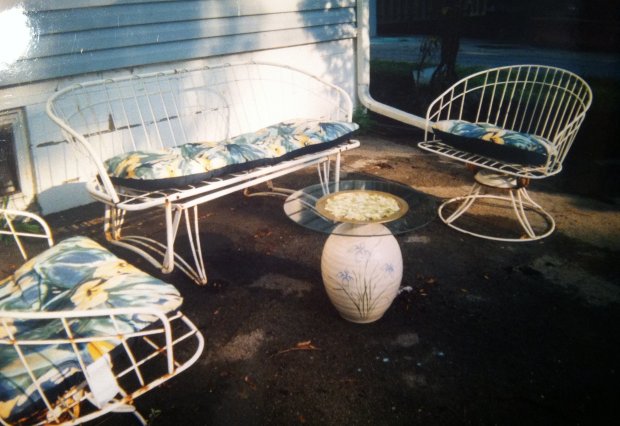
Here’s a better view of the little iron patio set – this was a garage sale find. FIVE dollars for all three pieces! I took a lot of naps on that glider! And, I made the table in the middle out of a thrifted lamp base. You can guess that because of the base’s shape, this wasn’t the sturdiest of tables. It sure was pretty though!
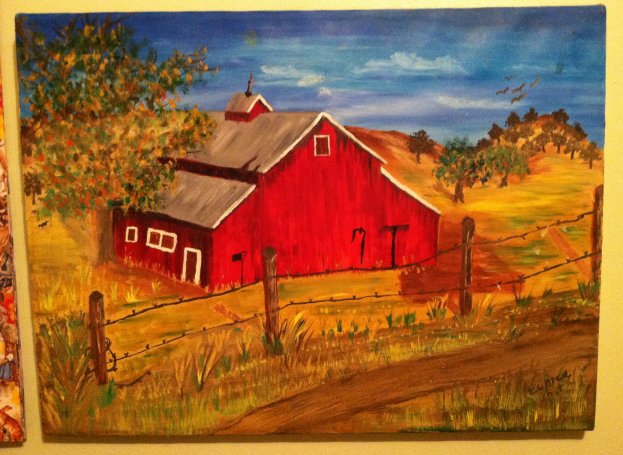
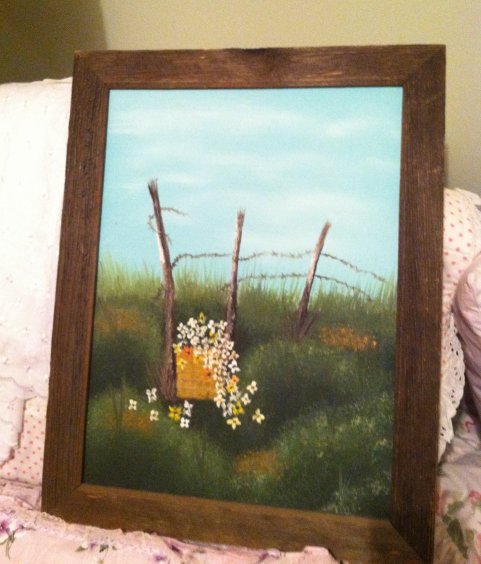
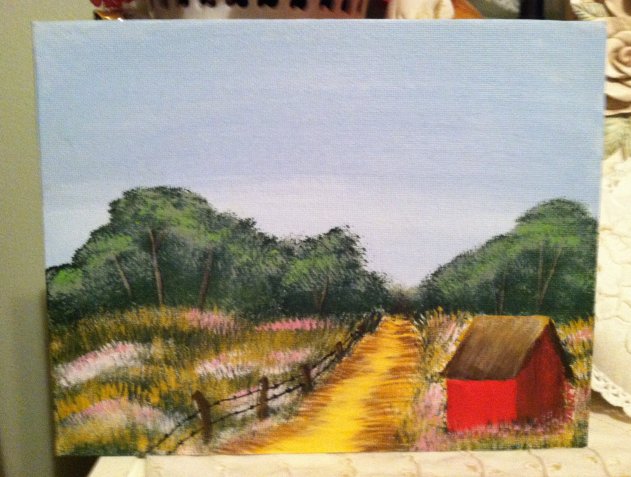
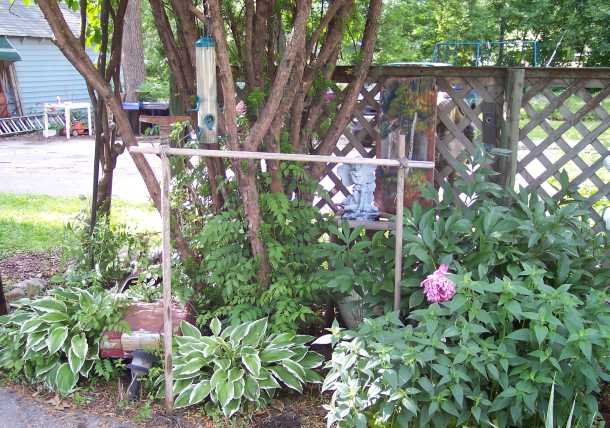
Here is the area immediately to the left as you step in under the arbor. I love putting found items into the garden landscape – I honestly think that almost anything looks better with greenery growing around it! Here you can spot a little pedal car – a curb find – and, leaning against the fence, an old piece of barnwood that actually has a landscape painted on it. The little trellis in the foreground was lashed together by my daughter. Plants in this area include hosta, peony, and bee balm. The tree is a yew that I “shaved” of it lower branches. You can’t see the full, green top, but this thing grew to be a monster by the time we left in 2008.
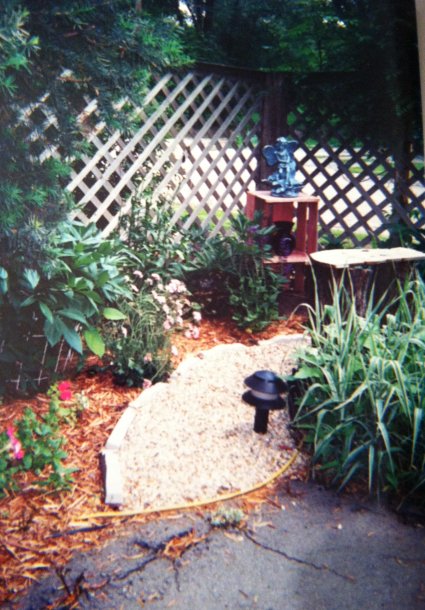
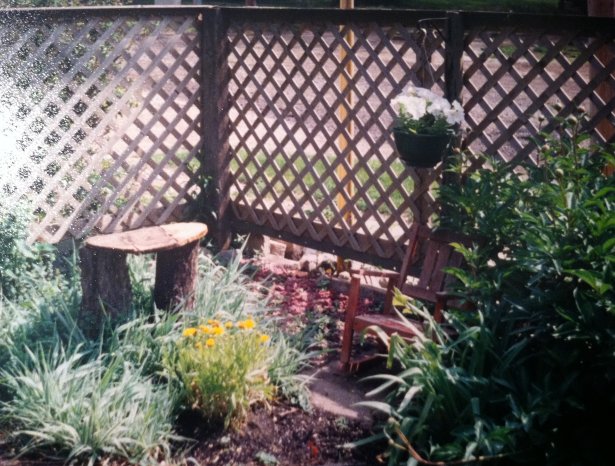
Proceeding to the right from the previous photo, below is a very over-grown corner that I cleaned out one year, then built the little path, filled in with some new plants and junk, and left the patch of ribbon grass. This space looked a little different each year – in later years it was filled with purple coneflower. My pictures are not all from the same year so you can see how it evolved. This picture is before I planted the bee balm.
Here’s the same space in a different year, when I took everything out and replaced it with mulch and stepping stones. The stones were acquired through a very unusual trade – I gave a local gal some bowling balls that she was going to decorate for the garden, and she gave me these pavers! You can see purple coneflower getting started in the lower right.
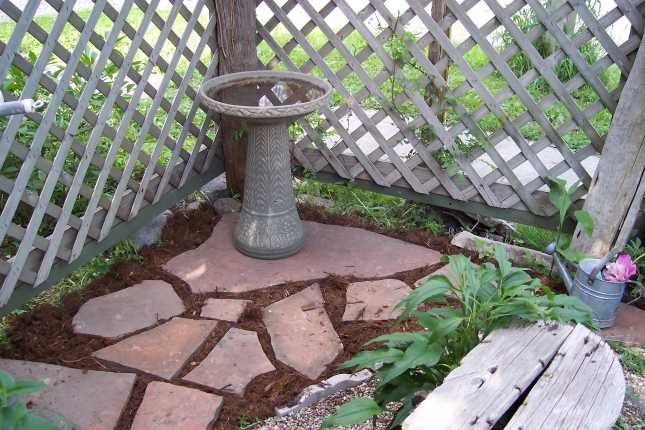
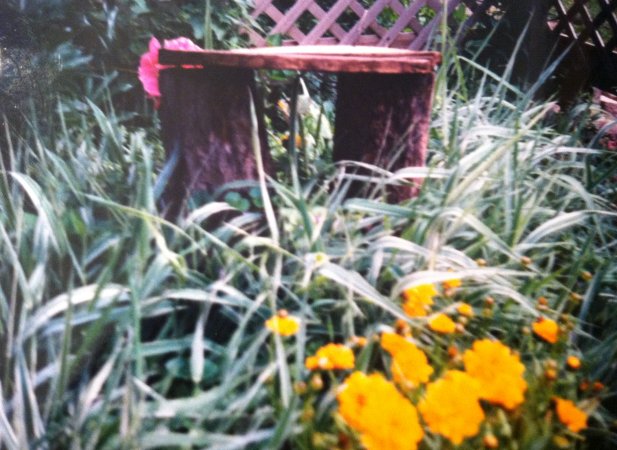
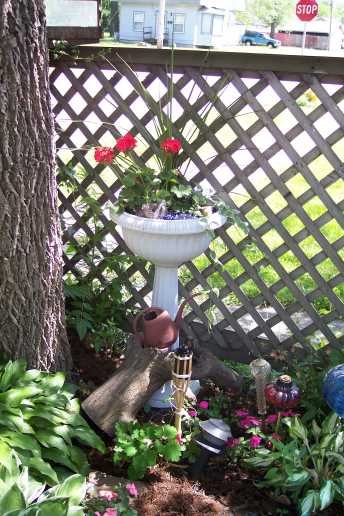
This photo shows how I was able to use the remnants of a redbud tree by making it into a little shelf using the bottom of an old barrel planter.
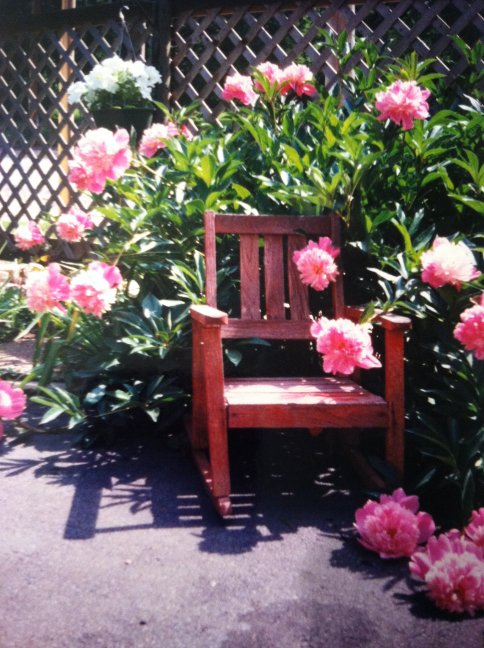
One of my favorite activities was acquiring different pieces of junk and turning them into garden vignettes. This child’s rocker was a curb find and I always loved the look of it sitting among the peonies.
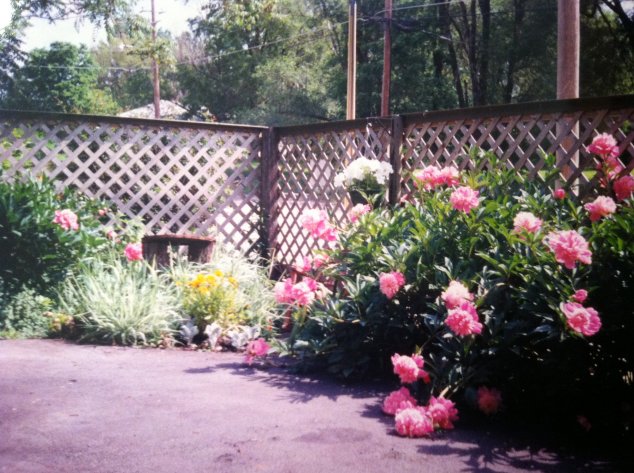
Here’s another view of the peonies in full bloom. The little patch of yellow to the left is Coreopsis Moonbeam, and the ribbon grass to the left of that. The Coreopsis didn’t last long in this spot, but the ribbon grass was there for many years – my mother-in-law planted it when she lived in the house.
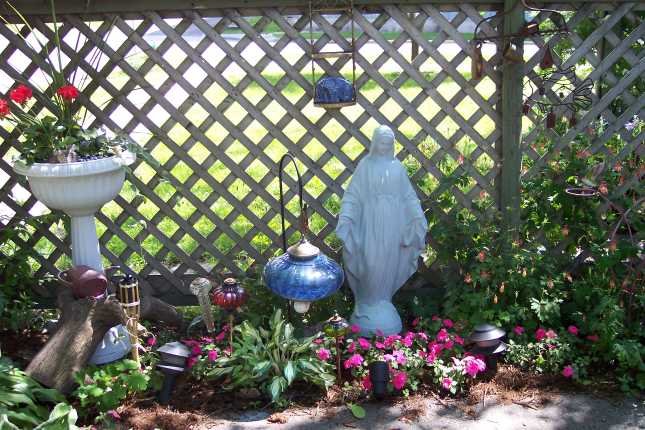
In the next few photos I stood in one spot along the longest part of the patio and took pictures to my left and right. This shot shows the corner we just saw, at the far left. You can see Mary in the corner, and a painted window frame/bird feeder project that I’ll show you in close-up later. The peonies by this time have thinned out – this happened because some of the trees in the area grew up and over, creating more shade at that end in the later years that we lived here.
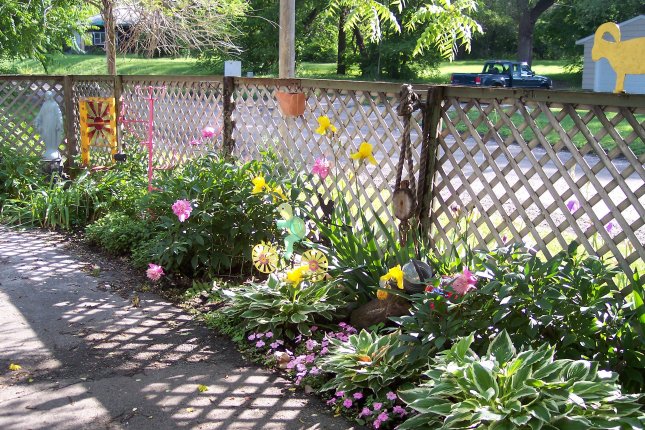
Turning to the right, this end of the patio was mostly in shade. Here I grew impatiens, Columbine, Bleeding Hearts, and other shade-lovers. The three rams marching across the fence are made of steel. I found these buried in an old overgrown garden that was being torn out at my friend’s daughter’s house. They were shooting targets! I painted them in my favorite bright colors and mounted them along the top of the fence, bullet dents and all! Peeking through the lattice, you can see some beautiful irises – those also came from my friend’s dismantled garden.
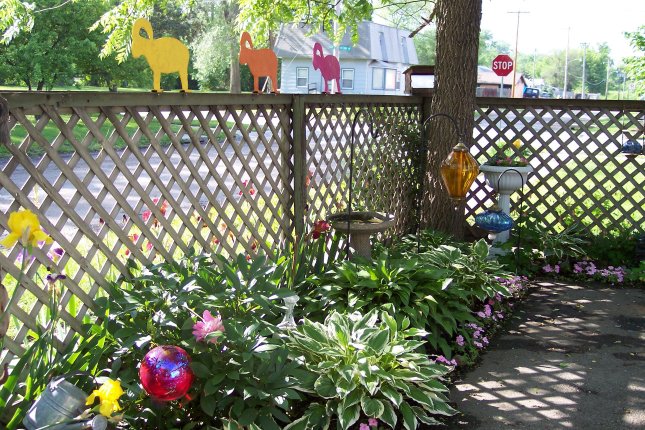
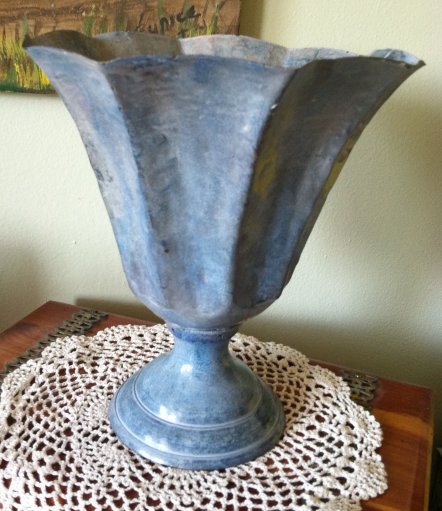
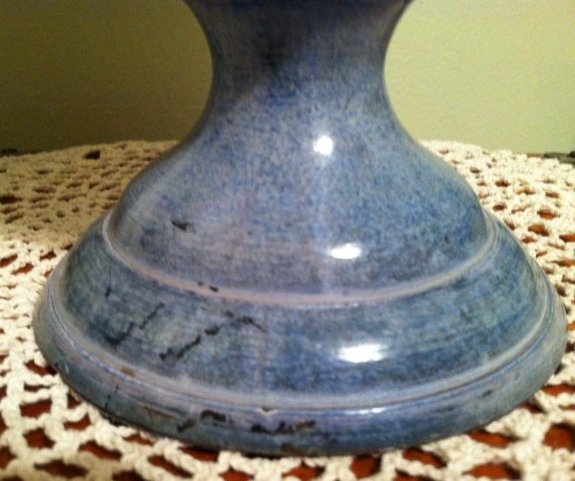
Turning a little more to the right, here’s the south end. My junky artistry here is the glass globes – I disassembled some thrifted lamps, and put the glass bases back together with various bits of lamp hardware so I could hang them from the shepherd’s hooks. The blue one is my favorite – I’ve never seen another lamp quite like that one!

This shot is the area shown above, in another year. You can tell I moved stuff around a lot! This shot also gives you a better look at the blue lamp.
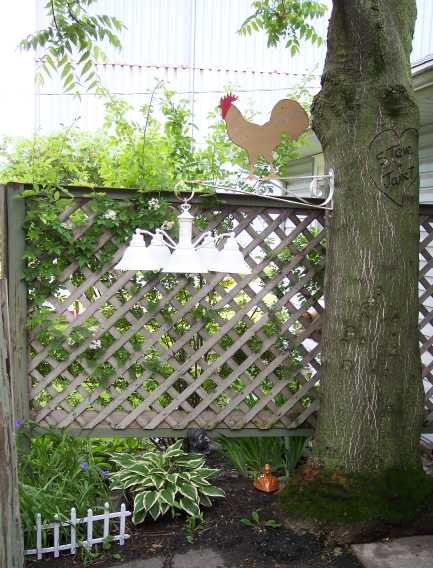
This area is a few more steps to the right, showing the tree that’s too close to the house. (My husband used a router to carve our names into it!) The item attached to the tree is a large iron bracket for a business sign, with a painted rooster on top of it. I hung the white chandelier from the bracket for a bit of humor. One year, I was sitting out on the patio admiring my space and noticed that the sign bracket had been stolen! I was very upset about that… someone had come up into my yard, inches from my house, and wrestled that thing loose from the tree – and carted it away as if they were entitled to it! Boy was I steamed.
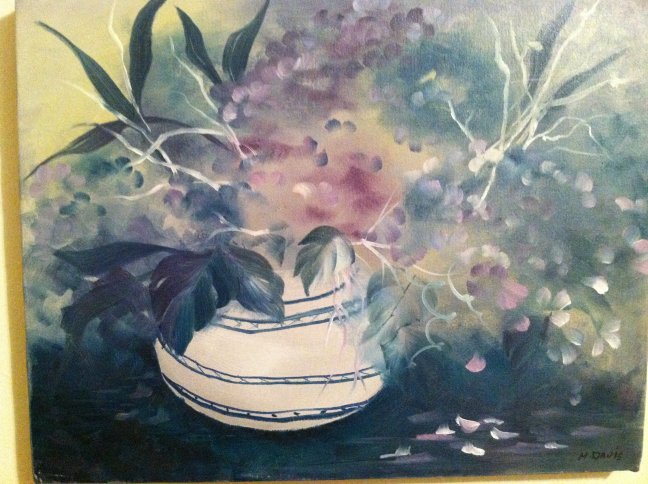
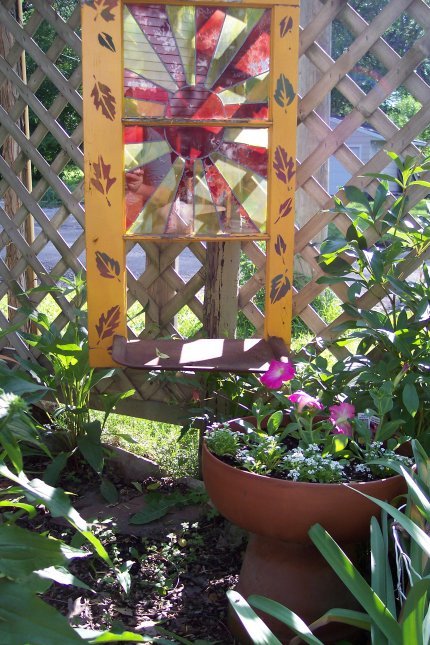
A couple of miscellaneous projects: here’s a close-up shot of the window/bird feeder, after it had weathered a few years. I picked up this old window frame, broke out the bottom pane, and fit a small tin tray in the open space. Filled it with birdseed and had lots of feathered visitors. This project also allowed me to experiment with stained glass paint.
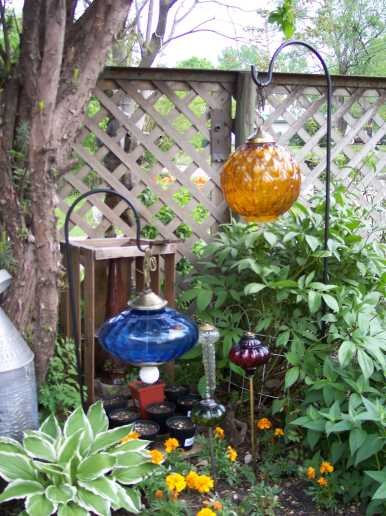
And a better shot of the glass globes. I put the smaller ones on sticks so I could poke them in here and there for a bit of sparkle and color:
On the street-side of the fence, here’s a shot of the irises in full bloom that came from my friend’s daughter’s garden:

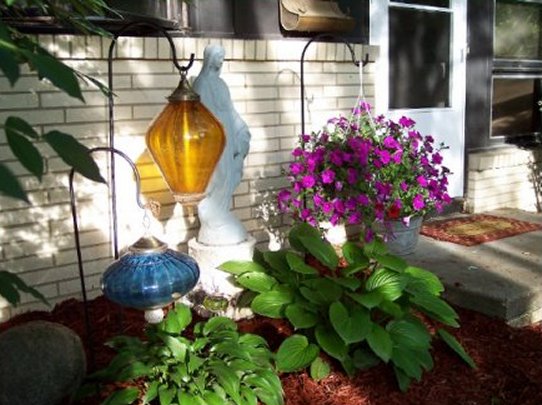
Our new house presents a challenge in that it doesn’t have a ready gardening space near the house itself, with the exception of the small patch shown below near the front door. There’s a perennial bed out across the yard, and I’ve tried to do a little with it, but it doesn’t create the sweet little enclosed oasis that I had with the patio. I will continue to work with it and see how I can improve it. Here’s one shot, showing how I was able to rescue and re-use my glass globes!
Thank you for sticking with me on this photo-heavy post, and taking a tour of my old patio. I can’t tell you how happy I am to have found my pictures, and am delighted to get to share them!