Update: I’m sharing this project over at Sew Cute Tuesday on Misty’s lovely blog, Creative Itch. Please click through to see lots of wonderful ideas!
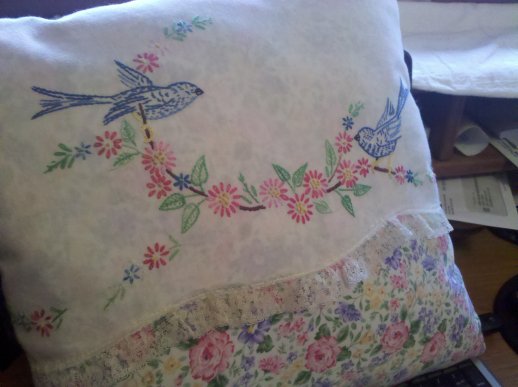
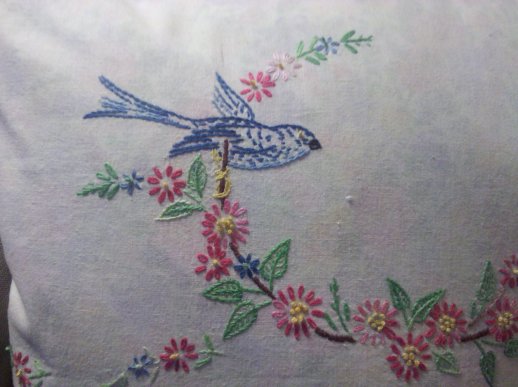
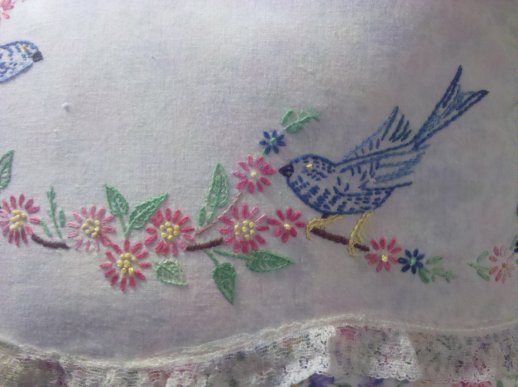
I recently conjured up the idea for this pretty toss pillow, when I was looking for a way to use the embroidery on an old cotton pillowcase my great-grandmother had worked. (You can see how I’ve used a few more of her pillow cases here and here.)
The fabric of this pillowcase was damaged, but I wanted to preserve the embroidery. My idea was to create a sort of “flap” over a coordinating fabric for the front, with a plain panel on the back. I originally envisioned some lace all around the pillow, but by the time I got around to sewing this project I couldn’t find where I had stored the lace I had purchased. (Not surprisingly, I found it shortly after finishing the project!)
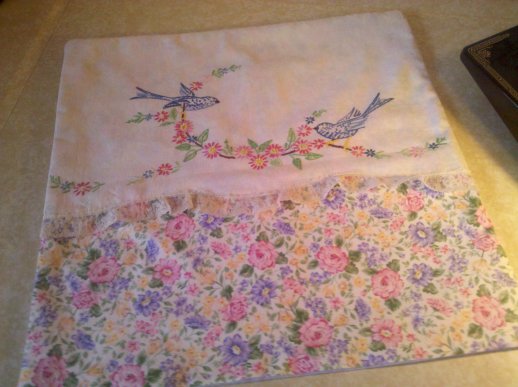
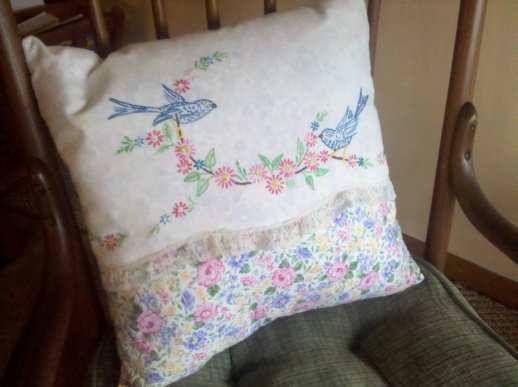
First, here’s the finished toss pillow:
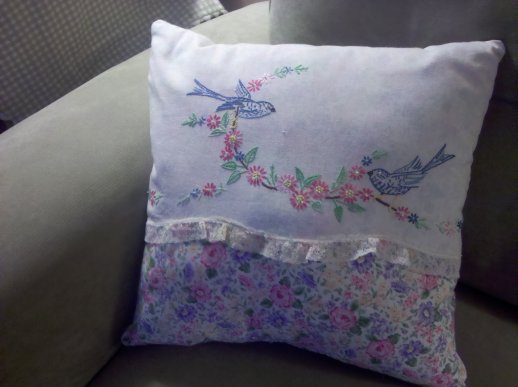
And, here’s how I made it.
1. The size of the pillow is determined by the width of the pillow case. A 16-inch pillow form was a little bit too big, but I made it work by removing a little of the fiberfill. I cut squares for the front and back fabric panels a little larger than 16 inches to allow for seams.
2. I cut the panel from the pillow case so that it would end up being about two-thirds the length of the front panel.
3. I pinned the pillow case to the front side of the front panel. I stitched these two pieces together along the lace edge of the pillowcase so I would not end up with a “pocket” on the front. I also tacked the other three sides of the pillowcase to the front panel with a quarter-inch seam using long basting stitches.
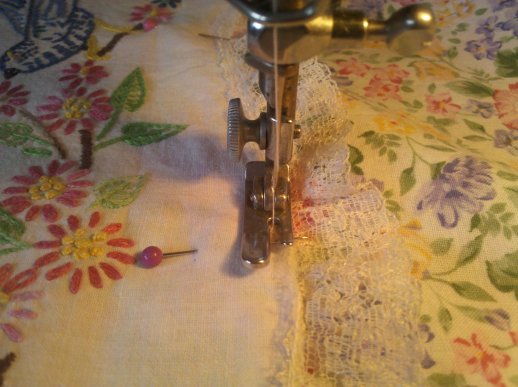
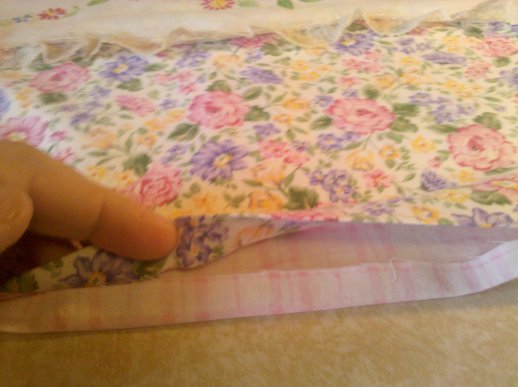
4. Next I pinned the assembled front panel to the plain back panel, right sides together. I stitched the two panels together with about a half-inch seam allowance on all sides, but left an opening at the bottom about eight inches long so I could insert the pillow form.
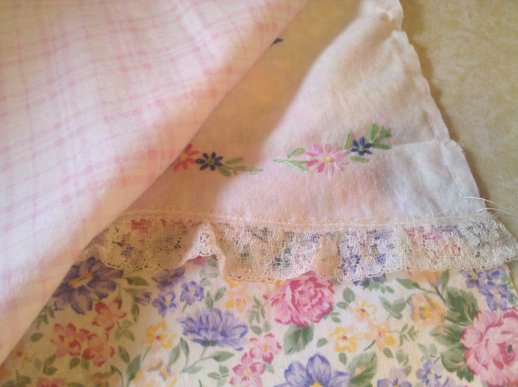
5. I turned the whole piece right-sides out. The edges of the opening naturally wanted to fold to the inside, and I pressed them down. Here’s the finished pillow before stuffing.
6. I stuffed the pillow using the 16-inch form I had purchased, but because my finished cover was a little under 16 inches, I had to remove a little of the stuffing to make it fit. Fortunately this was a zippered pillow form so I was able to shove that stuffing back in after I got the form inside the cover.
7. I pinned the folded edges of the opening together and whip-stitched them shut, then fluffed and squeezed the stuffing around til the pillow was nicely filled out.
Voila! A very sweet cottage-ready toss pillow full of vintagey goodness, with a little family history behind it!
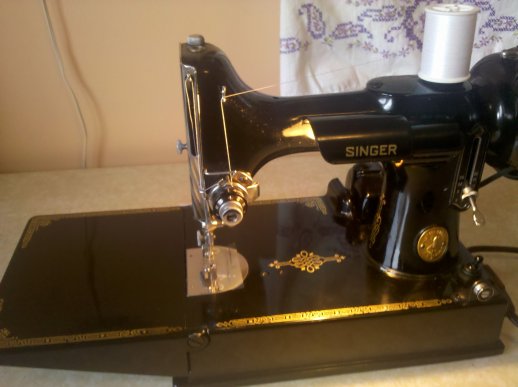
Oh! And, just in case this isn’t enough ‘vintage” for you, below is what I’m using for a sewing machine these days: my grandmother Helen’s Singer Featherweight 221-1! I love the machine for its indestructibility, its simplicity, and of course its vintage design. This one is from the late 40’s, I think.
