Fabulous curb-find: dining table and chairs

Update: I’m linking my sweet little table and chairs to Kathy’s “Return to Loveliness” party at her blog, A Delightsome Life… because it definitely returned to loveliness after its makeover! Please stop by Kathy’s blog for more lovely posts!

One of our luckiest recent curb finds was a dining table and four chairs, which was sitting out in the parking lot of the apartment complex a few weeks before we moved out. What was odd about it, was that it was set up with the chairs all around it – as if it was waiting for a family of four to come along and sit down to an outdoor dinner!

We drove past it a few times – the chair cushions were completely awful – but finally I couldn’t resist. Due to some odd twists, we didn’t really have a dining set for our new place, and I loved the light colors and “open” feel of the framing on the set. I thought it had sort of a garden/patio/bistro feel, perfect for what I envisioned in our open-concept kitchen/dining room.

But those chairs. Oh. My. Goodness.
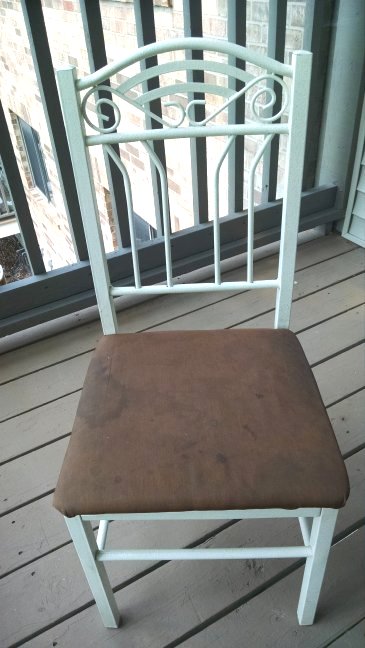
Chair Makeover Before | Vintage Floral Cottage

We used a few wooden “place-holder” chairs for a few weeks immediately following the move, then I got to work recovering the seats on the found set. I was kind of hoping to find something salvagable under that nasty brown seat cover. Instead I found this:
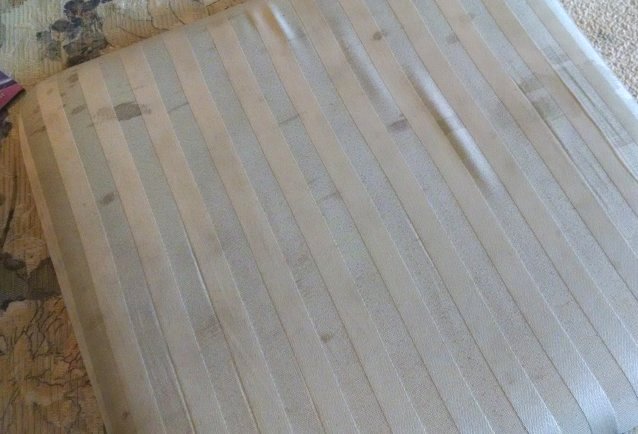
Chair Makeover Before | Vintage Floral Cottage

Just as bad as the top layer! So I removed it all and kept only the wooden seat base, which was unfinished. So I painted it white so at least it would look good from underneath.
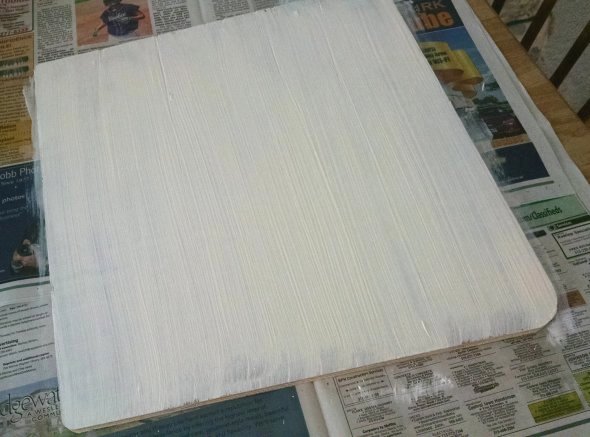
Chair Makeover During | Vintage Floral Cottage

I took a simple gift wrap-style approach, using two-inch foam cut to size for the seat, a linen lining, and some checked upholstery fabric in pretty garden colors. My primary goals were to get the pattern straight and keep the corners looking tidy.
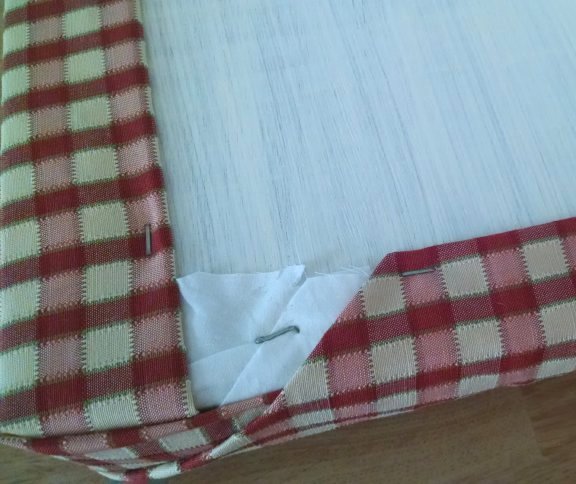
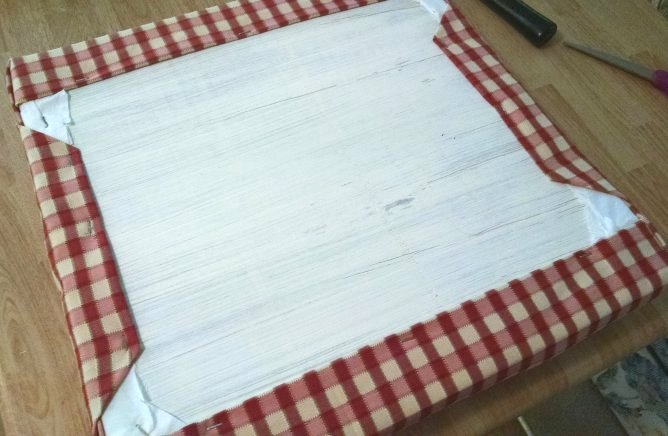
Chair Makeover During | Vintage Floral Cottage

Chair Makeover During | Vintage Floral Cottage

I think overall they turned out really cute!
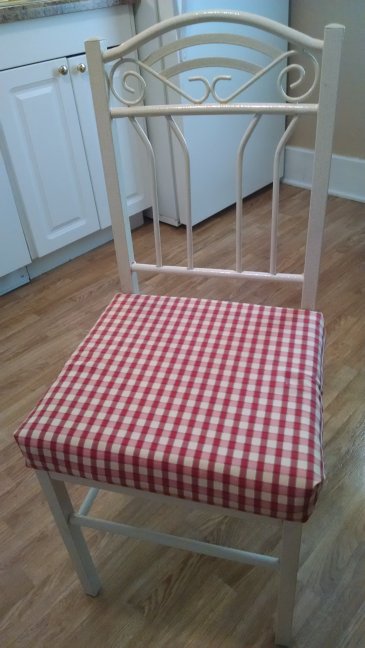
Chair Makeover after | Vintage Floral Cottage

Here are the first two sitting at the table in the new-to-us house. And, for now, the set looks great in our kitchen/living room, keeping things light and airy without adding too much bulk to the room.
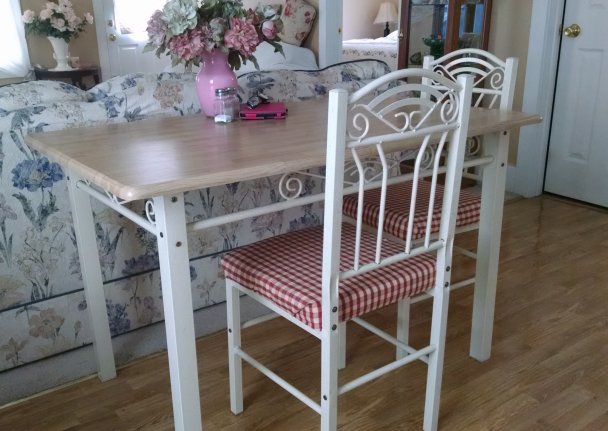
Dining table curb find | Vintage Floral Cottage

I might… someday… try building a new harvest-style top for the table. Not bad for a parking lot find!


Posted in Decorating | 2 Comments

Easy Photo Holder DIY

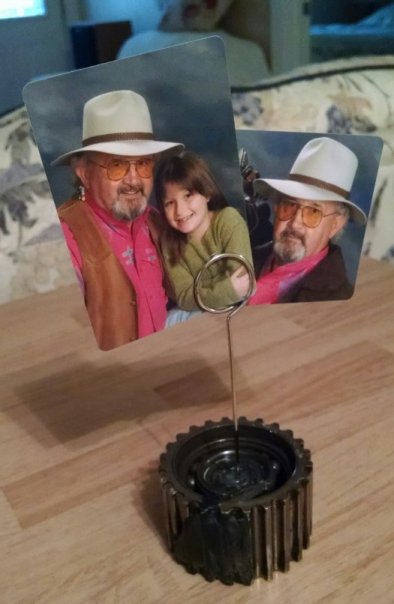
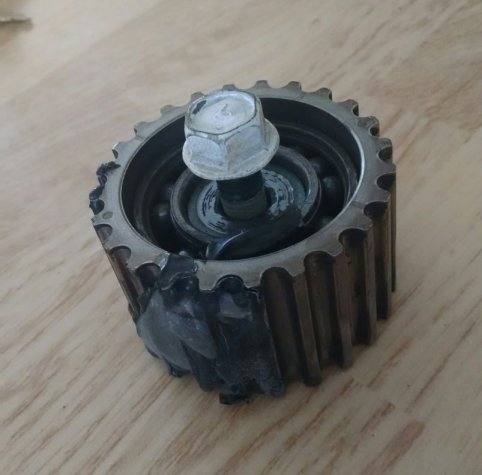
I wanted to share an easy photo holder project that I finished up recently. The first picture shows the timing belt gear which fell out of my car on the day that it finally konked out on me about a month ago, marking the end of its reign as “my car.”

Timing Belt Gear | Vintage Floral Cottage
The car – a 2002 Subaru Outback Legacy – was, in fact, a gift from my Dad back in 2007. I had begun taking pretty regular care of him as his liver disease had more and more effect on him, and every time I took him to the doctor or any other errand, we’d drive his car. Eventually he simply gave the car to me, partly as thanks and partly because that’s what he had done with most of his previous cars: given them to me when he was done with them.

So anyway when the car finally gave up, I kept this piece that fell off, and turned it into a keepsake that holds a couple pictures of Dad, including one of him with my daughter when she was about seven years old. It was easy enough to make – I literally just wiped off some of the grease, filled the hole in the middle with hot glue, and poked a photo wire down into the center of it as the glue was setting up. The stuff lodged in between the teeth of the gear is melted timing belt.

Easy photo holder DIY | Vintage Floral Cottage

A very simple DIY and a perfect memento! I’m sharing this project over at the Upcycled Link Party at Funky Junk Interiors, as well as at Marty’s Inspire Me Tuesday party at her sweet blog, A Stroll Thru Life.

Posted in DIY & Crafts | Leave a comment

Pretty, functional storage boxes

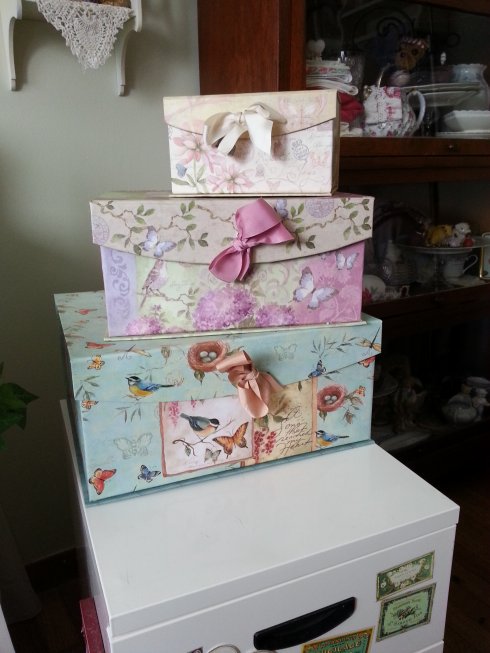
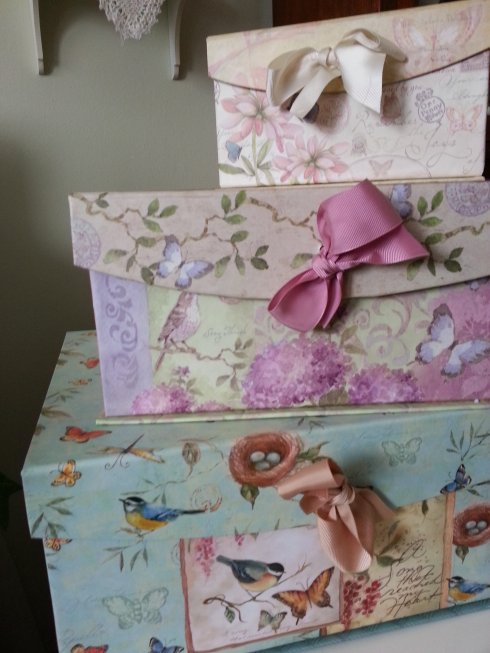
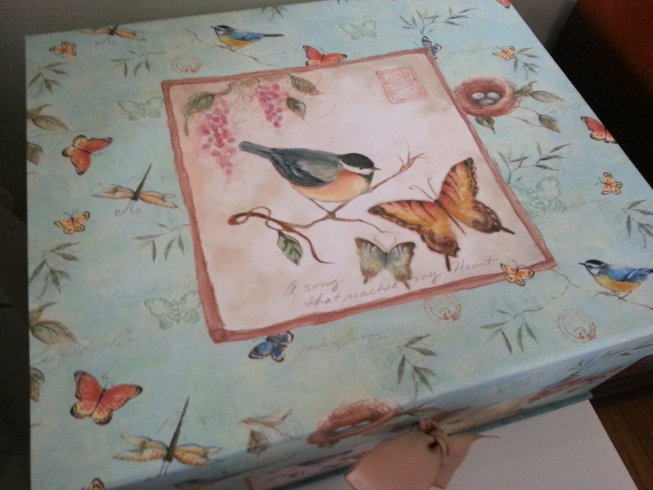
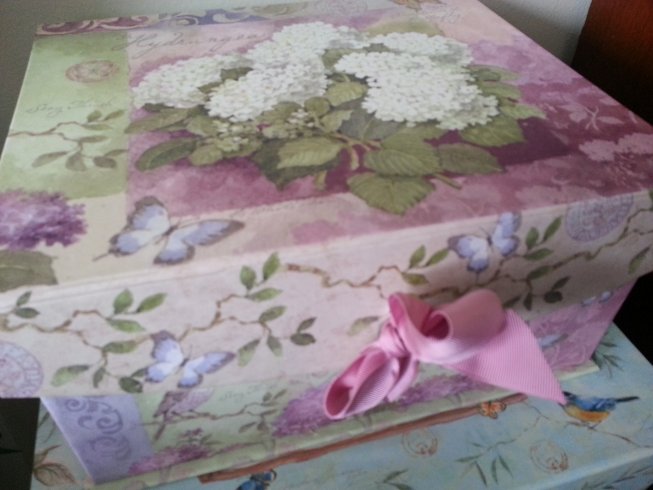
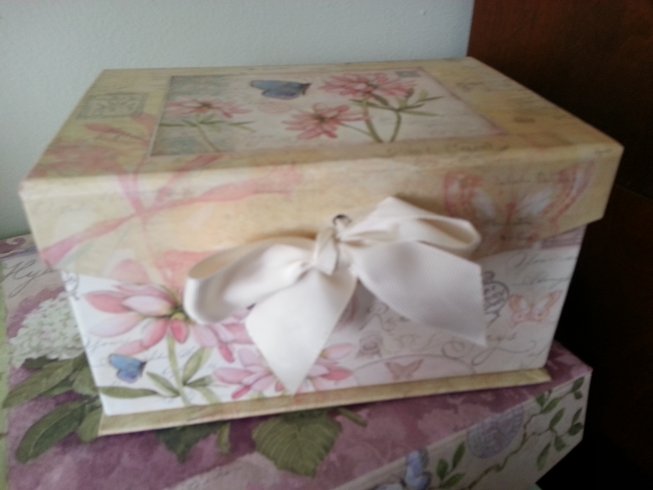
Have you seen these beautiful storage boxes? I love, love, LOVE them! The designs are by artist Susan Winget, and the construction is very sturdy although they are only made of heavy cardboard.

Decorative storage boxes | Vintage floral Cottage

I just love the various sizes, the romantic nature-inspired designs, the hidden magnetic clasp on the flap, and the pretty grosgrain bow adorning the front.

Decorative storage boxes | Vintage floral Cottage

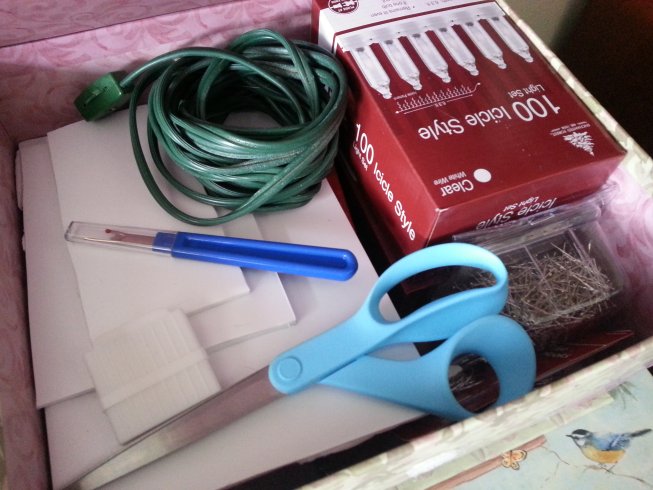
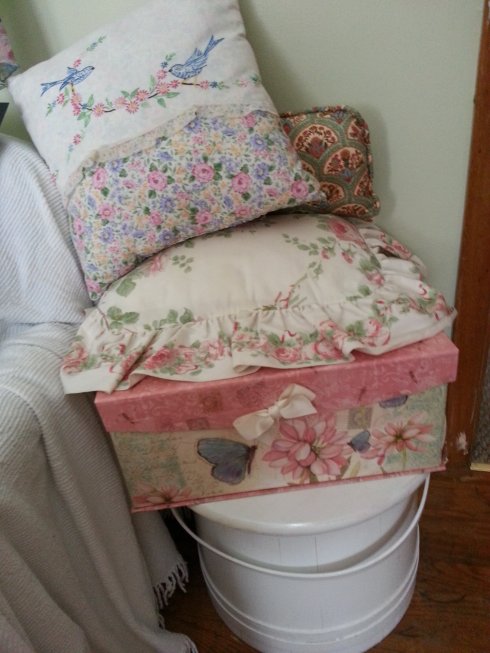
I currently have… hmm, six of them I think. They hide things that I need and use but that are very unsightly in a cottagey mom-cave.

Decorative storage boxes | Vintage floral Cottage

Decorative storage boxes | Vintage floral Cottage

Decorative storage boxes | Vintage floral Cottage

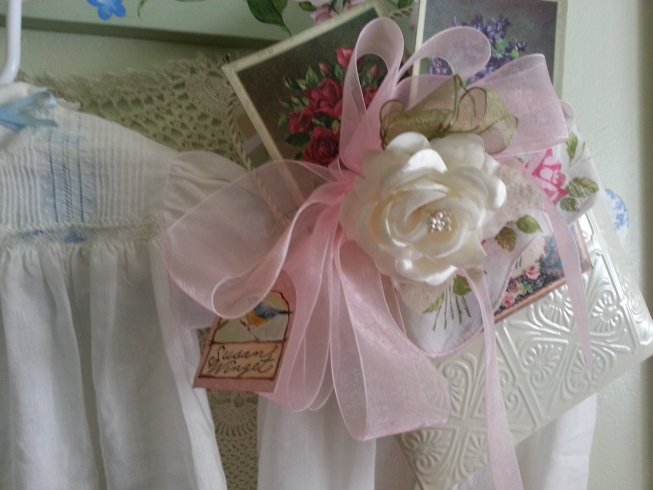
They even come with a pretty gift tag attached – see it hiding in the ribbon on my shabby mail tin? It’s the modern-day version of vintage ephemera. It makes me wish that every product had an attractive, artistic tag – I would no doubt collect them!

Decorative storage box tag | Vintage floral Cottage
Here are my most recent acquisitions, 50 percent off at Joann Fabrics! Large size was $7.50…

Decorative storage boxes | Vintage floral Cottage
…and this very small one was $3.75.

Decorative storage boxes | Vintage floral Cottage
As much as I appreciate and use plastic storage tubs, I don’t like to have them in plain sight – even in rooms that aren’t my cottage haven. But these pretty and useful boxes are more than worthy to remain in full view – hiding the things I need but in a truly lovely way.

Do you have a favorite type of storage container that fits your style? How about a favorite nature artist? I am also a fan of Marjolein Bastin and Susan Branch.

Posted in Decorating | Leave a comment

Luscious Limoges

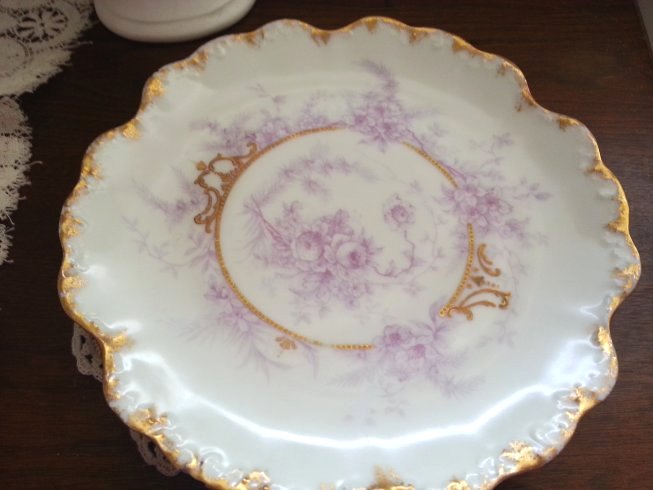
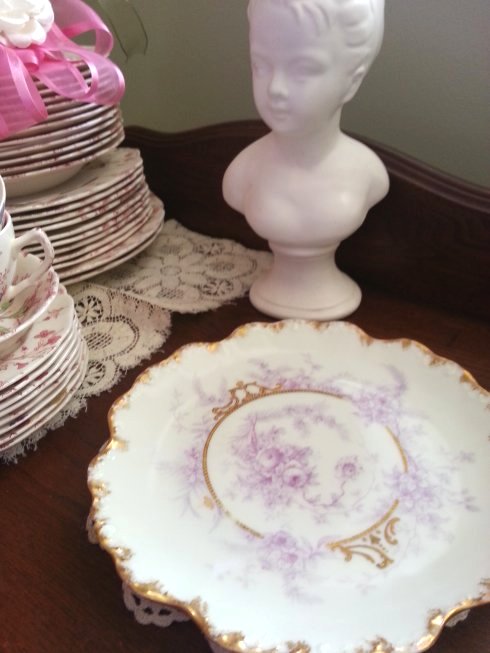
I’ve made several good buys on Ebay recently, but this week my favorite is this lovely porcelain plate. It is real Limoges, about 8-1/4 inches across, and based on the marks was apparently made sometime around 1900-1920.

Handpainted Limoges plate | Vintage Floral Cottage

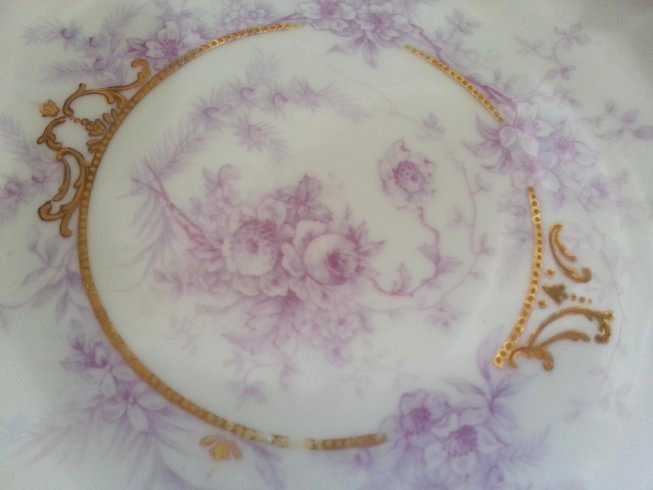
The design is one of hand-painted lavender florals with beautiful gold accents.

Handpainted Limoges plate | Vintage Floral Cottage

Handpainted Limoges plate | Vintage Floral Cottage

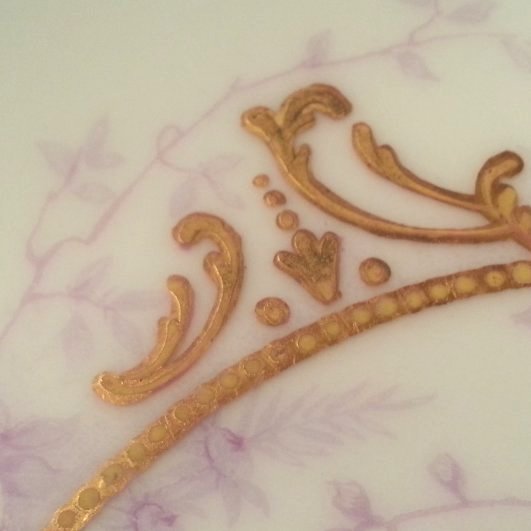
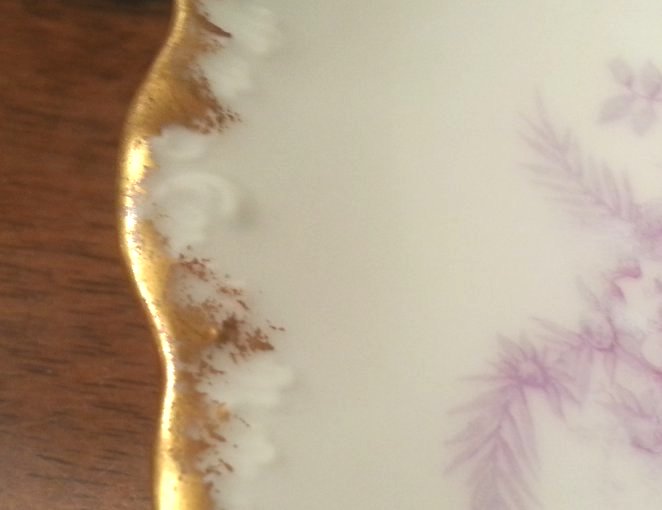
It is interesting to note that the plate has a very detailed embossed border around its scalloped edges, but the gold has been daubed around and over that edge instead of it being precisely painted.

Handpainted Limoges plate | Vintage Floral Cottage

My pretty plate is not in the best condition (a couple of chips and cracks, which I expected) but boy was it a bargain – just $5.50, which included the shipping! Just the type of thing that if I found it in a booth at the antique mall and it was marked $5.50, I’d snap it up just because it’s soooo pretty – and Limoges!

I’ve been reading up a bit on Limoges and learned that the name Limoges refers to the region in France where dozens of manufacturers produced beautiful fine white porcelain beginning in the late 1700’s, when the substance of kaolin was first discovered in the soil of the region.  Prior to 1842, companies produced mainly white blanks – which were then shipped around the world for hobbyists and professionals alike to decorate them with elaborate hand-painted designs. Then in 1842, an American named David Haviland opened a factory in the Limoges region to produce dinnerware for the U.S. market – which caused quite a stir among the French decorative painters who were hired to paint the pieces, because they did NOT want to paint the designs that Haviland knew Americans would love. Haviland further fine-tuned and pioneered in-house firing and decorating techniques that ensured beauty and uniformity in his pieces, and soon Haviland China became the must-have dinnerware for American brides.

Of course, there were many companies producing Limoges pieces besides Haviland. My piece is from the factory of Elite, which was established around 1890 by the American importer Bawo & Dotter of New York. Fine Limoges porcelain continued to be made and exported until around 1930, when international economies and tastes began to shift.

Handpainted Limoges plate | Vintage Floral Cottage


Posted in Secondhand Lifestyle | 3 Comments

Baked French Toast

Do you know what the only thing is that I dislike about French Toast? It’s the fact that I, as the cook, am still dipping bread slices and cooking them up while the rest of the family is enjoying their meal. Seems like a small thing, I know – but it has driven me nuts for years. YEARS, people!!

Same with pancakes – “What do you mean, you guys are done already? I’m just sitting down with my plate!”

And that’s where baked French toast comes in! This stuff is seriously wonderful and I found it… where else – on Pinterest! The original pin came from Rach’s Blog. She shared the recipe, plus suggestions for alterations, and her readers have commented in droves over the past few years with their tips, successes and challenges. For my first attempt, I followed Rach’s original directions except that I left the crusts on and I did cover the dish with foil for the first 25 minutes or so of baking.

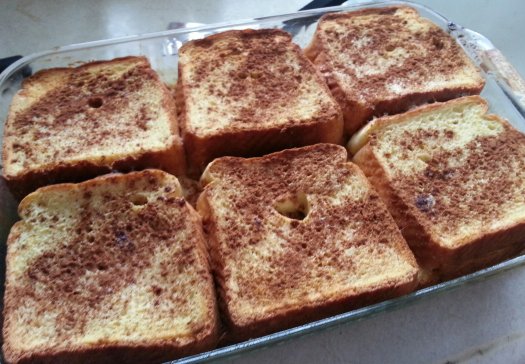
I decided to make this for New Year’s Day brunch for our small family, so, because it had to refrigerate overnight before baking, I assembled it on New Year’s Eve. It turned out great! I didn’t take step-by-step photos, but this picture is how it looked after baking. (You can’t see all the goodness in the middle and bottom of the pan – it’s perfectly coated with egg mixture and there’s a layer of butter and brown sugar on the bottom.)

Baked French Toast | Vintage Floral Cottage
And here’s the recipe, using the steps I used.

Baked French Toast

Ingredients
1/2 cup melted butter
1 cup brown sugar
1 loaf Texas toast (uses 12 slices)
4 eggs
1 – 1/2 cups milk
1 teaspoon vanilla
Powdered sugar for sprinkling, if desired

Evening before serving:

1. Melt butter in microwave.
2. Mix brown sugar into melted butter.
3. Pour butter/sugar mix into bottom of pan and spread around to evenly coat the bottom of the pan.
4. Beat eggs, milk, & vanilla
5. Arrange a single layer of Texas Toast in the pan
6. Spoon and spread half of the egg mixture on the first bread layer
7. Add 2nd layer of Texas Toast
8. Spoon on and spread remaining egg mixture
9. Cover & chill in fridge overnight

On serving day:

1. Sprinkle cinnamon on top layer of bread.
2. Bake, covered, at 350 for 25 minutes. Remove cover and bake 20 minutes more.
3. Sprinkle with powdered sugar if desired.
4. Serve warm with butter and maple syrup

Over on Rach’s blog, some readers’ dishes came out too soggy in the middle. I don’t know why, or how you would fix it if it happens… I just know that in the dish I prepared, the texture ranged from crunchy/toasty on top to soft and moist in the middle, to a bit gooey near the bottom – something for everyone!

Hope you get a chance to make this. If you do, report back here on the results!

Posted in Recipes | 4 Comments