It’s time for another trip around Grandma Verdie’s antique table… I’ve made this my “go-to girl” for seasonal or holiday-themed displays. So far we’ve seen a Spring tablescape, a bit of Christmas sparkle, and the clean, crisp look of blue and white for the new year. Now that Valentine’s Day is on its way, I thought I would change it up again with pink and ivory. Here’s the new look for the next month or so:
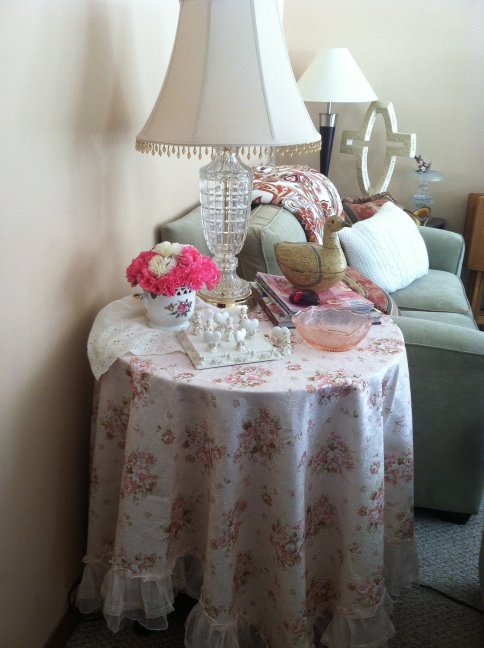
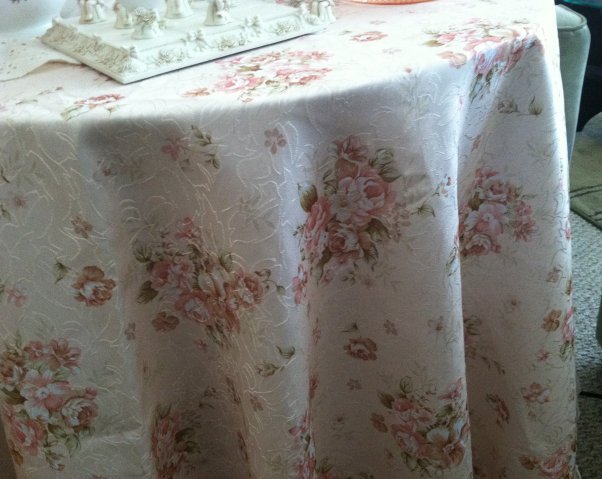
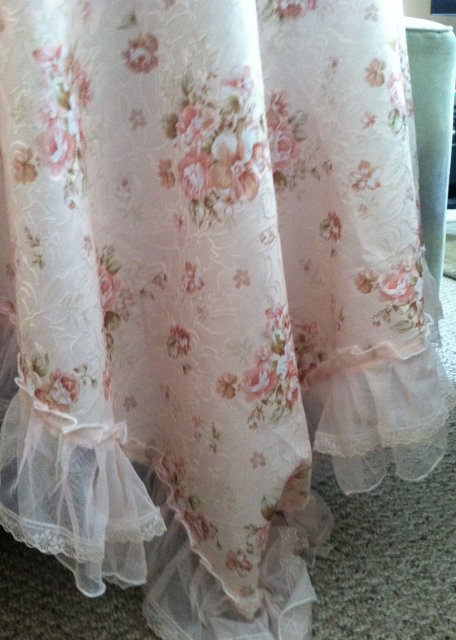
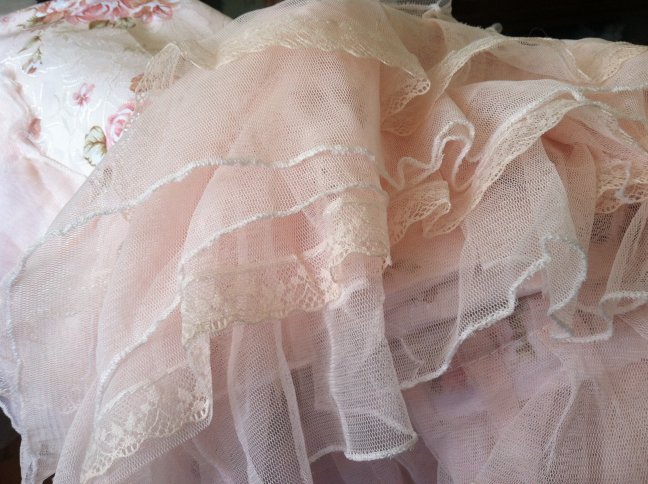
It all starts with this lovely new tablecloth acquired via Ebay. It wasn’t the best bargain I’ve ever found, but I did get it for my “best offer” price which was quite a bit lower than the asking price. I’d have been happier if they’d accepted my first offer, but it’s very pretty and I’m not complaining – I really love it!
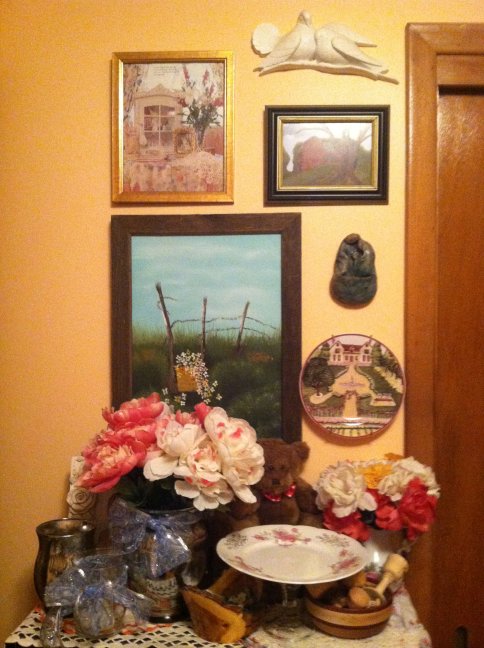
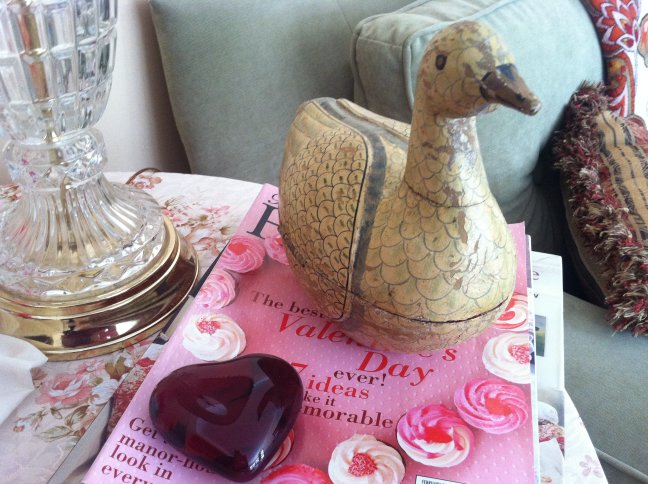
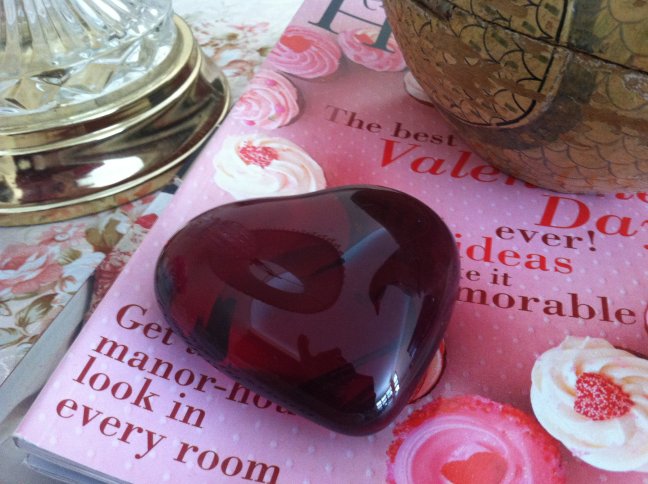
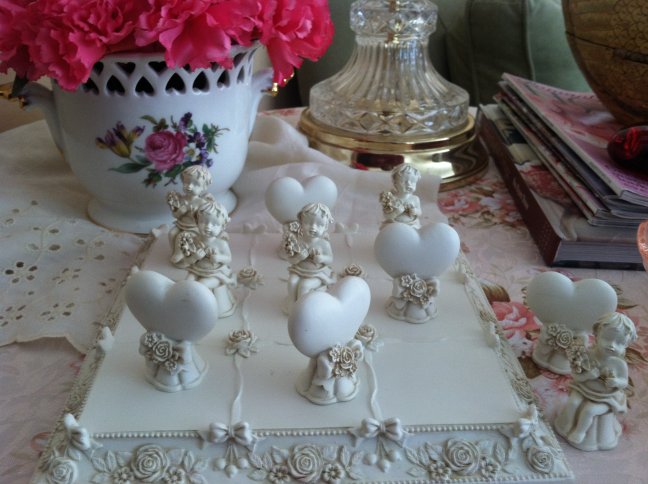
Of course, Mr. Duck remains on the table, perched again on a small stack of seasonal Victoria and Romantic Homes magazines. The deep red glass heart is a paperweight – a gift from long ago.
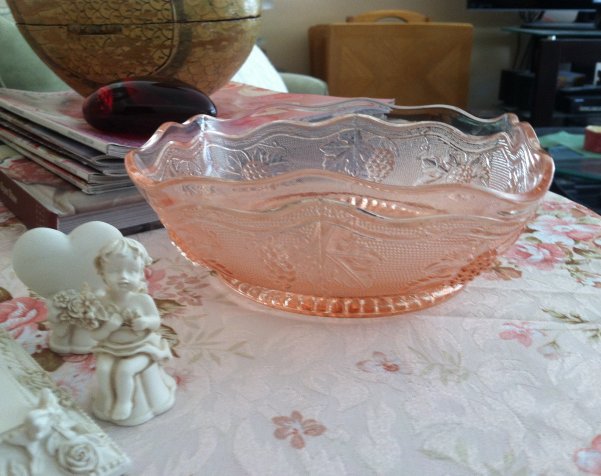
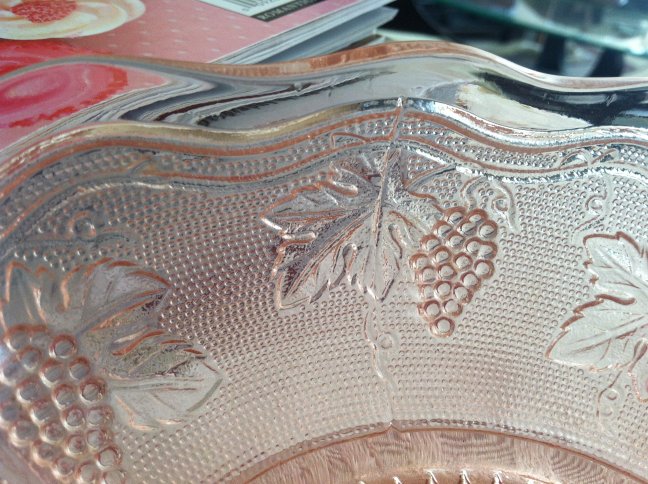
This pink glass candy dish, a flea market find with a pretty grape-and-leaf pattern, is awaiting some Hershey’s Kisses.
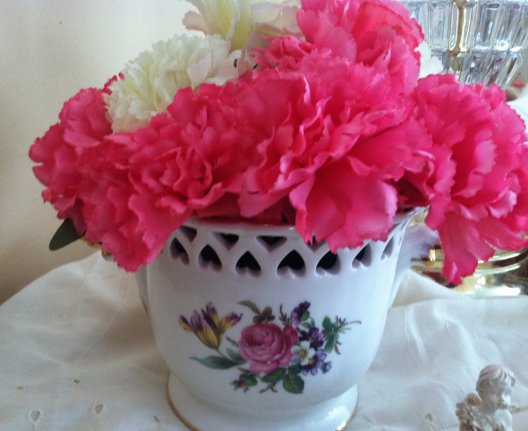
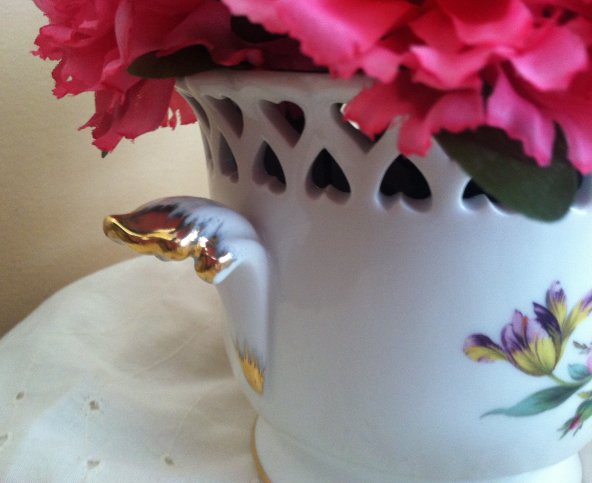
This pretty bowl, filled with silk carnations, came from my mother-in-law Betty. Just look at those heart-shaped cut-outs, and flirty gold-edged tab handles!
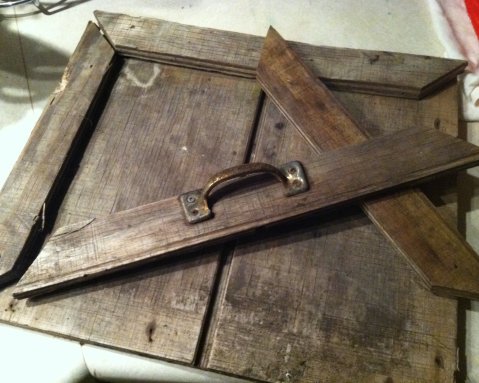
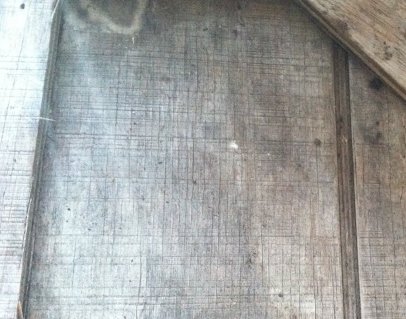
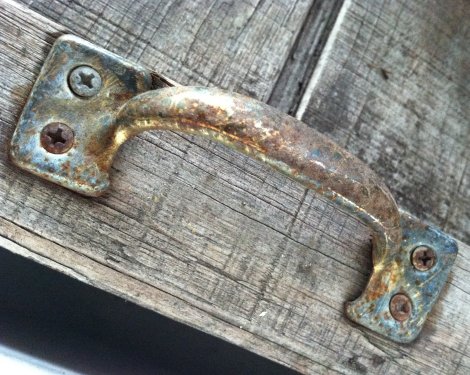
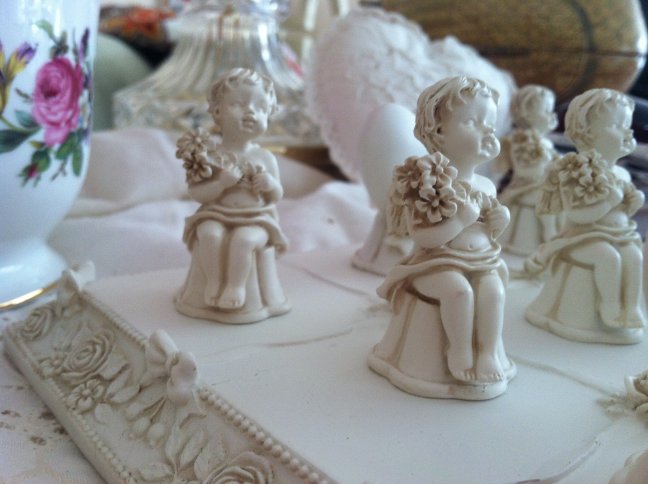
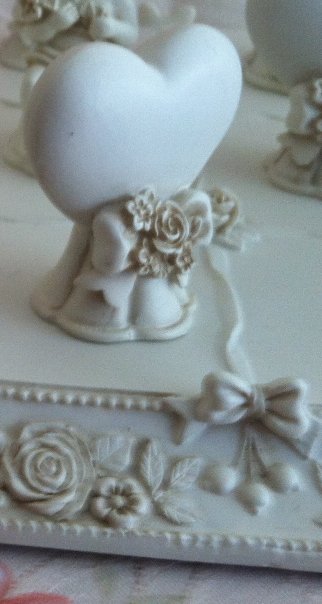
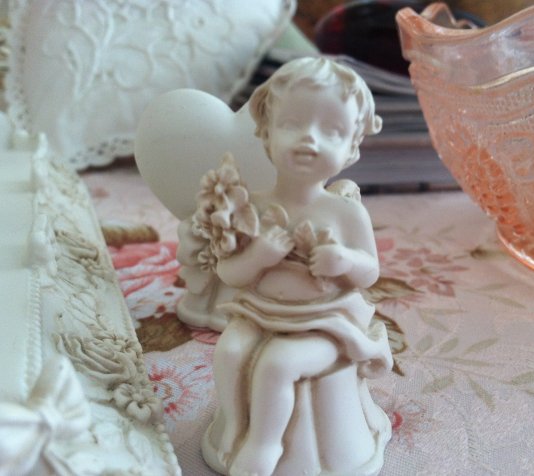
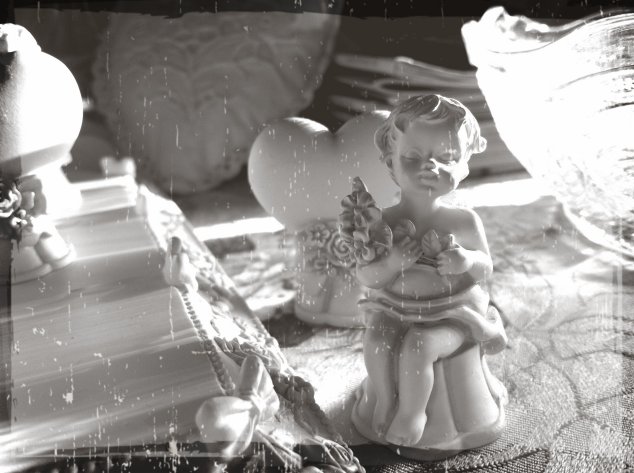
And finally, truly a favorite thrifted find… a Cupid-themed tic tac toe game!
What’s neat about this piece, besides the overall look and weight of it, is how I acquired it: I found a bag containing just the pieces at my local Goodwill one day. They were so pretty I had to have them, even though, at the time, I could only guess at their purpose.

Then several weeks later, on my next trip back to that same store, I found the game board. My guess had been correct, but obviously the elements had gotten separated at some point and I was lucky enough to spot them both!
A bit later, just for fun, I added a soft stuffed heart which you can see in the background… but also wanted to capture a shot of the late afternoon sun streaking across the table.
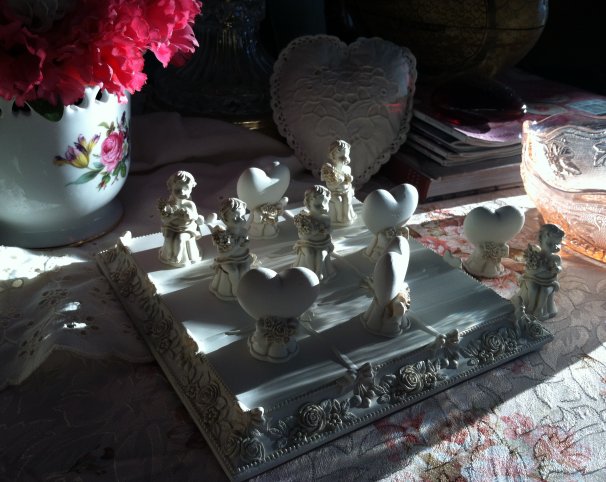
Also just for fun, a couple of filters applied through the “BeFunky” app on my iPhone. I find these little game pieces quite fascinating!
I really enjoy doing little vignettes on this table – it gives me a chance to play with my stuff! LOL How about you – do you have a favorite spot for displays like this?
I’ll be joining Marty over at A Stroll Through Life for her fabulous Tabletop Tuesday party! Hope you will click through and visit all the pretty displays linked there!