This is one of those projects you nearly scroll past on Pinterest because you don’t have little kids anymore and you think it isn’t grown up enough or doesn’t fit your decorating style or this year’s theme or nine other reasons. But then you pause just long enough to sort of fall in love with the picture, and you realize your inner child might not have grown completely up yet, and the project is cute and looks easy so why not give it a try? Especially when toaster pastries, a few kinds of colorful (and Christmasy) candy, and even a little faux silver tray can all be found at the Dollar Tree? Suddenly, a Pop Tart gingerbread house doesn’t seem so far-fetched, does it?
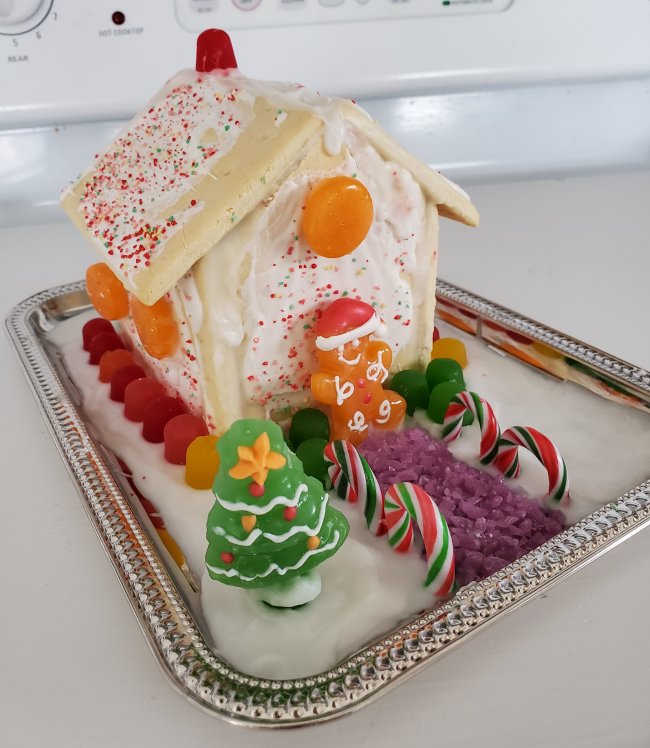
Here’s what I used:
1 pkg of 6 toaster pastries
Assorted colorful candies (Dots, candy canes, Christmas lollipops, and hard candy)
About 2 cups confectioner’s sugar (I had this on hand)
Small silver serving tray
This project was really simple. Basically, you cut two of the pastries to form the gables at each end of the house, and mix a tiny bit of water with confectioner’s sugar to make “mortar” for holding the pastries together and for attaching candy pieces to the pastries and the base.
The trickiest part was getting the right consistency of the confectioner’s sugar to use as mortar. You add just the tiniest bit of water… I mixed mine about a half-cup of sugar at a time, starting with 1 teaspoon of water and then only adding more if it seemed too thick. The directions I had said to make it the consistency of “craft glue,” but they really should have said “school paste.” It has to be thick, so it doesn’t run before it has a chance to set up.

Frosted toaster pastries served as the house itself. I used Dots candy as the shrubbery and flowers around the base of the house, candy canes for the fence along the sidewalk, crushed hard candy for the sidewalk gravel, more hard candy for the windows, and gingerbread/tree lollipops for my homeowner and his Christmas tree.
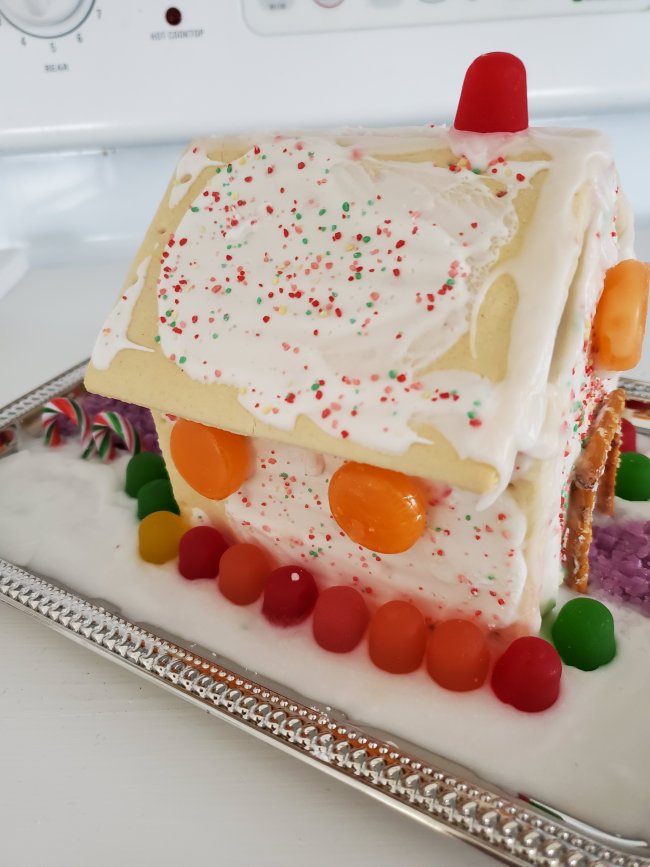
Another Dot for the chimney, and a couple pretzel sticks for the back door. For items that were to be stuck to the sides of the house, it worked best to apply some mortar to the backside of the candy, let it set up a bit, then press it against the house. I had to prop up most of these items (using toothpicks or whatever was at hand) to keep them in place while the mortar set.
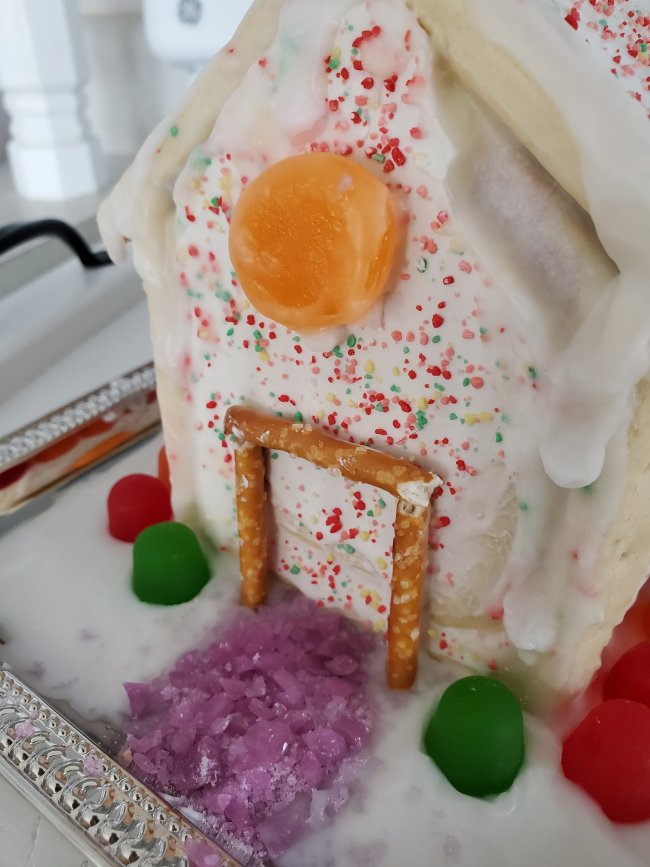
My little house is completely edible, except of course for the tray. But here’s the thing: most of this candy tastes terrible, and adding watered down confectioner’s sugar to it does nothing to improve it. So I don’t recommend eating it (or even licking your fingers) during the construction process. I mean it – it’s truly awful. Don’t say I didn’t warn you.
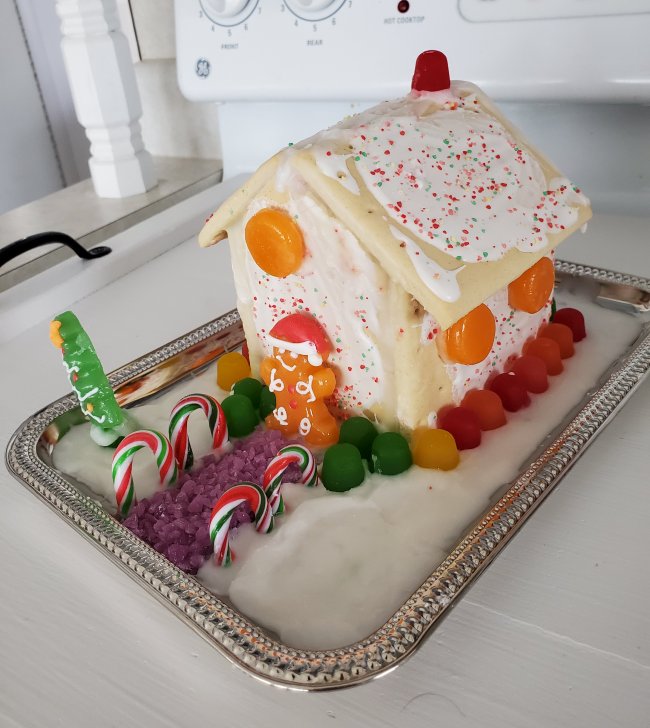
This adorable little house (or a bunch of them!) would be fun to do with kids, or even as a grown-up activity at a crafting party. (There may have been adult beverages involved at my house.)
Here’s an image to Pin if you’d like to save this idea for future use!
