I wanted to do another upcycled coffee table after the success of my children’s playroom activity table, but it took awhile to make it happen!
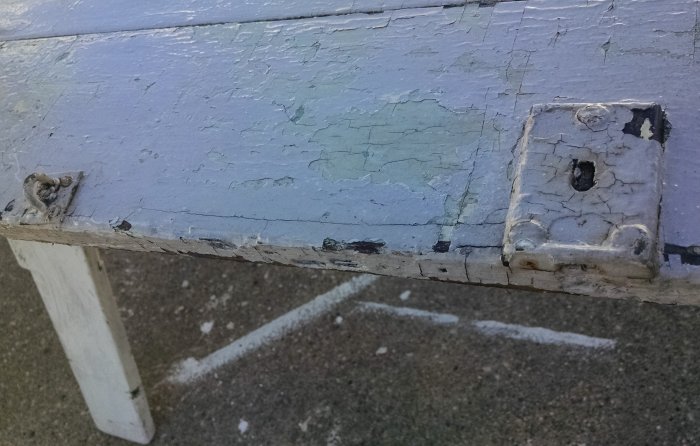
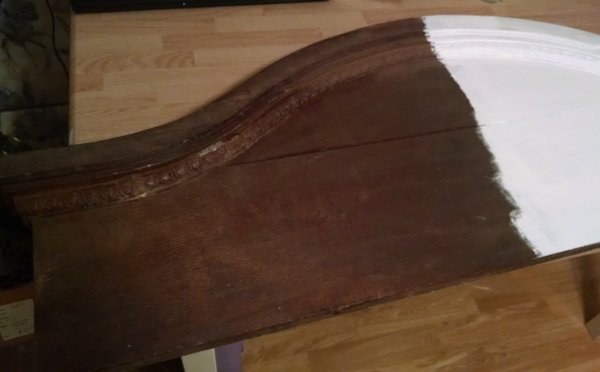
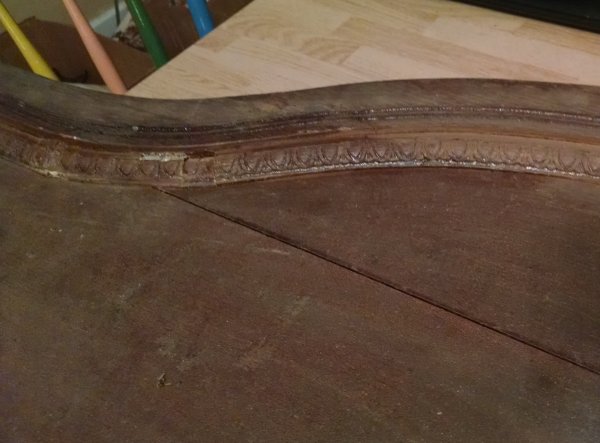
When Greg and I were pickers, one of the things we always looked for was what I called “chippy doors.” Architectural pieces were always good sellers, and we sold quite a few barn doors as well as old kitchen doors. Anything with cool old hardware and chippy, peeling paint was sure to be a winner.
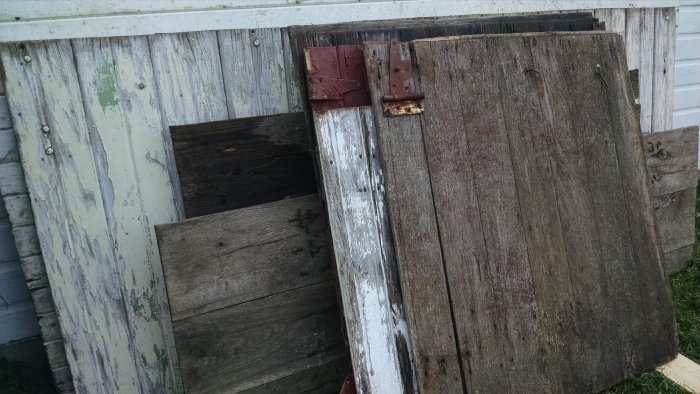
Barn gates – a staple of “architectural salvage” in our vintage/antique booths!
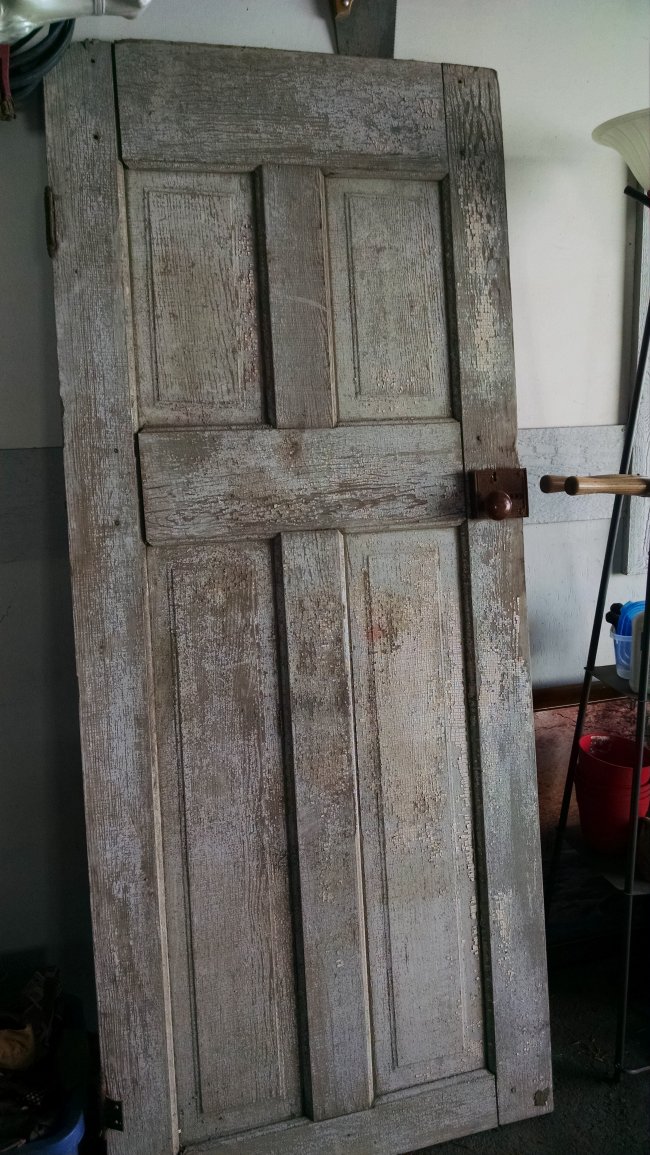
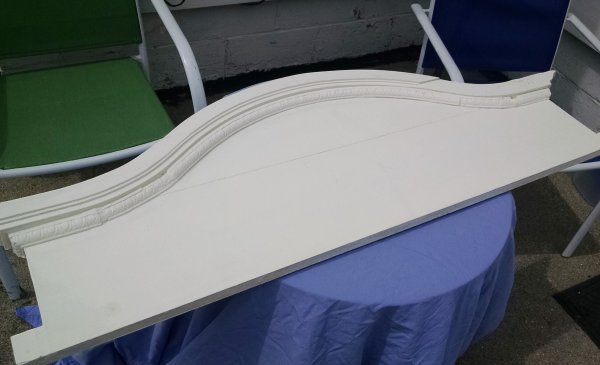
A beautiful “chippy door” – oh they all laughed the day I brought this home!
As with nearly everything we picked though, there were some pieces in this category I simply could not part with – so beguiling was their perfect patina, their chippy charm, their hubba-hubba hardware (Can you even believe I said that? I can’t believe I typed that phrase. I’ll bet this is the first time in your life – not just in blogland, but in your entire life – that you have read the phrase, “hubba-hubba hardware.” Can we please name a business, or possibly a punk band, using this phrase?)
Anyway, chippy doors.
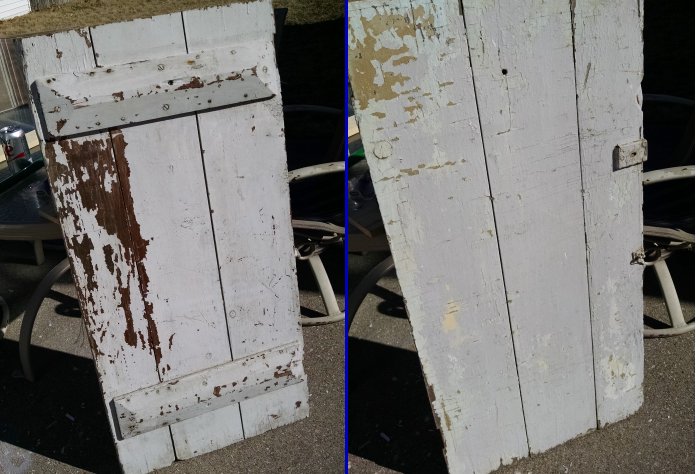
So one day Greg brought home some great doors, and I chose a few to keep and we sold the rest. On another day, I found on one of the for-sale apps a single white sawhorse. A sawhorse – painted white.
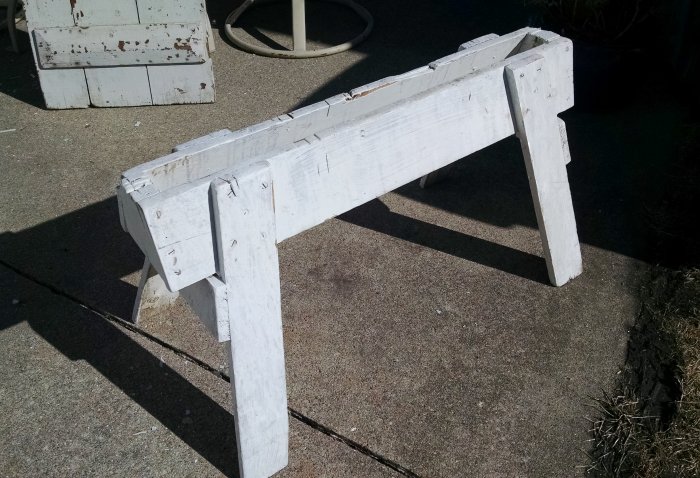
It was at this point that I had to break down and actually explain to Greg how farmhouse style was a thing and what “shabby chic” was – a decorating style where things were mostly painted white – yes, even sawhorses, and because it was painted white it was obviously not going to be a utilitarian garage piece but instead I saw it going into the actual house as a decorating element somehow, and could we please just buy the damn sawhorse.
Which of course we did, though I could certainly tell this poor man thought I was completely off my rocker.
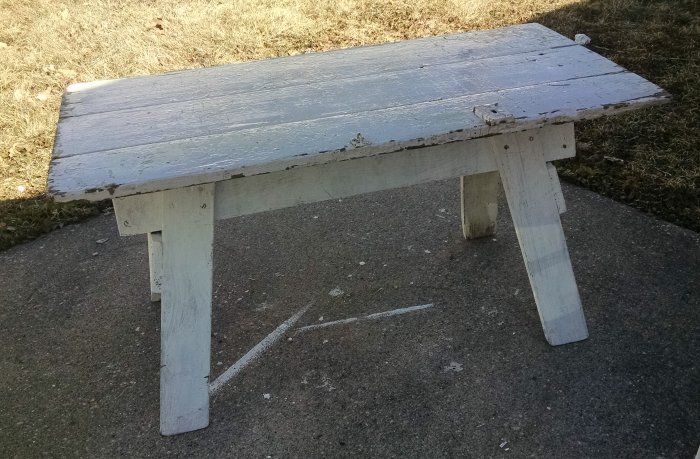
So now we had these pieces comingling in the garage, and one day it was just time to put them together into what they were meant to be: an awesome shabby farmhouse sawhorse coffee table.
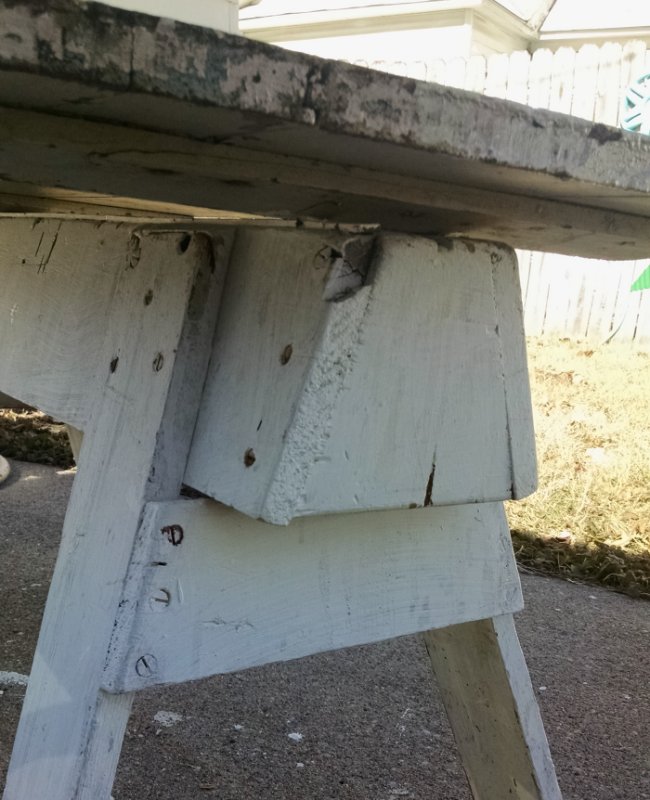
I let him do the engineering because I have the eye but he has the problem-solving skills for this sort of thing, and together we made a great little table. I knocked the big chunks of peeling paint off both sides of the door, and sealed it. It’s probably lead-based paint but since I am already 55 years old I figure I have maybe 20 good years left at the outside – none of which involve gnawing on this table, so I think it would take a really long time to ingest enough of it to be dangerous, so I have decided not to worry about it.
Greg attached it in several places to the sawhorse using I think sheet-rock screws or something we had on hand, a couple at each end and a few inches apart so it was very stable. As proof of this he pressed down on it with both hands and attempted to make it wobble. When it did not, he said, “That’s not going anywhere,” and that seemed to be it as far as stress-testing. I asked him to please get up on it and do a little Irish Step Dance, just to be one hundred percent certain, but he declined. Chicken.
I filled in the counter-sunk screw divots with spackle – I didn’t even bother to paint over the spackle, because it just looks more rustic that way and anyway, you can’t even really tell where those places are.
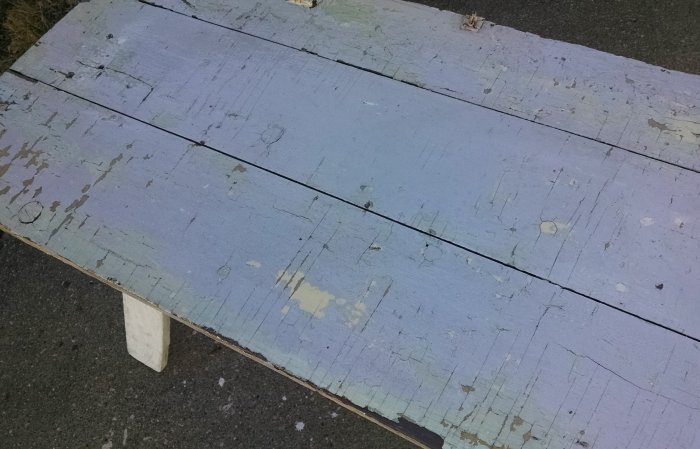
Well, you can a little… but honestly, it just adds to that patina we mentioned earlier.
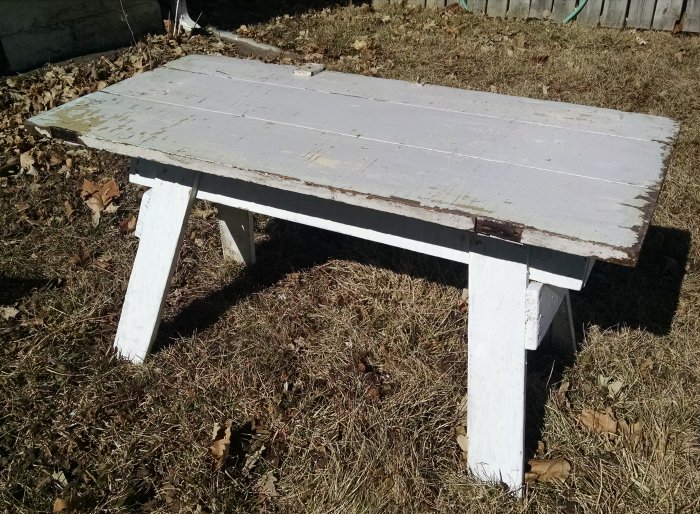
Now when I say I didn’t paint it – I mean I didn’t paint the top. But when I took it inside, a couple things became apparent: the first was that the sawhorse – while already white – was not really “shabby chic white” but instead was just shabby. So I did throw on one coat of new white paint over the actual sawhorse.
The other thing was that overall, the table was adorable – but too tall. Short for a sawhorse, but tall for a coffee table. I had suspected this might be an issue, but I didn’t want to cut it down until I knew for sure. But once it sat in front of the couch, and you couldn’t really see over it without it sort-of blocking the view of Duck Dynasty, I knew it had to be done.
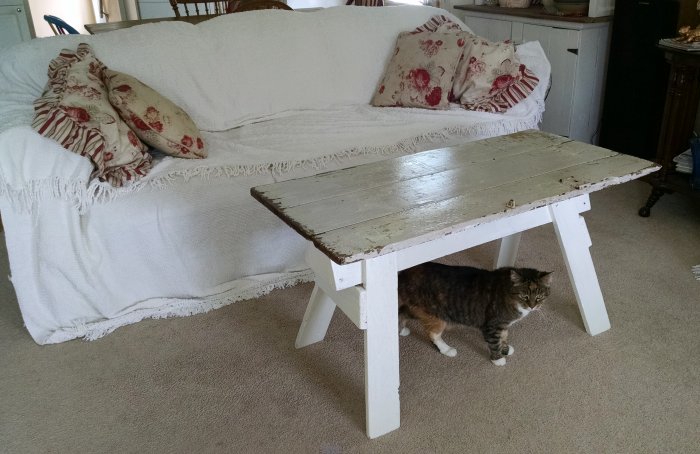
So Greg figured out the angles and cut about 4 inches off each leg, and then it was perfect. Finally, my next upcycled coffee table was complete!
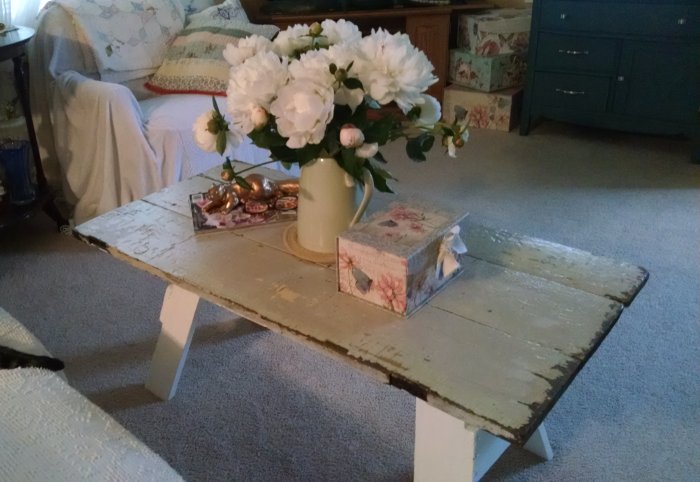
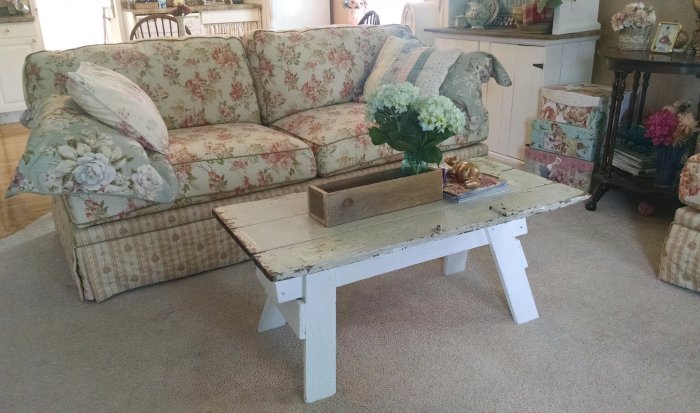
And then I got a new couch, and it was even better!
A great little chunky coffee table… shabby farmhouse chic, and even Greg admits (I think) that it finally made sense to bring a sawhorse into the living room.


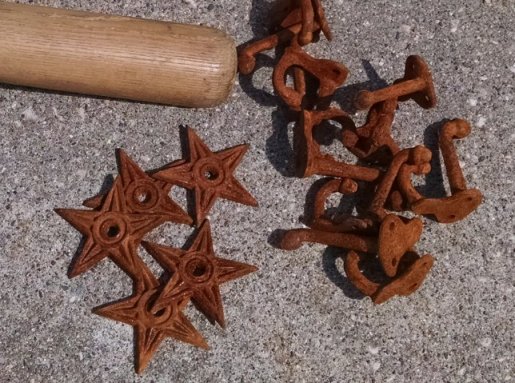
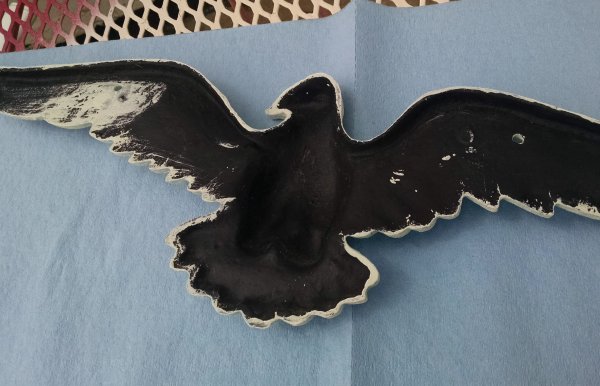
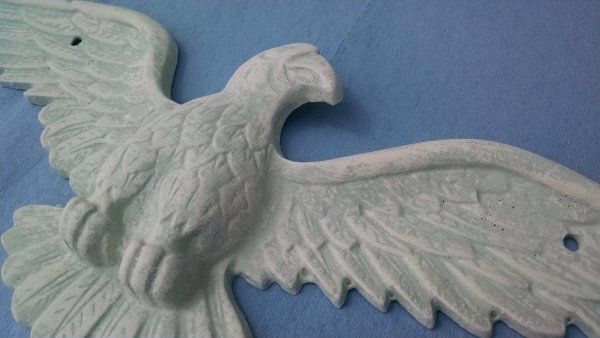
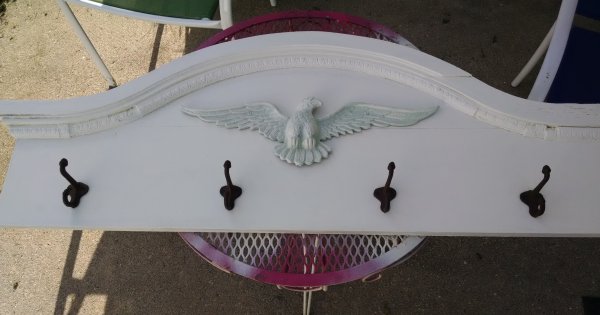
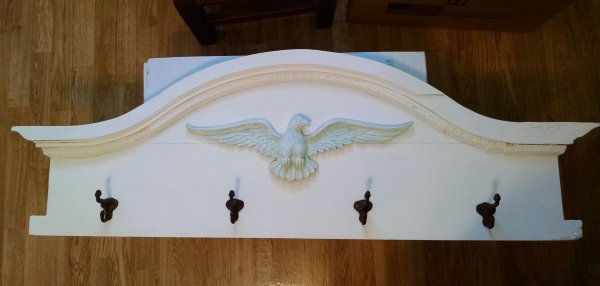
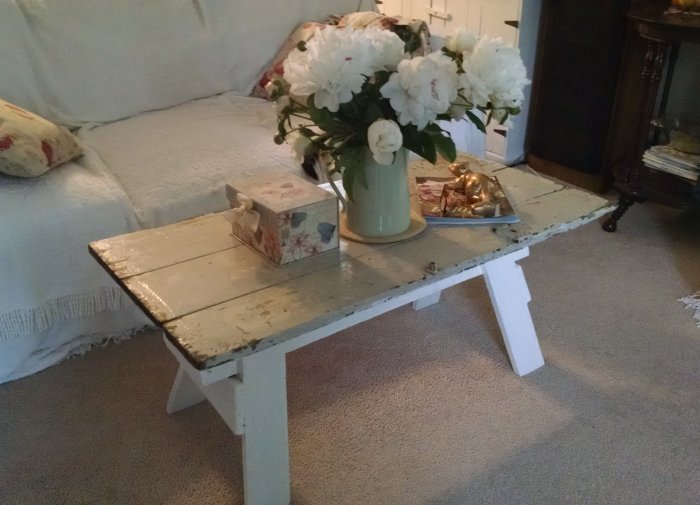
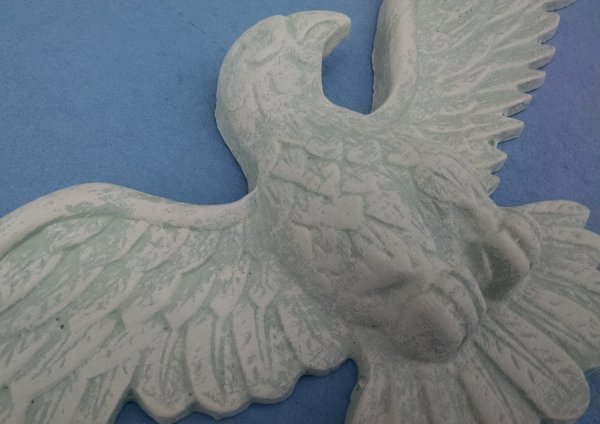 I sealed the bird with some spray-on satin-finish polyurethane, and attached him to the board with small screws I had saved off some hinges. Here it is finished, resting on a small patio table.