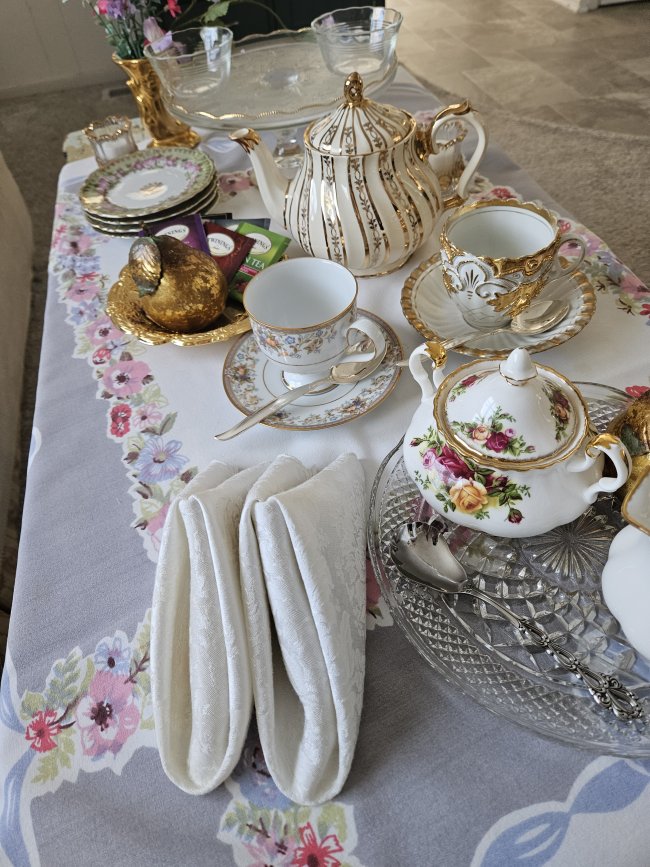
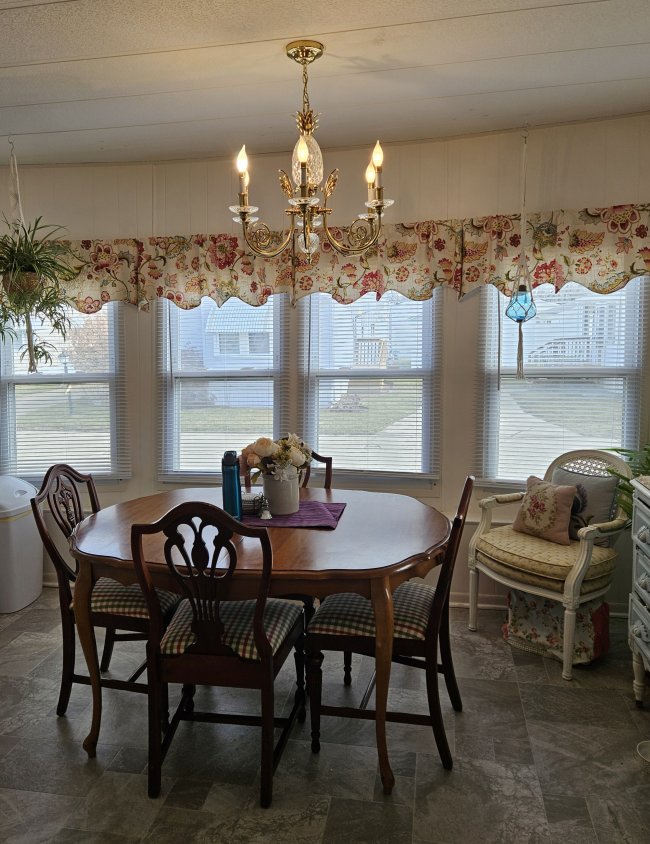
Since I don’t do a lot of entertaining, I set a lot of tables just for the fun and creative exercise. And while they’re all a little bit different from each other, there are a few things that are just always the same regardless of the specific table setting. “Universal truths,” as Jane Austen might call them.
I got to thinking about this the other day when I posed the question to our wonderfully creative members of the Thrifty Tablescapers group over on Facebook: What is something that is always true about your tablescapes?” (Be sure to click through and join the group if you haven’t already!)
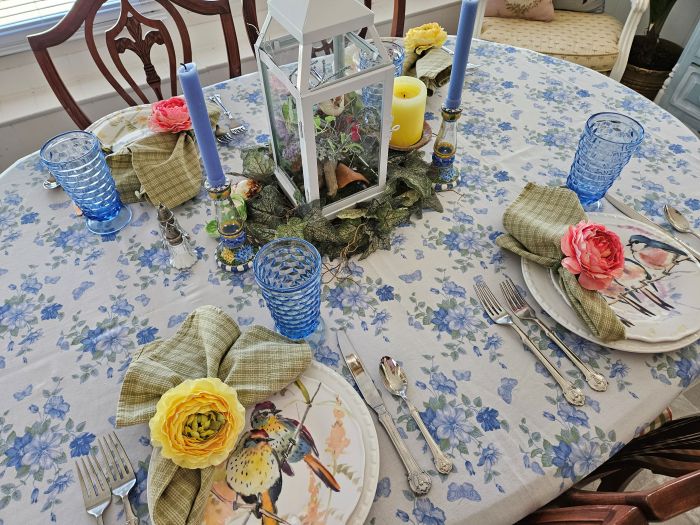
Here are three things that are always true about my tablescapes, regardless of the theme or occasion:
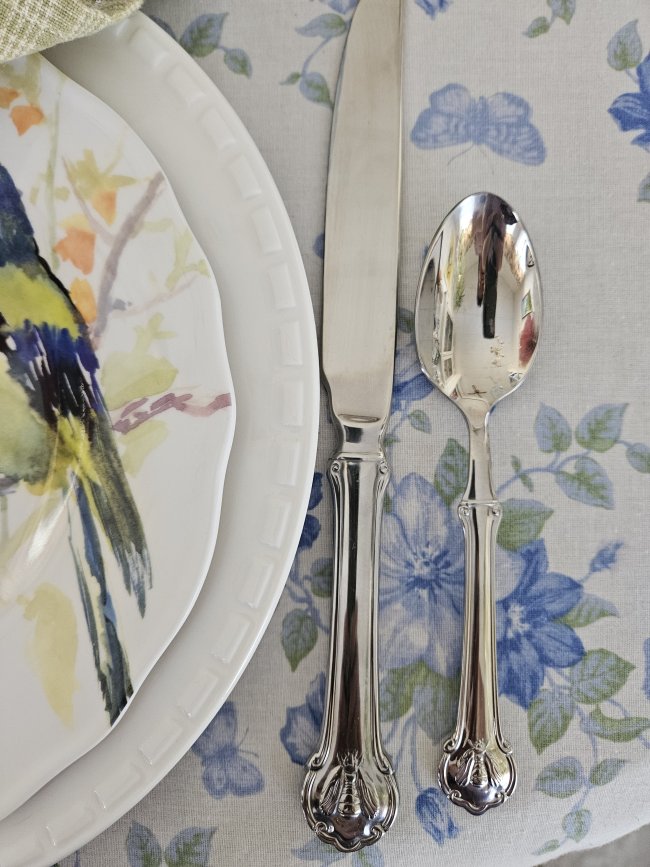
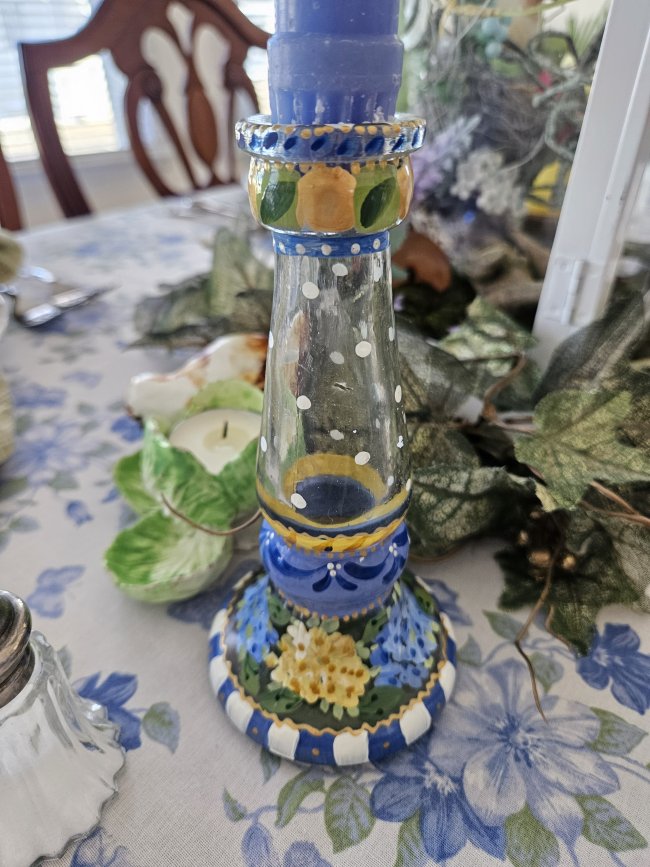
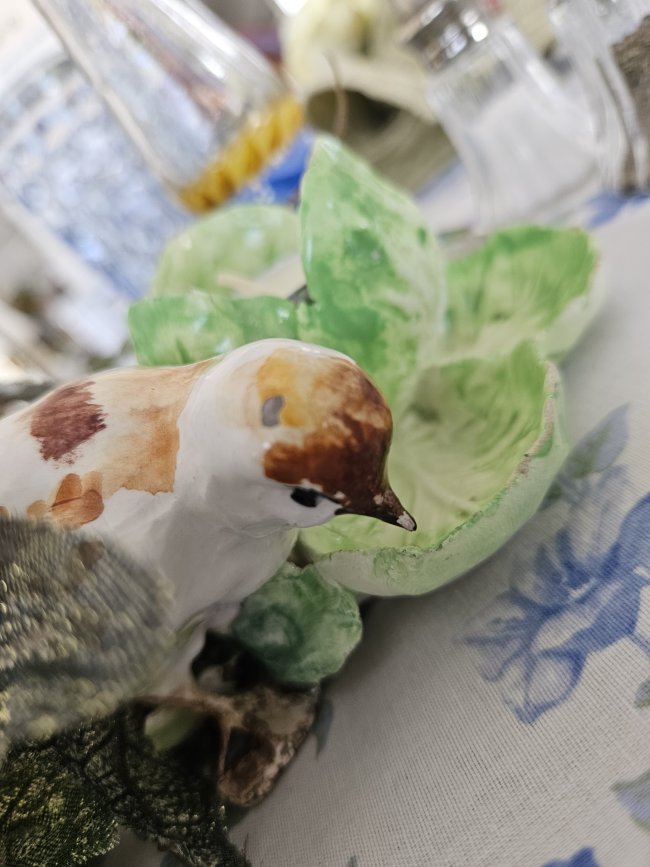
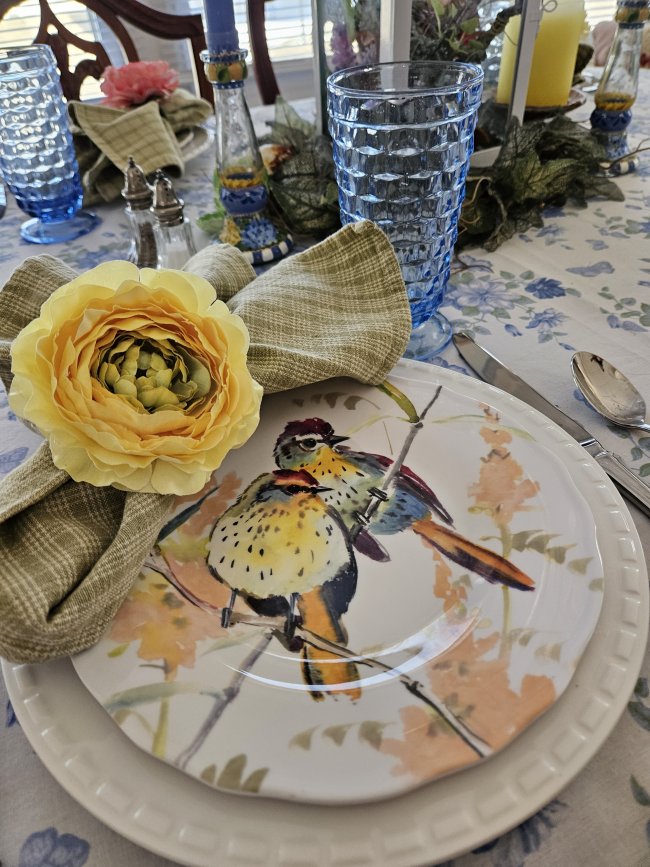
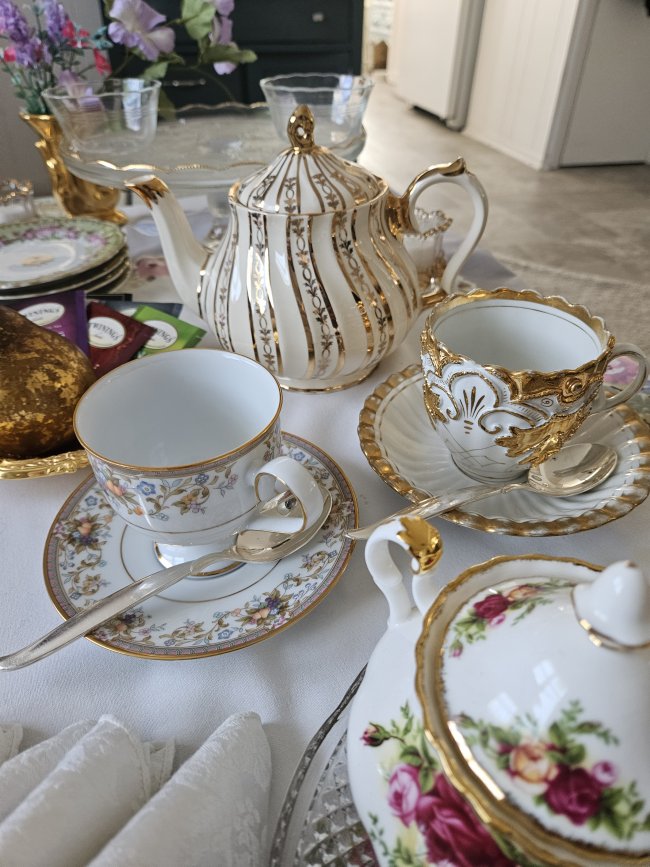
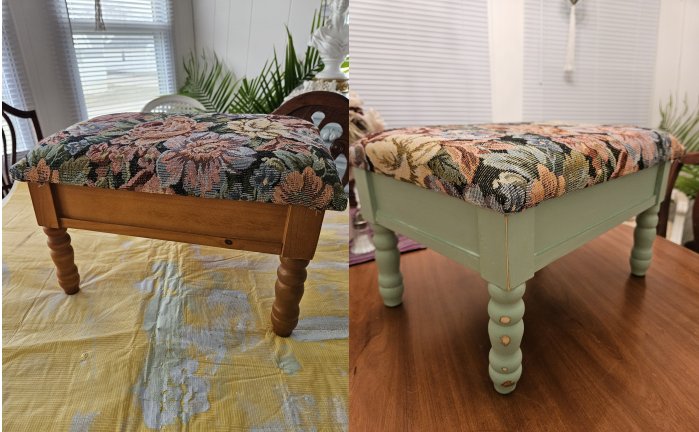
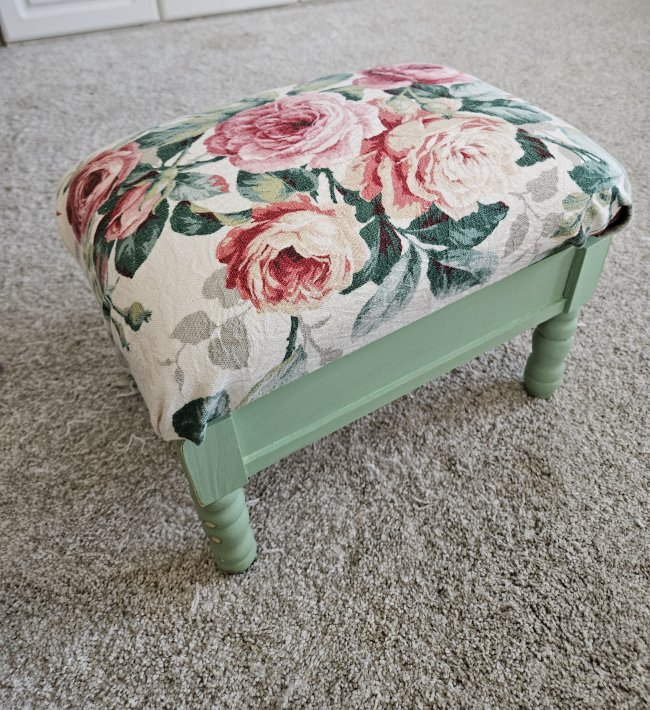
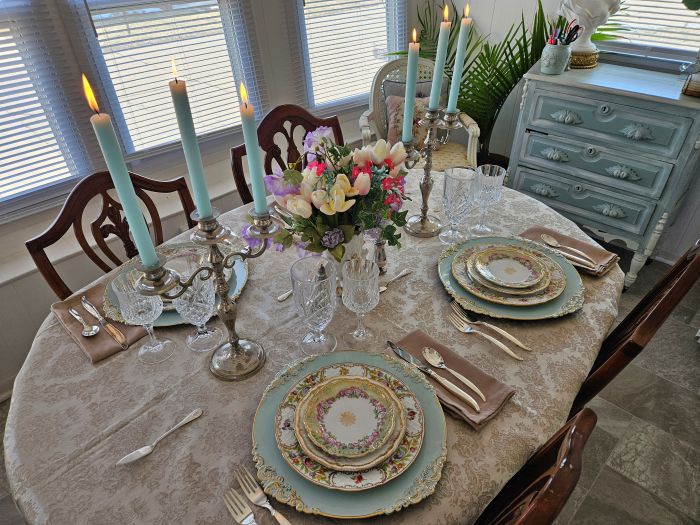
- The majority of elements will be thrifted, inherited, or otherwise secondhand. Ever since my grandmother passed along her Currier and Ives dinnerware and her sister’s Oneida stainless flatware to me back in the early 90’s, I’ve been hooked on finding gently-used elements for my tables in thrift stores, flea markets, antique malls, and consignment stores. I will of course occasionally splurge on brand-new items, but the thrill of the hunt is real and continues to motivate me 30+ years later!
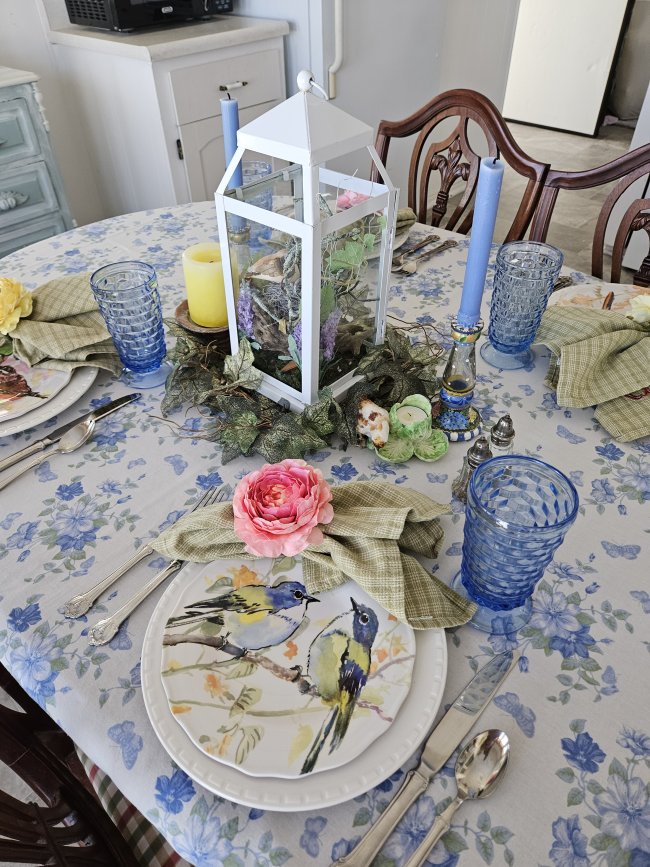
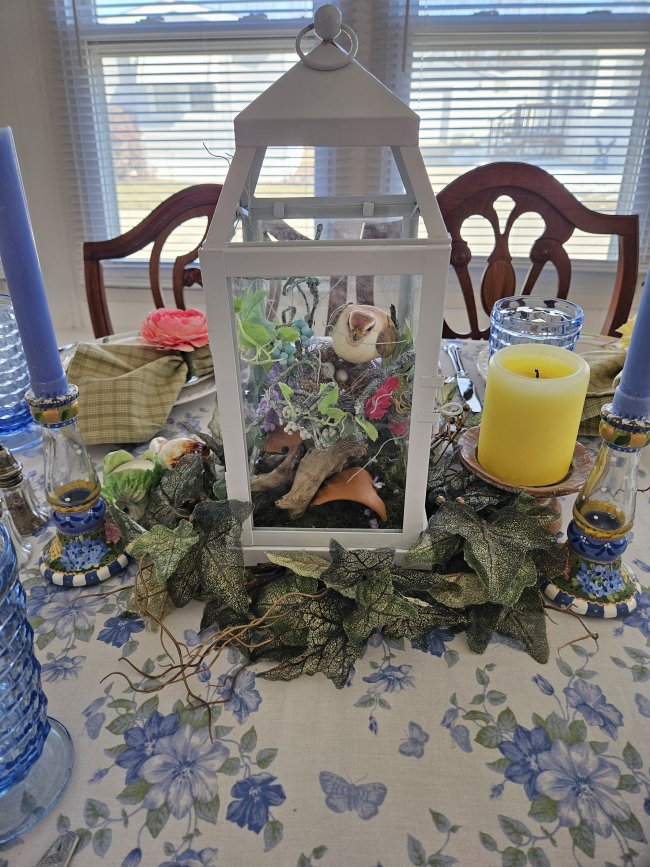
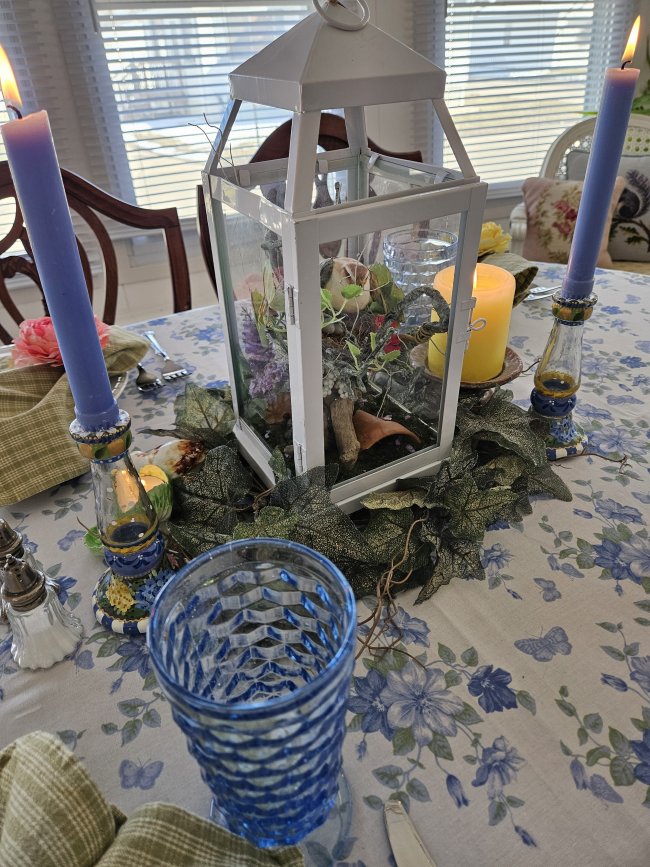
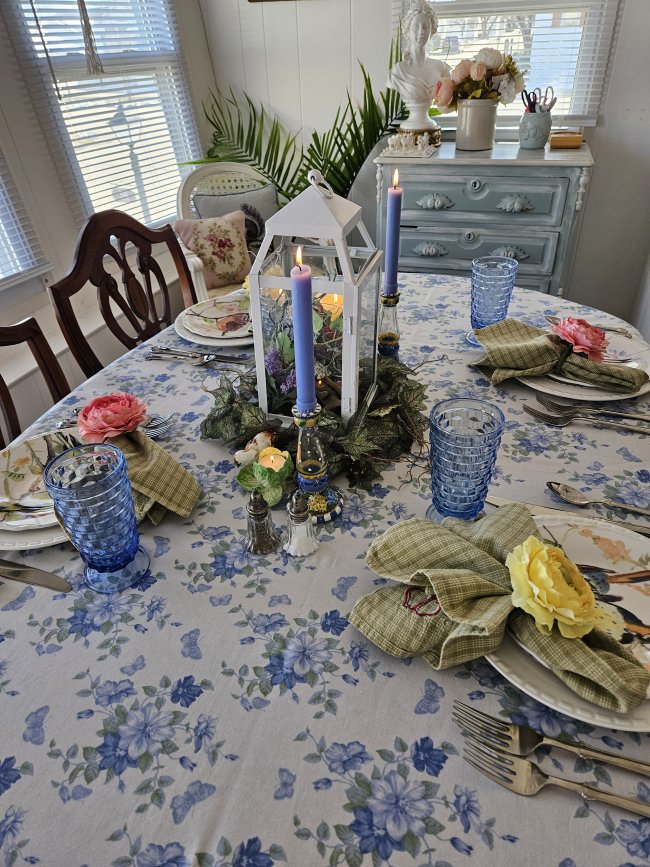
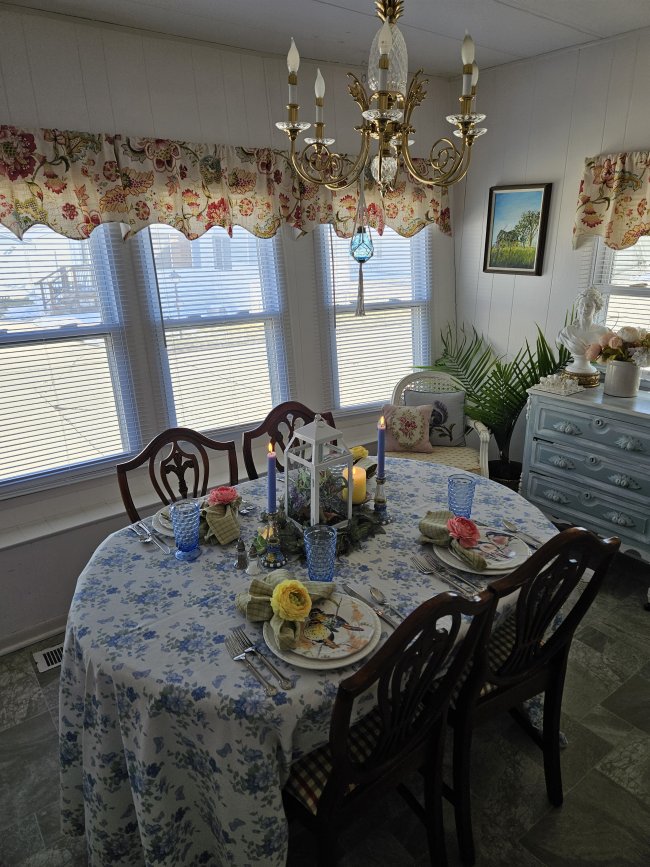
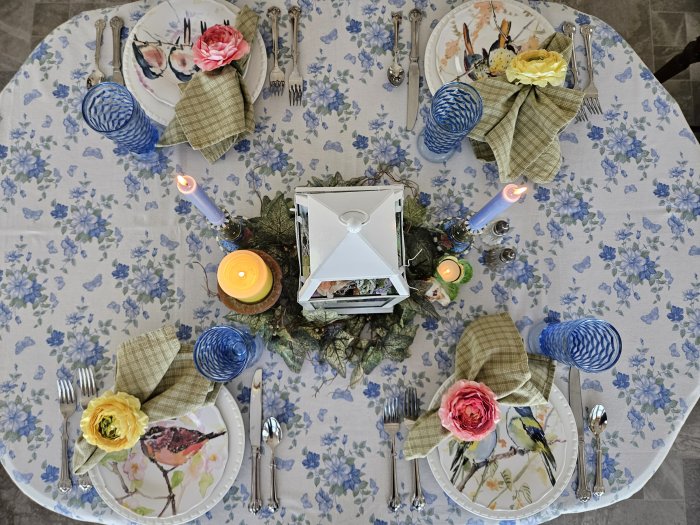
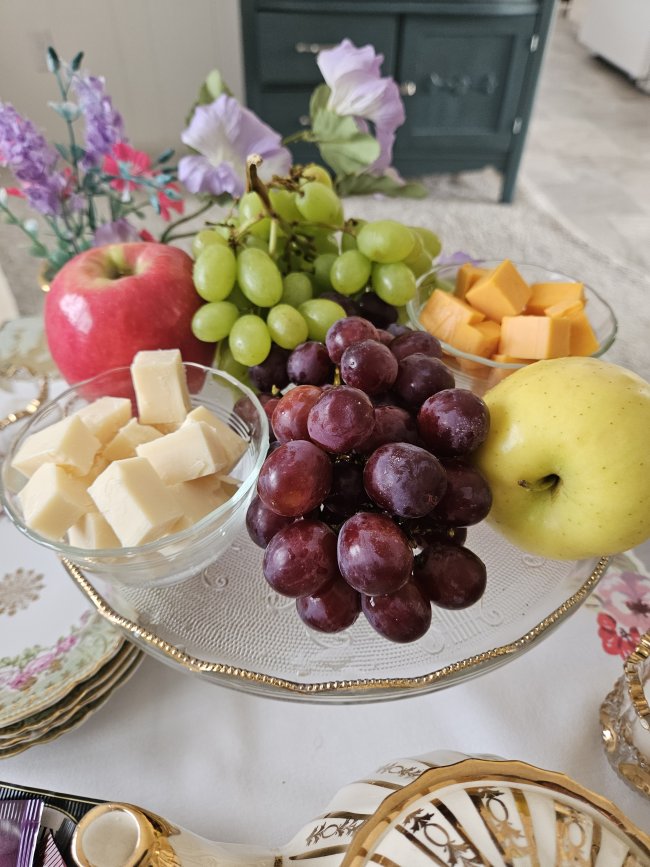
- You will be able to converse around the table with unobstructed sight-lines. There are people who do not care about this “rule” (no centerpieces that inhibit conversation among dinner guests), and I often love their gorgeous, over-the-top tablescapes. For myself, I just think that guest fellowship (especially conversation) is more important.
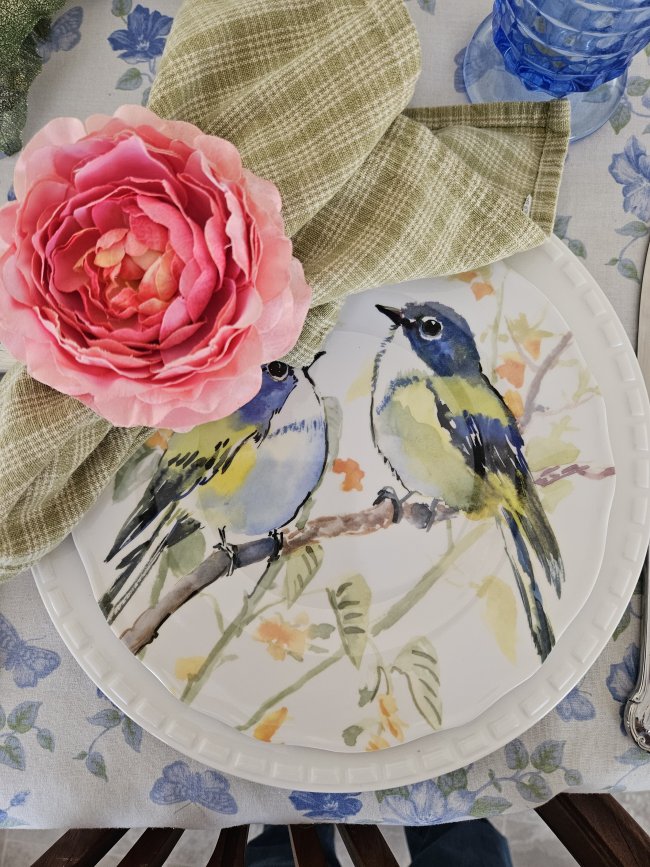
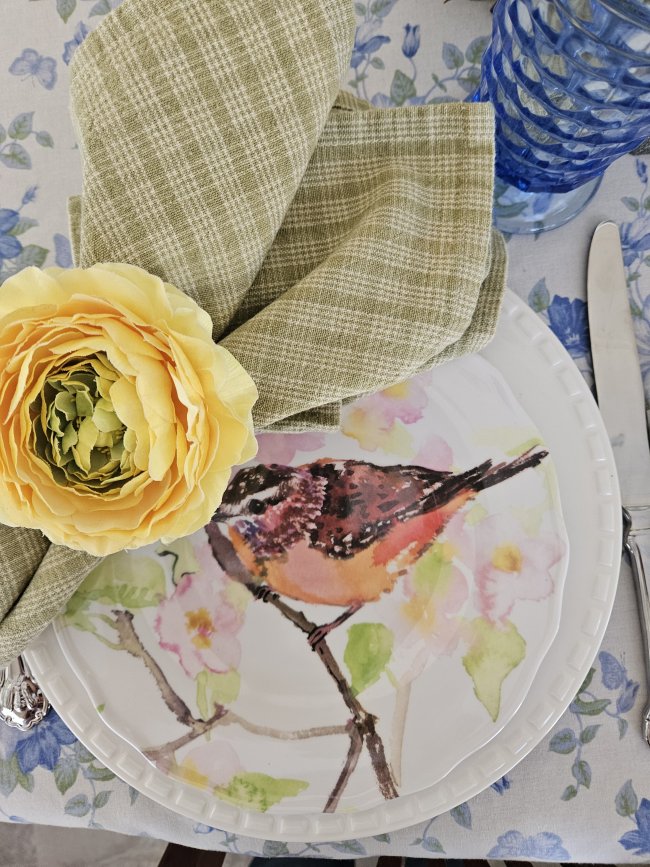
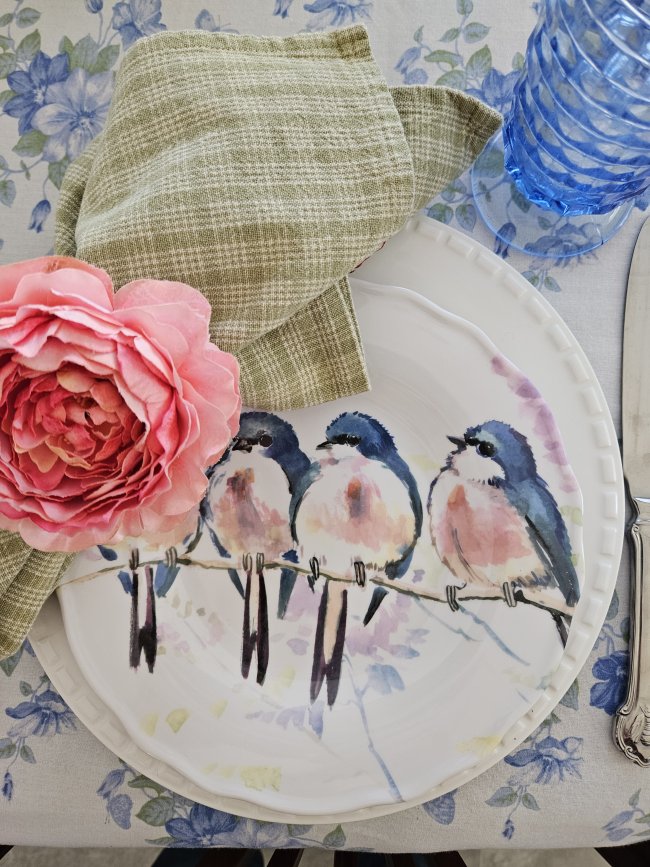
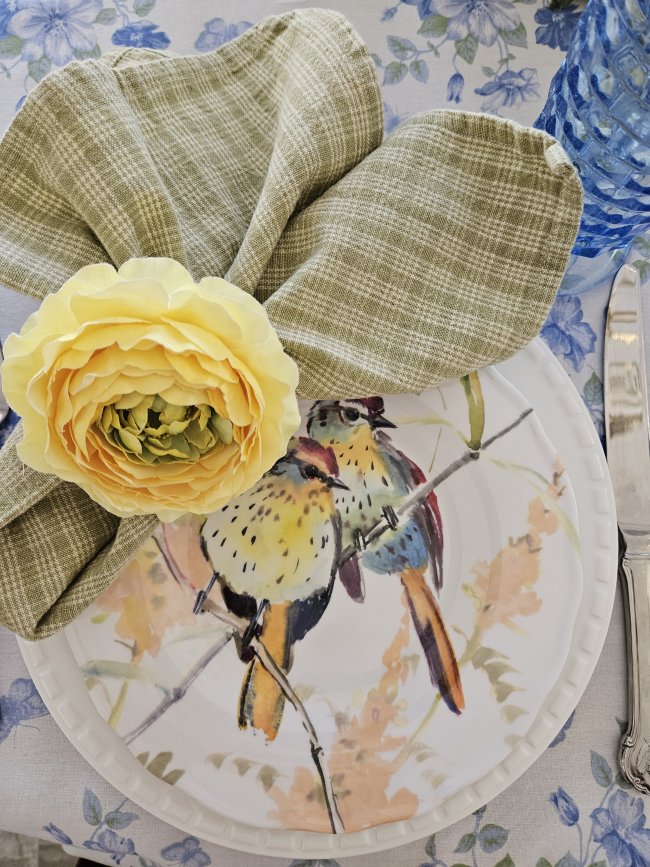
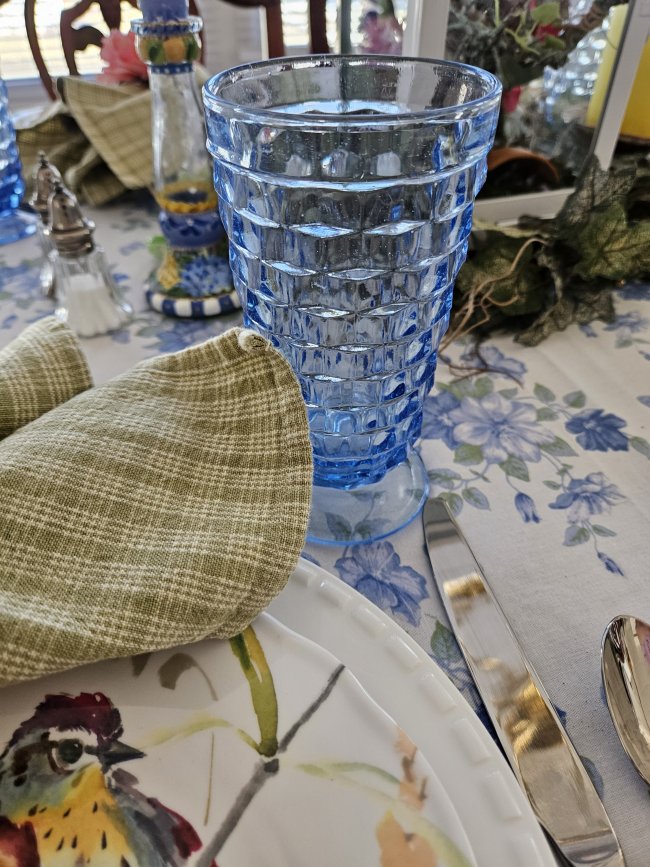
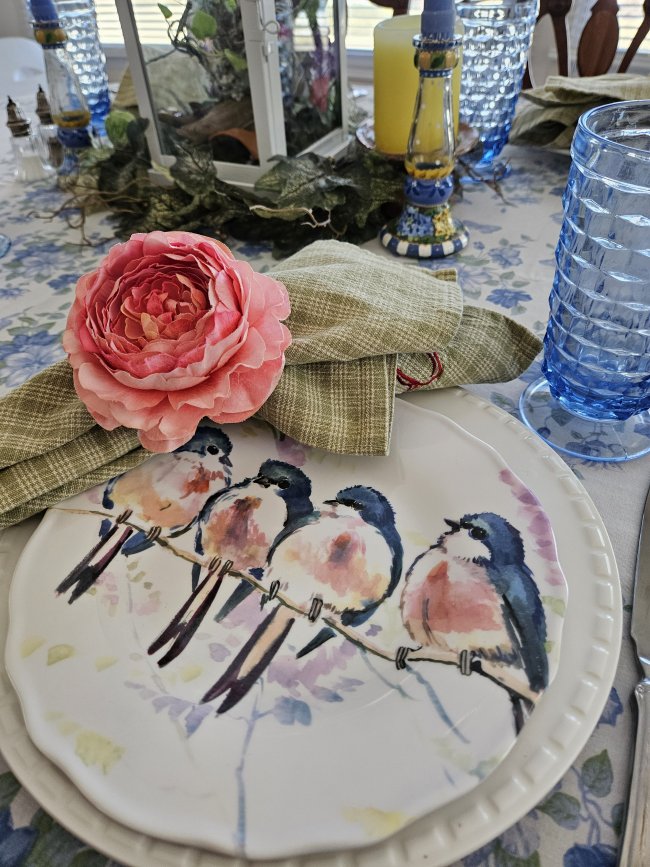
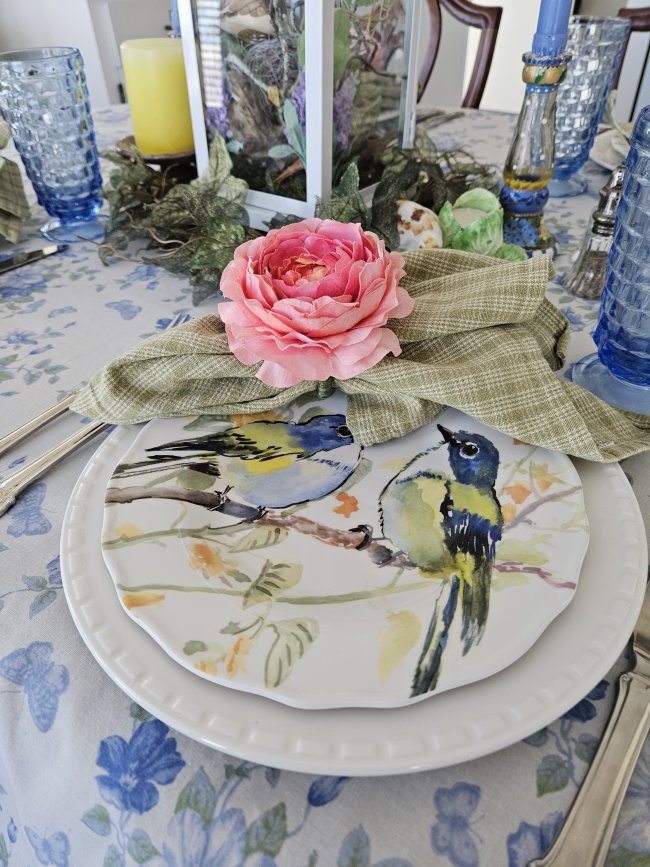
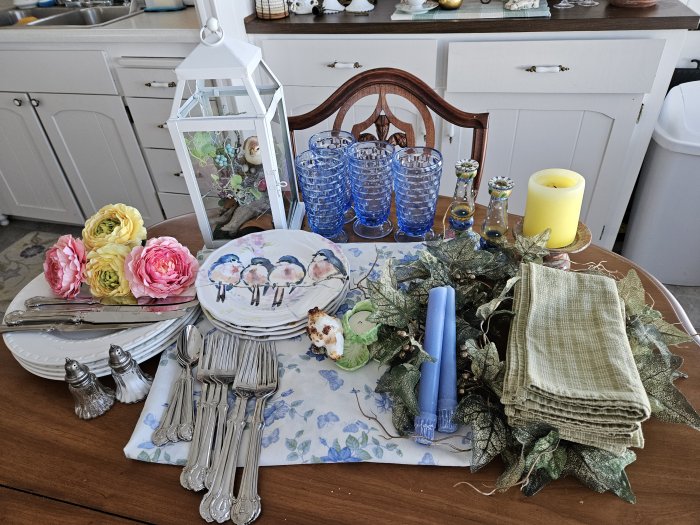
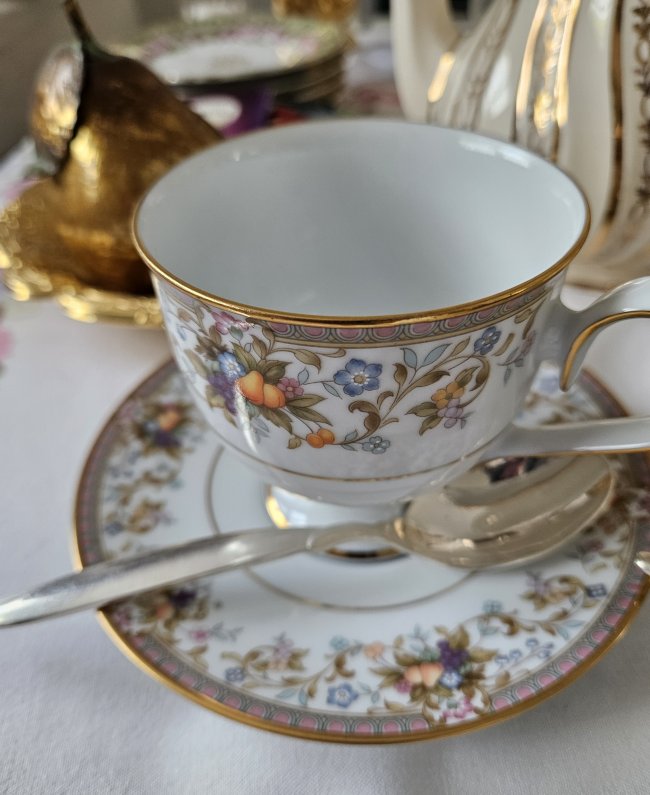
- My tables will be set with love and forethought. I’ll audition a variety of plate combinations, centerpiece elements, glassware, flatware, napkins, etc. – all in an effort to give the gift of a delightful table that enhances the dining experience. Because “playing with the dishes” is honestly half the fun!
What are your thoughts – what is always true about your table settings? What is a rule you’re willing to bend?