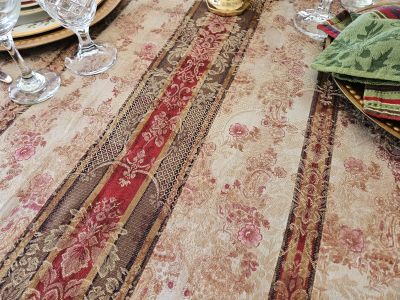
I’m sure any person who loves setting pretty tables will tell you that the inspiration for a table design can come from just about anywhere: a china pattern, a holiday or special occasion, a color palette, even a piece of artwork. I was passing through one of my favorite thrift stores recently and found a single light pink drapery panel from the Shabby Chic brand. Lined and well-made, it was unopened in the original packaging and cost me a whopping $4.90!
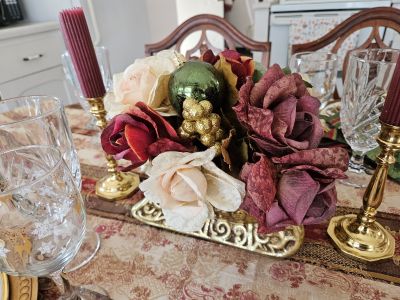
This find set me to thinking about doing a pink and gold tablescape for Christmas, and was contemplating whether a faux-evergreen based centerpiece could be made to support the color scheme. Upon looking around my home for silk florals that might be incorporated into the centerpiece, I caught sight of my pink Christmas village and realized how perfectly it might be incorporated. I think it worked pretty well!
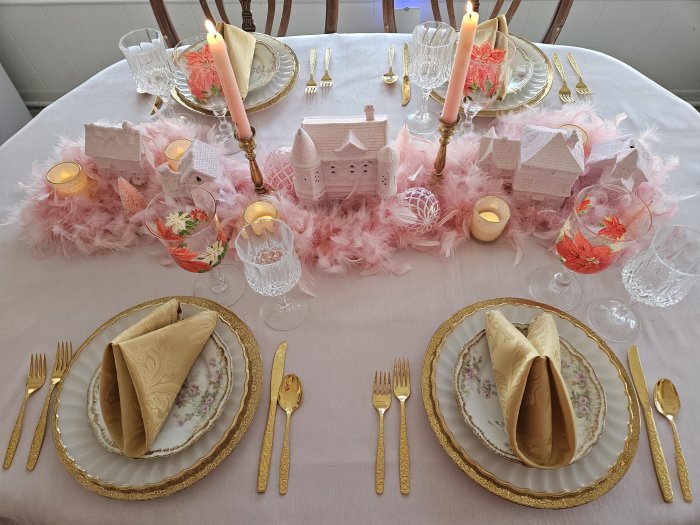
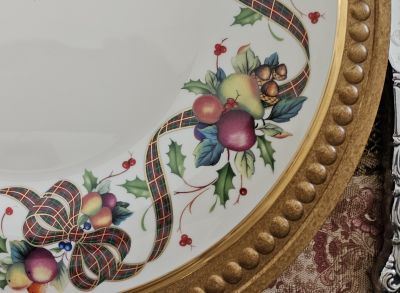
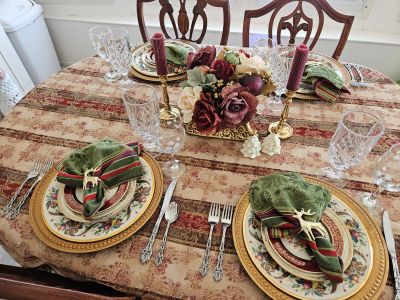
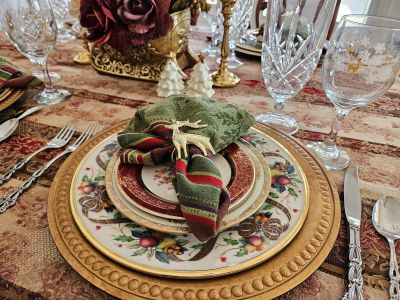
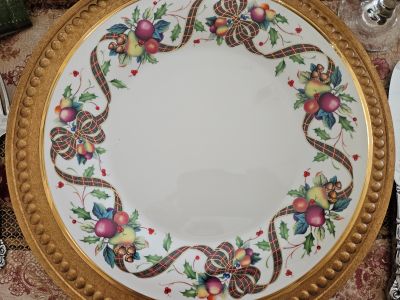
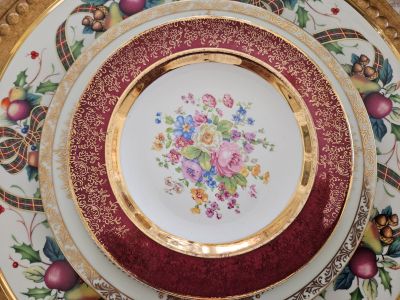
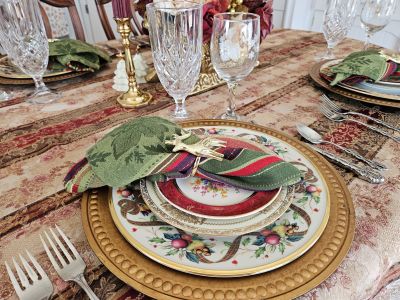
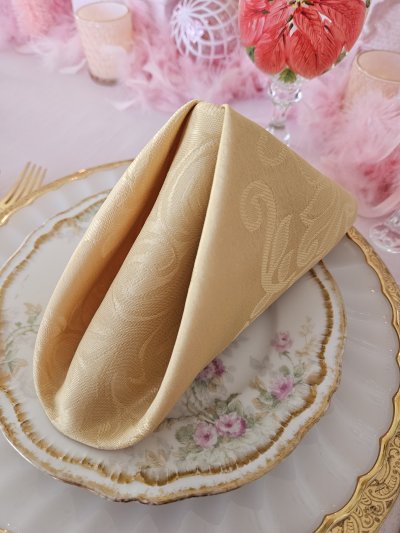
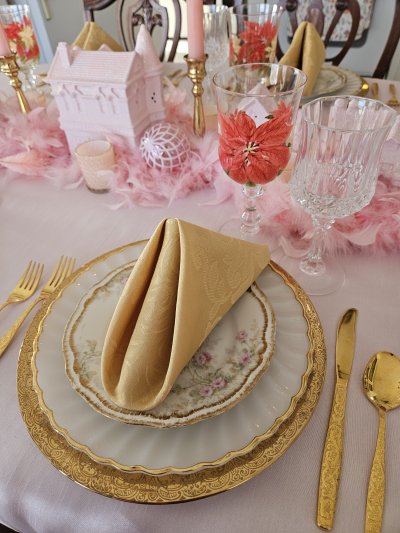
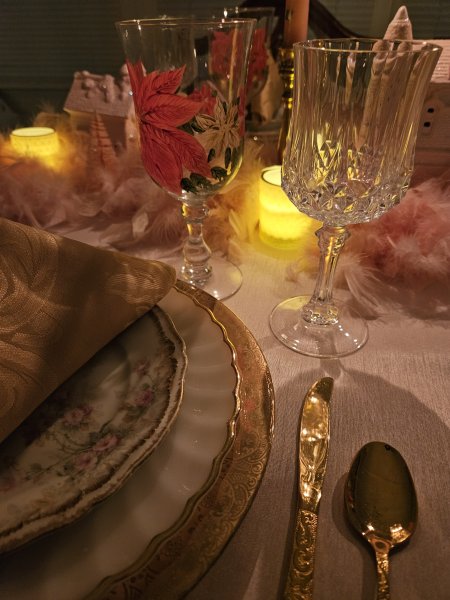
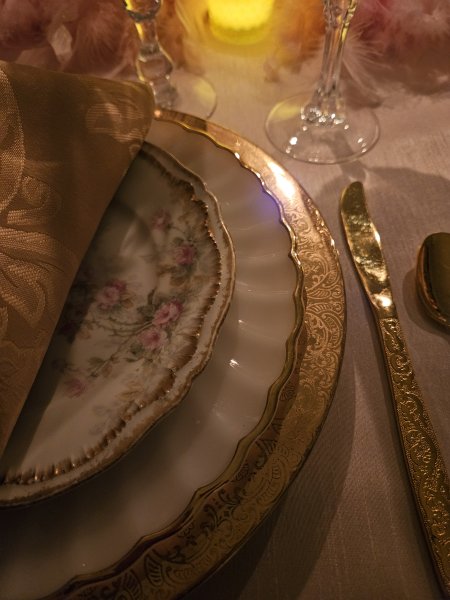
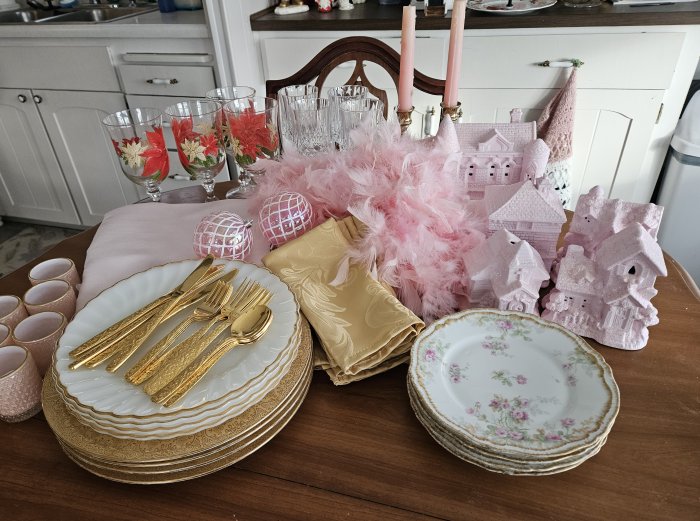
I had already begun gathering the china for “the stack” on this table, but switched out a different salad plate at the last minute with a bit of pink and gold Limoges.
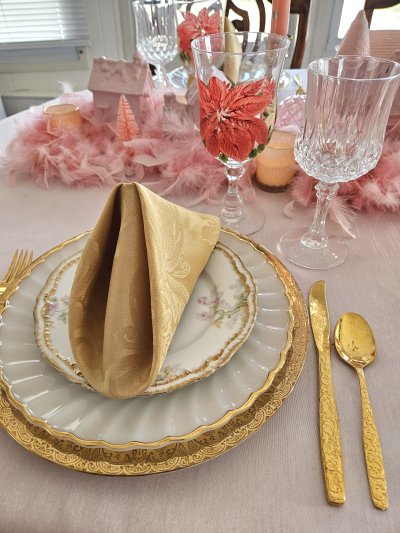
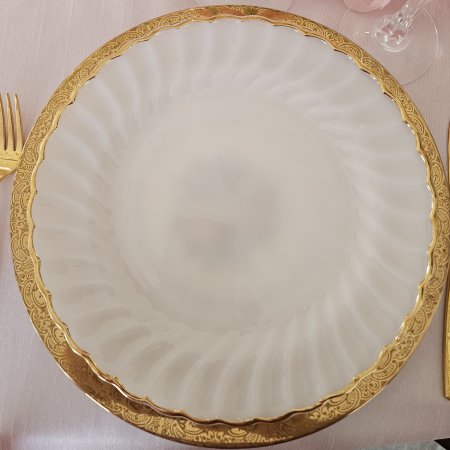
The bottom plate is actually working as a charger here. These wide-shouldered beauties were thrift store finds several years ago – the backstamp does not give the name of the manufacturer so I don’t know who made them, but Google photo match suggests Royal China.

The dinner plate is Fireking’s Swirl pattern in milk glass. These were thrift-store finds. The salad plates are marked Theodore Haviland Limoges and have a pretty pink floral pattern and double-banded gold edge. They were acquired from a local seller who was liquidating an extensive Limoges collection several years ago.

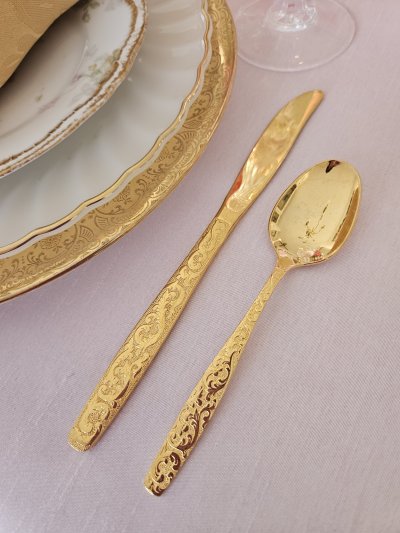
Flatware was also second-hand. It is electroplated Americana Golden Heritage by International Silver.
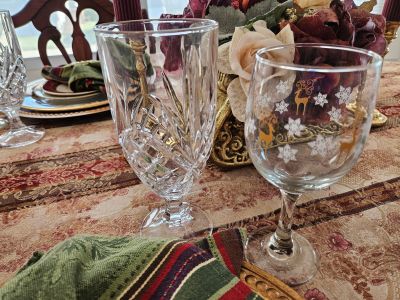
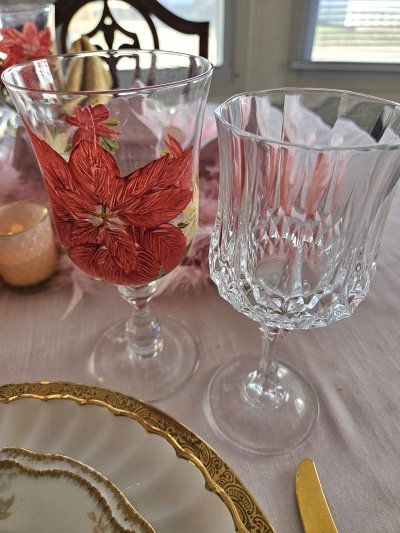
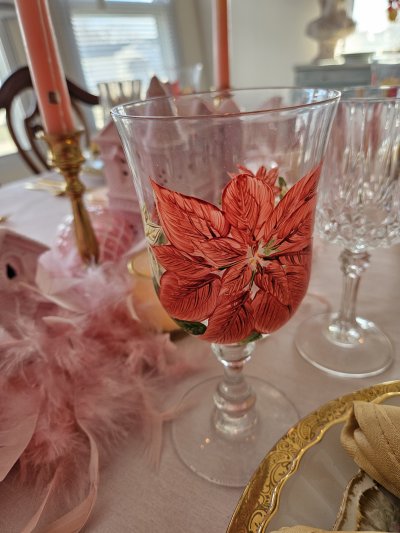
Glassware includes hand-painted water goblets in a pretty Poinsettia design, and Cristal D’Arques “Longchamps” wine glasses. All were thrifted finds in the past few years.
Napkins were purchased specifically for this table from Amazon (thank you, next-day delivery!) , but I am glad to have them for any gold-themed table I might do in the future! They’re not high-end, but that just means I won’t cry if they get irreparably soiled. (Affiliate link; if you purchase through my link it costs you nothing extra but I do earn a small commission which helps with blog-hosting fees. Thank you!)
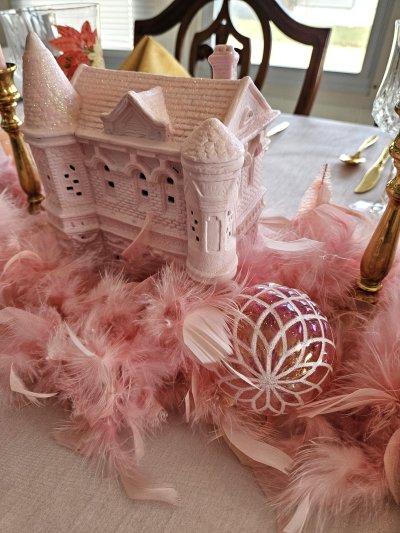
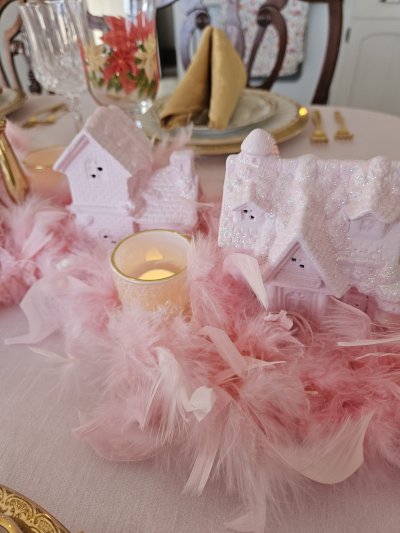
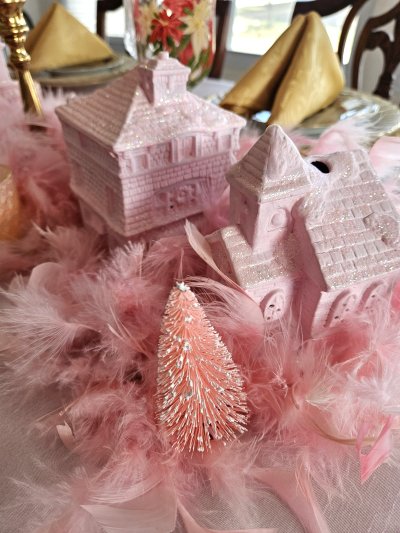
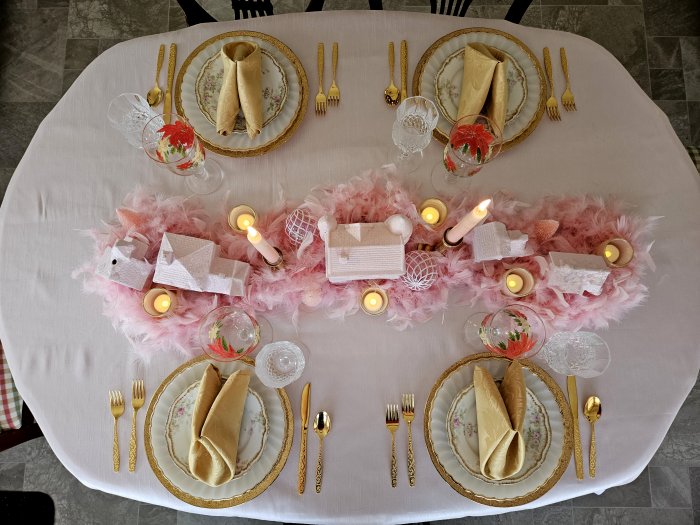
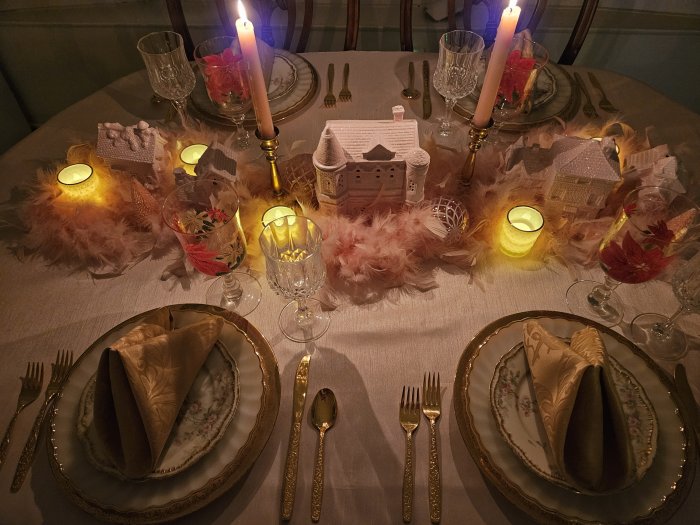
As for that fluffy, frothy pink centerpiece, here it is!
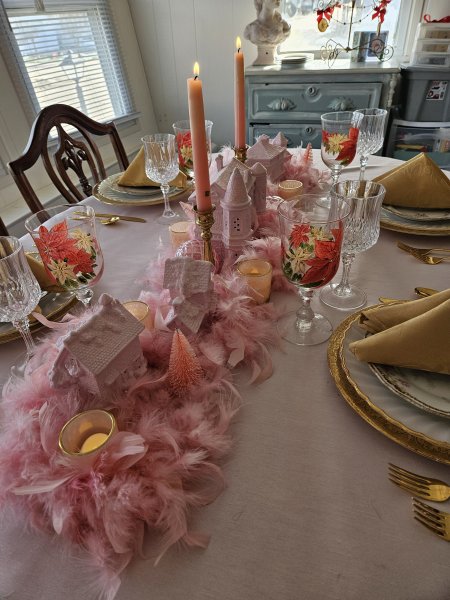
Several years ago, I collected a few Christmas village buildings from various thrift stores and painted each one in pink chalk paint. I then used Mod Podge to adhere pink glitter to the rooftops. I always stage it on a bed of pink feathers (actually two boas purchased at Hobby Lobby), so I decided to use those in the tablescape as well. Thrifted pink tapers and votive holders, tiny pink bottle brush trees from Dollar Tree, and battery operated tea lights from Amazon (affiliate link).
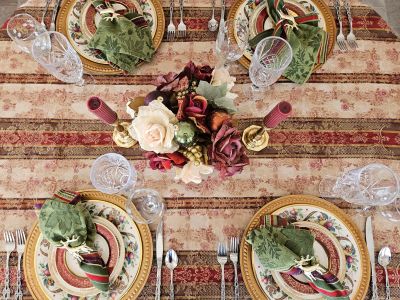
Here are a few more views around the table!
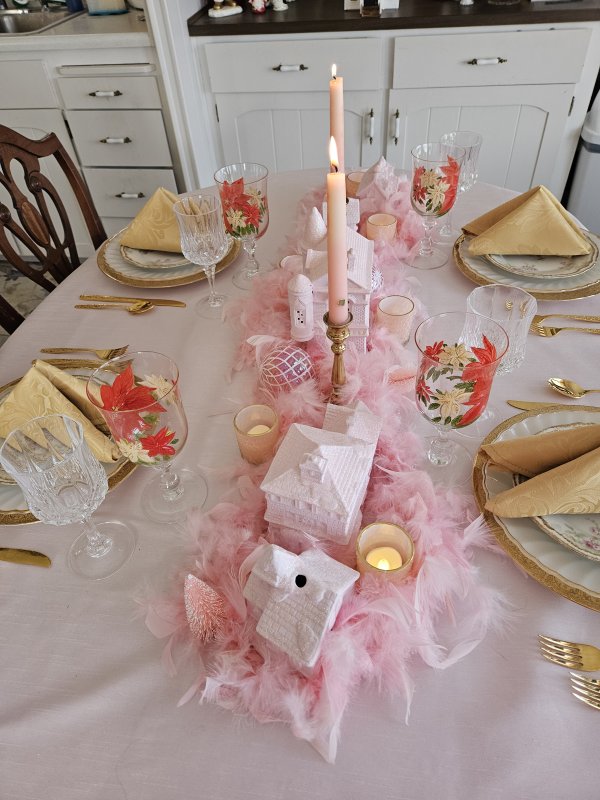
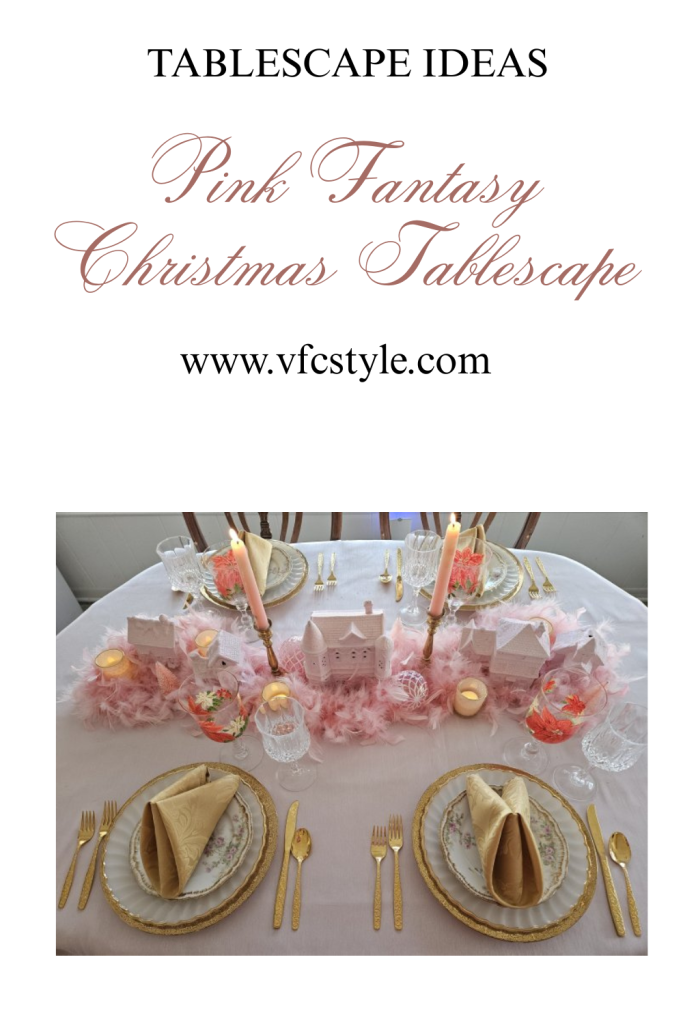
Here’s the birds-eye view…
… and a few candlelight shots because it looks soooo beautiful!
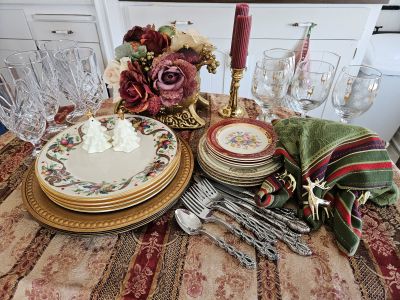
Finally, here’s the put-away shot, showing everything that was used to create this sweet, pink and gold fantasy tablescape:
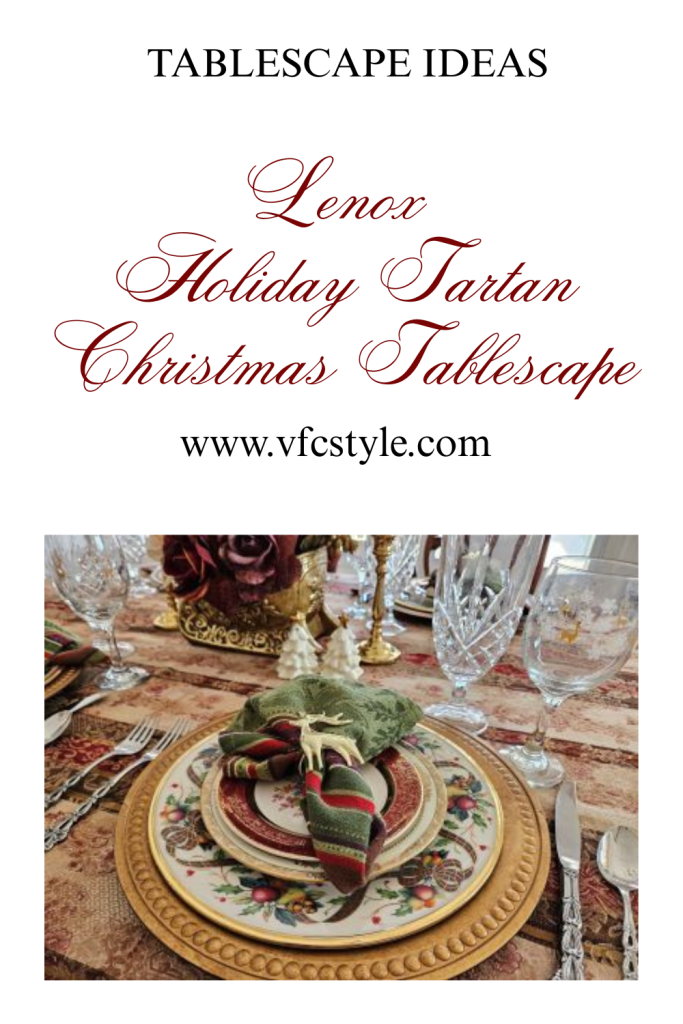
And of course, an image for Pinterest in case you’d like to save this post for future tablescape inspiration!
I’m sharing my Pink Christmas Fantasy tablescape over at Susan’s blog, Between Naps on the Porch, for the 900th Tablescape Thursday – be sure to click through for more tablescape inspiration!