A local radio station personality (us old folks used to call them “disc jockeys” or DJ’s, which is an old-timey word that originated back when those people on the radio used to play songs on individual acetate… later vinyl… discs… but I digress…) recently suggested the following:
“The top sheet on a bed could soon be a thing of the past. It seems younger people don’t feel the need for a sheet to cover up with in bed, using just a comforter instead.”
I suppose it’s all what you’re used to, but my first reaction to this was, “First cursive, now the top sheet – what is next, younger people? WHAT IS NEXT?”
And my second reaction was, “Ewww… gross!”
Look, I’m sorry to be a stick in the mud here, but a top sheet is not an option – it’s a necessity.
In warm weather, a comforter is likely too much covering. So the sheet provides a layer between skin and air that helps hold in your body warmth. (Have you ever awakened from a coverless nap only to find that your arms and other exposed areas are cold, and you feel chilled from the inside? That’s because your body temperature drops to its lowest point when you are at rest.)
Besides, without a top sheet, you’ll never have:
- that “Ahhhhh” moment that comes from slipping in between cool sheets in the summertime
- Something to pull up over yourself to look cute in bed after sex.
- That thin layer to hang your foot out from under.
In cold weather, the top sheet is a layer between you and the comforter that not only holds in the body heat but also absorbs sweat and body gunk, while being MUCH easier to launder than a comforter. When’s the last time you washed your actual comforter? It’s a giant pain in the ass, isn’t it? (Hint: yes.) Think of all the trips to the laundromat you’ll save, not to mention all the time you’ll spend waiting for the large-capacity machine to become available once you get there.
I say YES to the top sheet! What say you?
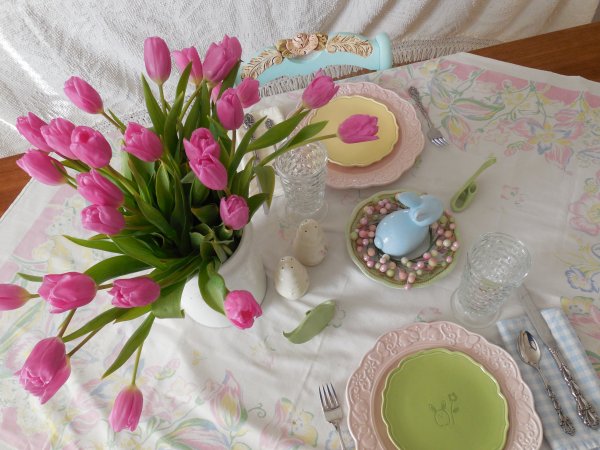
Here’s an image to Pin for this post if you would like!