

-

-

Love to set pretty tables on a budget?

-

FIND, FRIEND, FOLLOW!


-

My e-book: How to Have An Epic Yard Sale!
Click the book cover image to purchase for just $2.99!

Featured on these blogs!


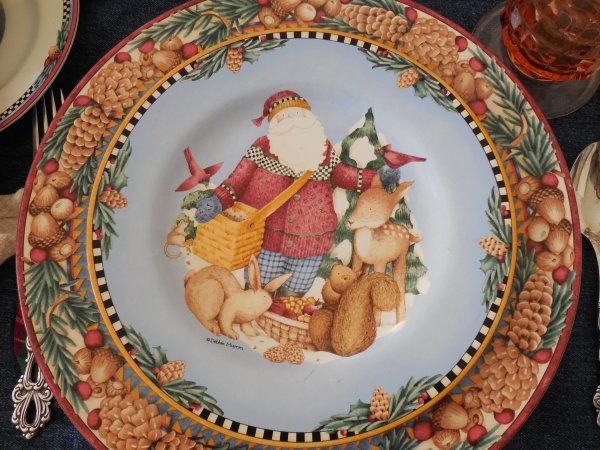
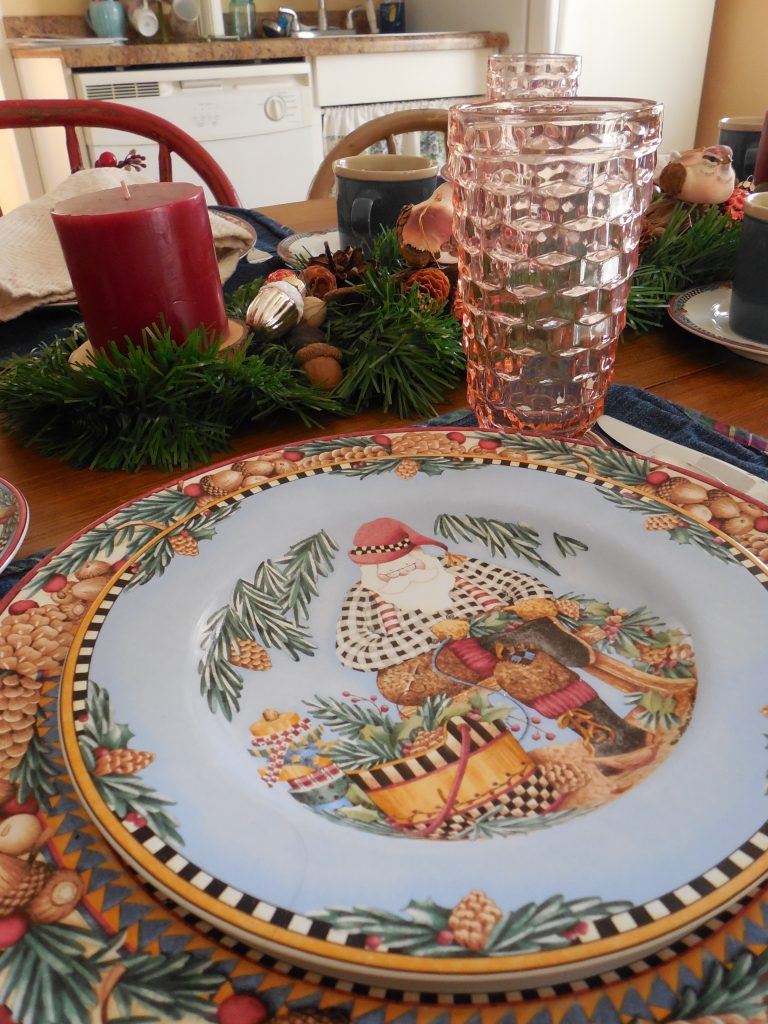
Several months ago I found a lovely set of Christmas dishes at Goodwill – service for 8, in a pattern called Woodland Santa by artist/illustrator Debbie Mumm. I purchased four of each piece and knew I would be doing a woodland-themed tablescape with them! What I love about this set is that the various plates complement each other rather than match, and the salad plates each feature a picture of Santa doing chores out in the woods! They are simply adorable! So here is the table I set with them.

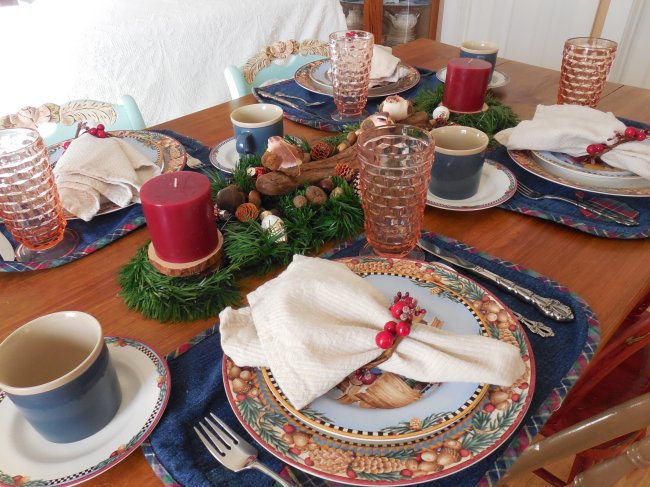
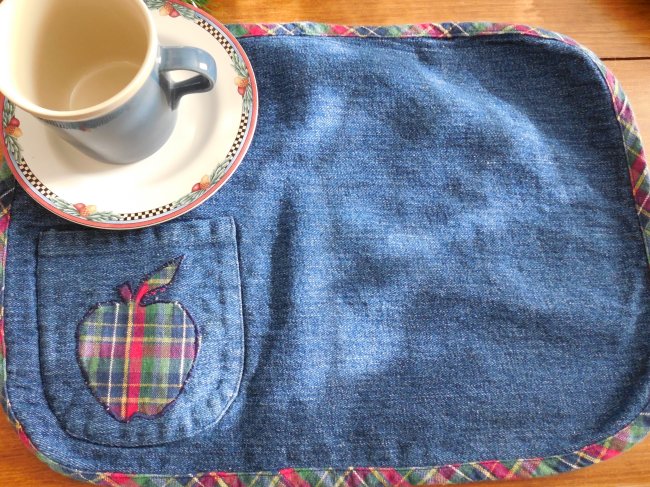
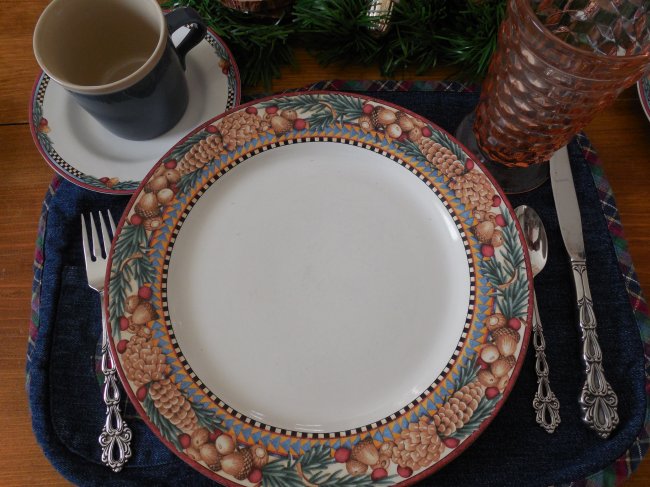
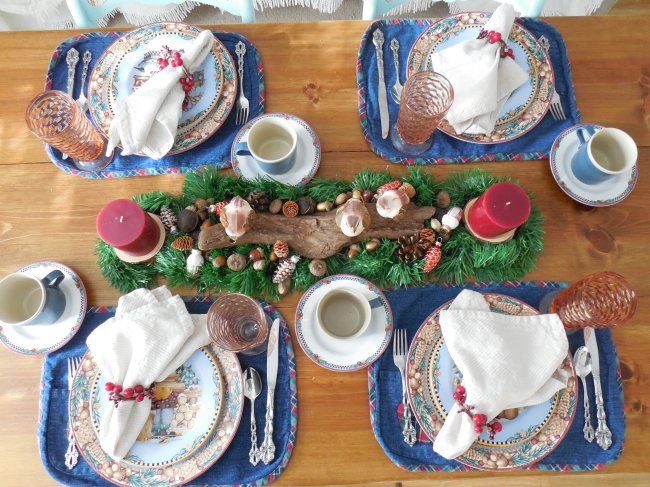
I didn’t use a tablecloth for this one because the pine top of my table makes a nice backdrop for a “woodsy” table. Instead I chose these sweet denim placemats with plaid trim. I thought the denim suggested the “dungarees” Santa would most likely be wearing if he was outside doing chores! While the apple is not a traditional Christmas motif, it’s mostly covered by the plates so it wasn’t a key part of the table.
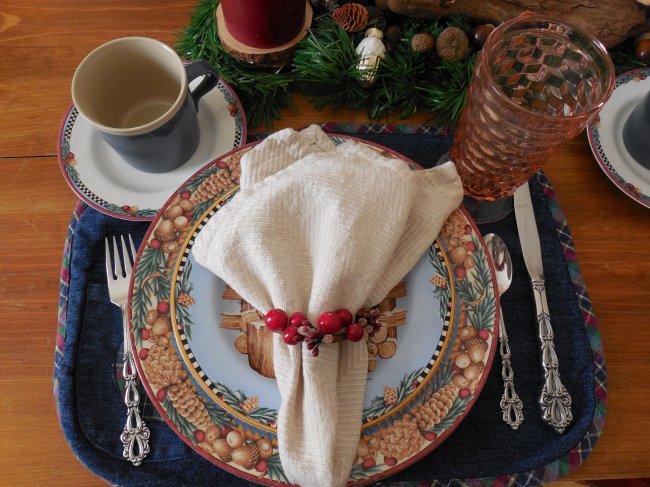
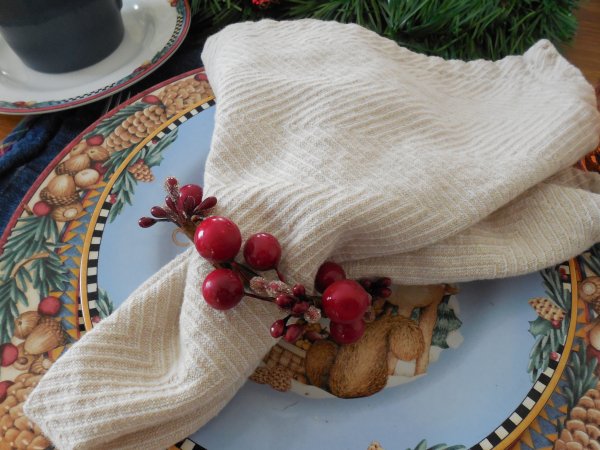
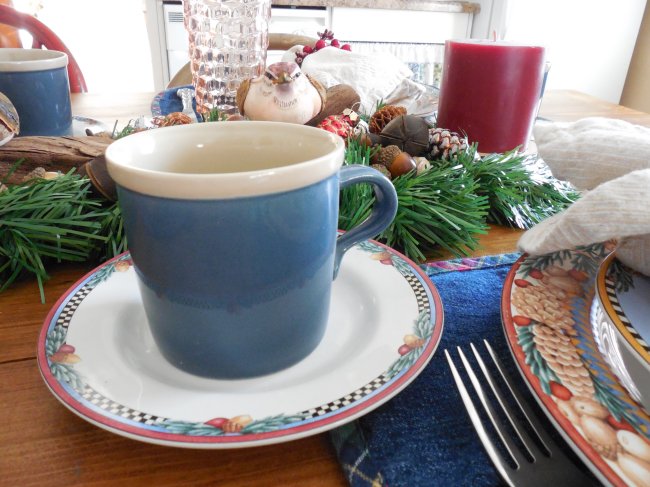
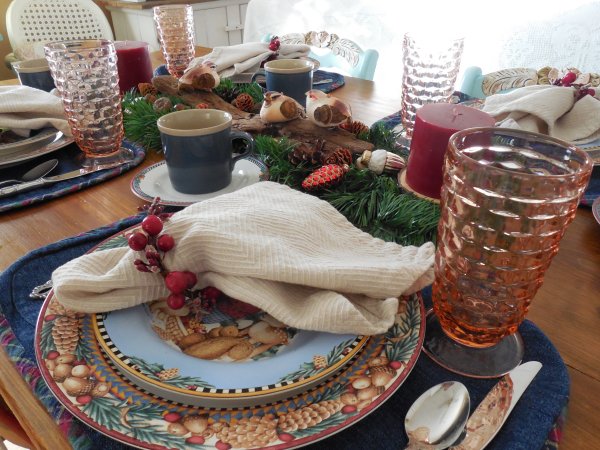
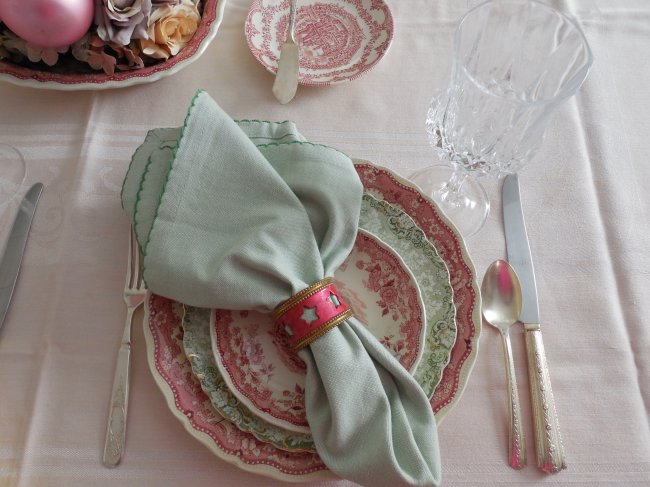
The place setting keeps the salad plates hidden until you take your seat and remove your napkin from the twig-and-berry ring. That way you get to enjoy the little surprise of discovering which “chore” your Santa is doing.
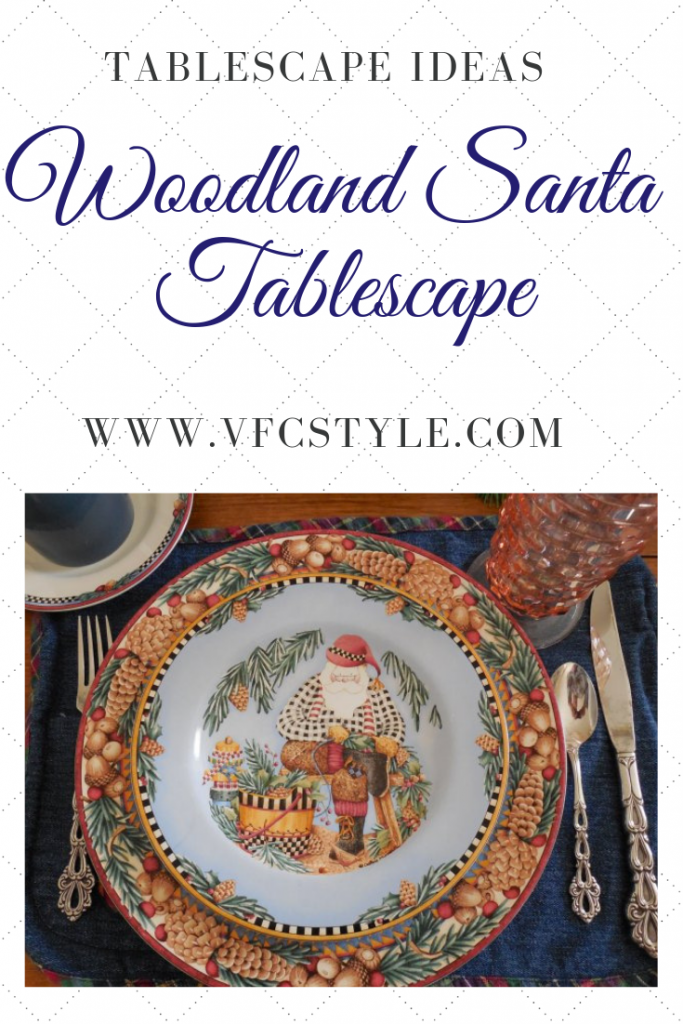
Here are each of the salad plates, showing Santa hard at work chopping wood, hanging bird houses, making garland, and feeding the animals.
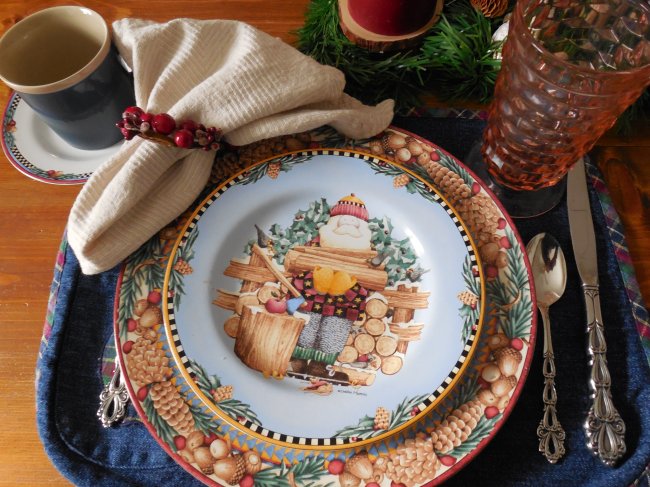
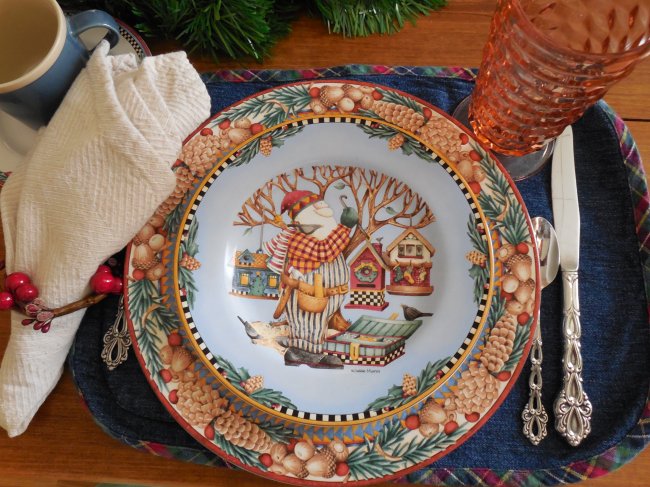
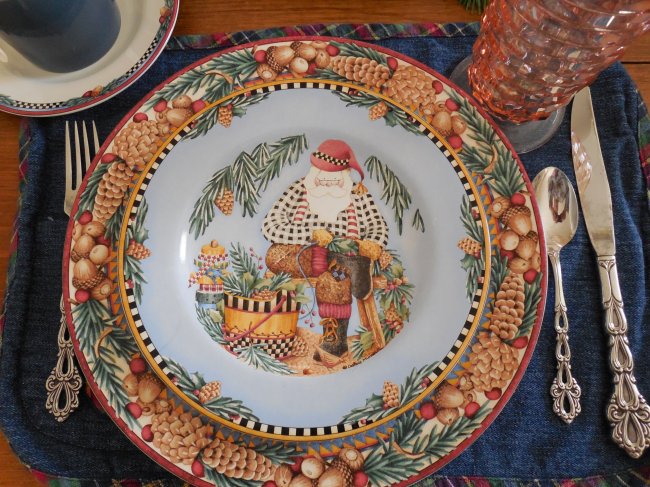
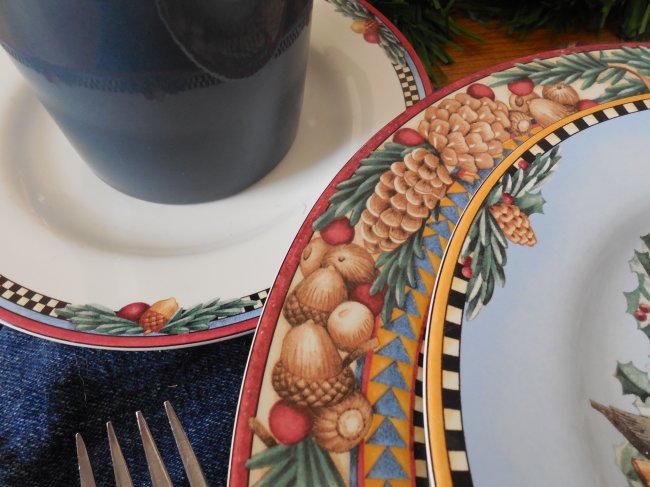
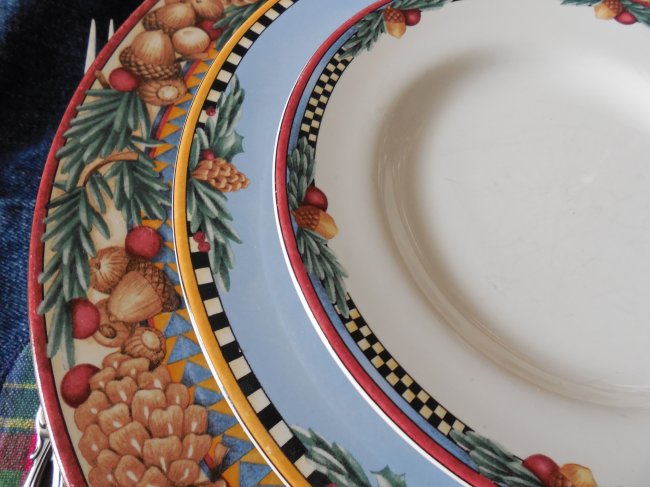
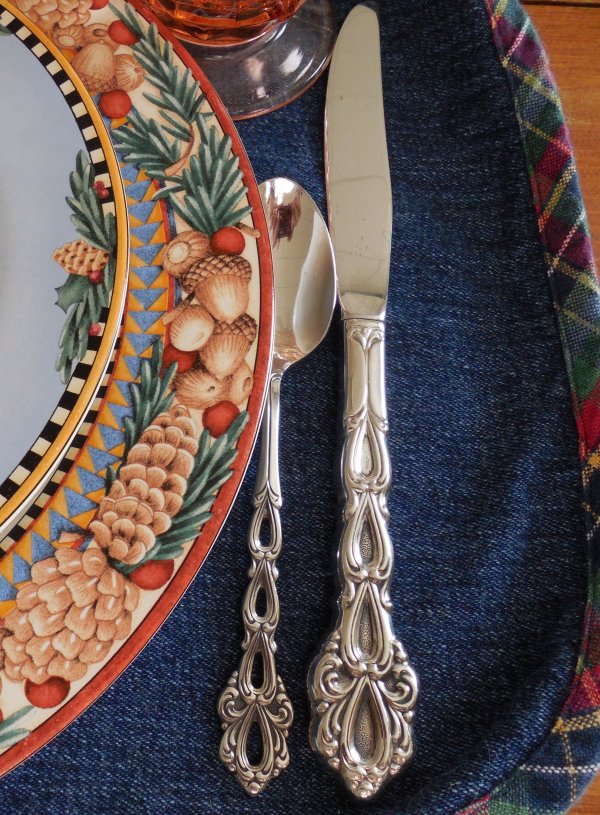
The dinner plate has a beautiful rim featuring acorns, pine cones, red berries, and greenery.
The salad and bread plates feature a simple checked border with clusters of acorns or pine cones. Here are the edges so you can see them together.
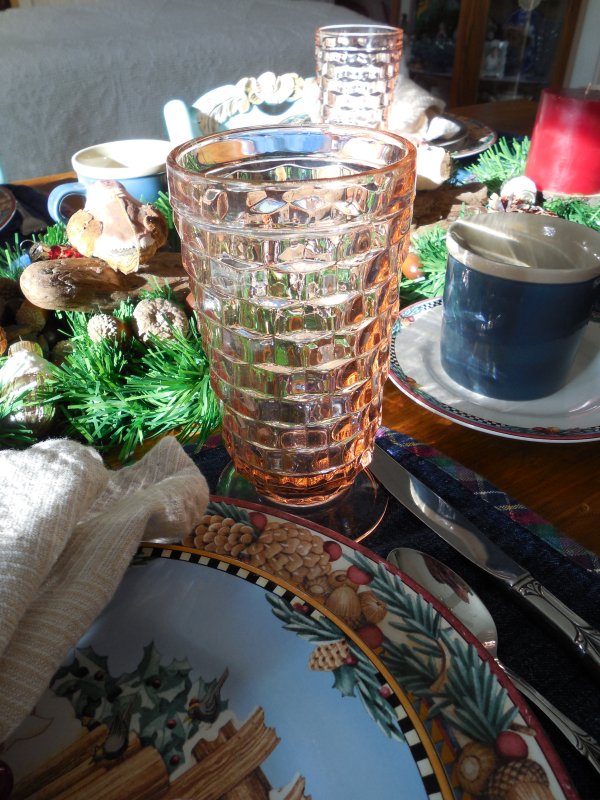
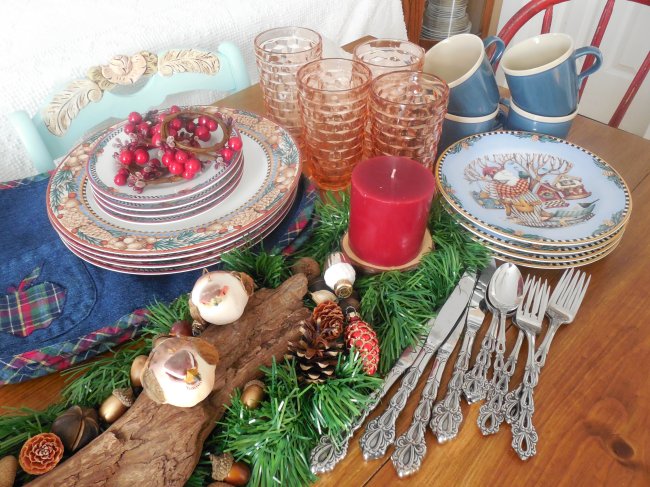
We’ll be enjoying both an iced beverage and a cup of coffee for this meal so I’ve provided pink Whitehall tumblers by Indiana Glass which pull their color from the border of the dinner plate… and denim-blue coffee mugs that again echo Santa’s hard-working outfit!
Flatware is “Chandelier” by Oneida – the pattern my grandmother gifted to me a few decades ago.
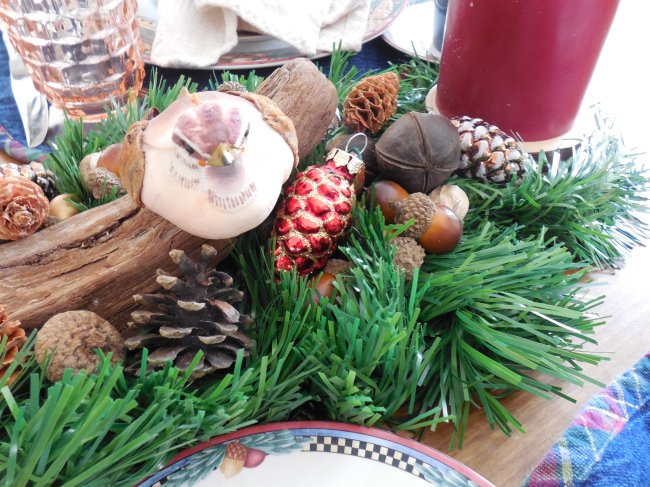
For our centerpiece, I laid a bed of faux greenery and then nestled in a piece of driftwood, plus pine cones, acorns, and other natural bits I collected during my woods walk back in October.
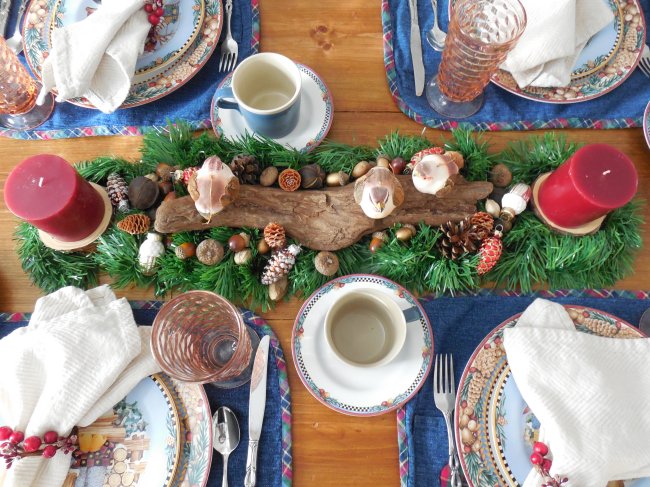
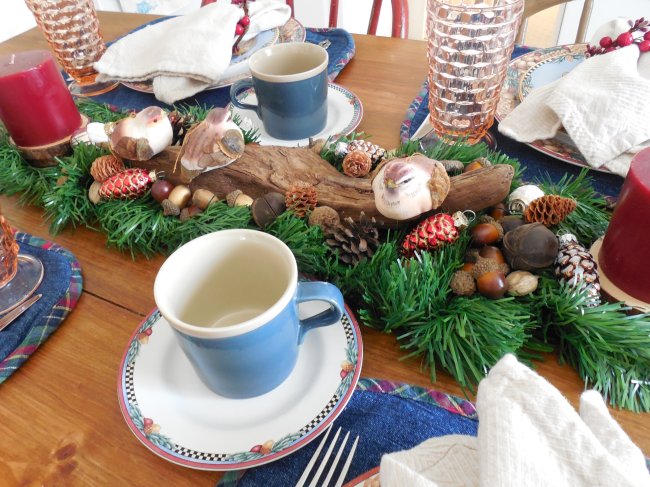
And, because one of Santa’s chores is feeding the woodland critters, I included a few sweet birds as well. Finally, I added a few of my favorite shimmery pine cone and acorn ornaments right from the Christmas tree that sits on my sideboard table.

Here are a few more views around the table…
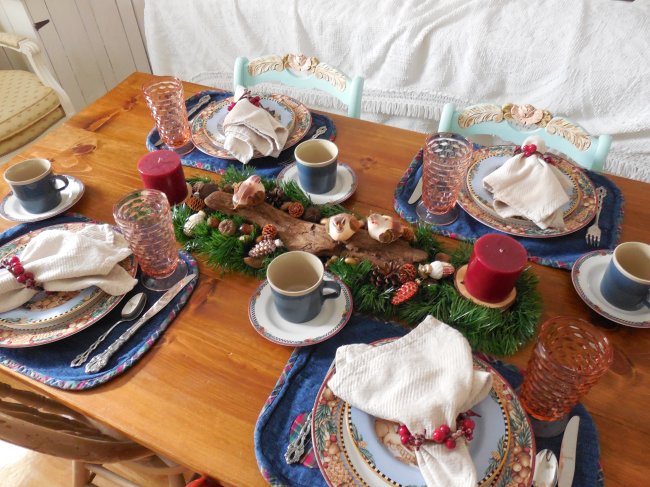

… a bird’s-eye view…
… and the put-away shot, with everything gathered up and waiting to go back into the cupboards.
I would love to hear about your Christmas table – what dinnerware did you use? Did you do a special centerpiece? Also, I’d love it if you would join me over on my Facebook Group, Thrifty Tablescapers! We are so far a very small group sharing pictures and ideas for setting pretty tables on a budget.
Finally, here is an image you can use for Pinterest if you would like to “pin” this tablescape for future ideas.
I’m sharing my Woodland Santa tablescape for Tablescape Thursday over at Between Naps on the Porch!
Apparently the great Facebook gods do not allow you to pin content from their site – I’m not surprised, and not disappointed, because honestly the last thing Pinterest needs is to be overwhelmed with useless memes and “99 percent of Facebookers won’t share this” crap! But I am looking for a way to share a link on Pinterest to the group that I host called Thrifty Tablescapers, so I’m going to pin the image below and link back here. SO – if you are looking for the Facebook group called Thrifty Tablescapers, you can click here to find us, setting (and sharing!) pretty tables on a budget!

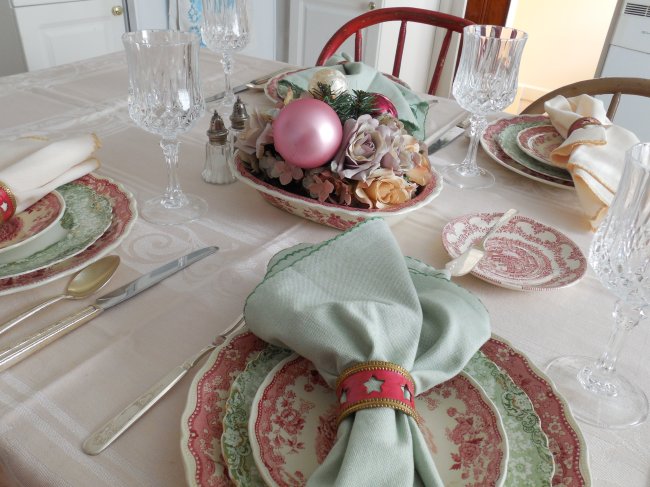
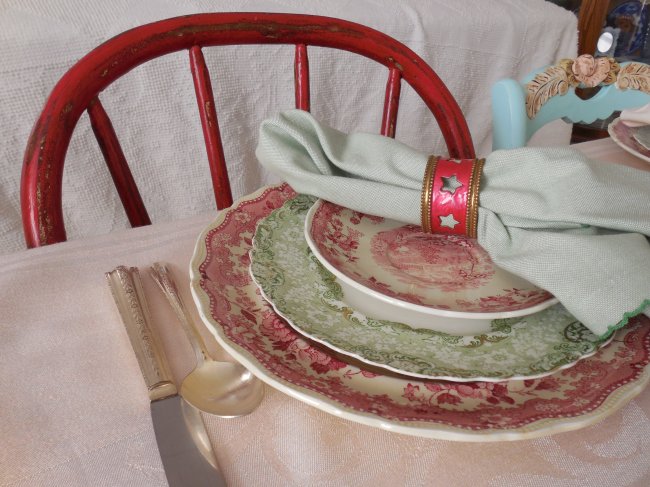
Christmas is almost here! If you come by for lunch I promise we will use this pretty tablescape featuring sets of very very vintage (maybe almost antique!) red and green transferware! Oh friends, I struggled so much bringing this simple table together – but I’m happy to report it turned out just lovely.
Why the struggle? I knew I wanted to use the red and green together, but when I set the table by just alternating colors at each place setting, it looked very sparse. Pretty, but sparse. Once I brought out more pieces, though, and actually layered them, well that’s when it hit me: I’ve been spoiled by stacking! Meaning, I have now done so many tables with layered plates that suddenly single layers can seem like they are unfinished! LOL
I hope you will agree that the red and green are perfect for a small Christmas luncheon!
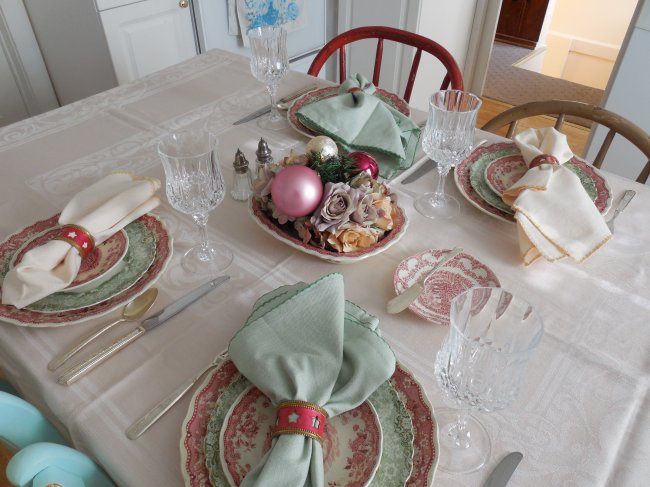
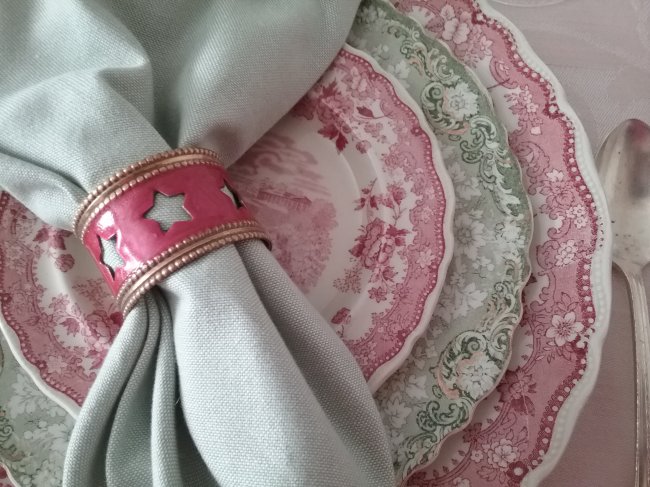
Our plates come from two different sets: red “Shannondale” by Ridgways of England, and green “Roxbury” by Alfred Meakin, also of England.
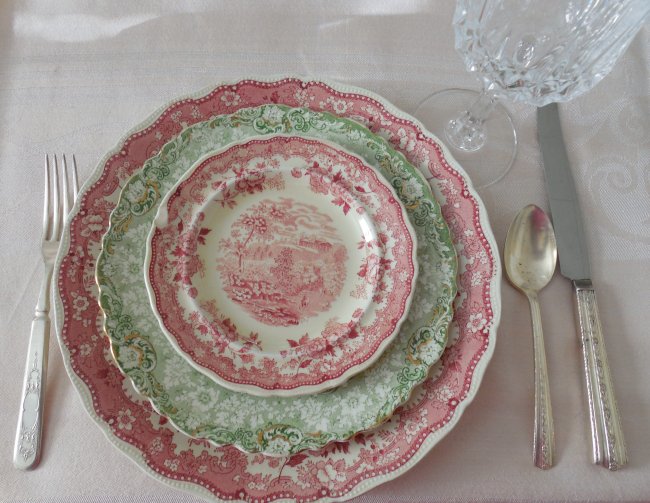
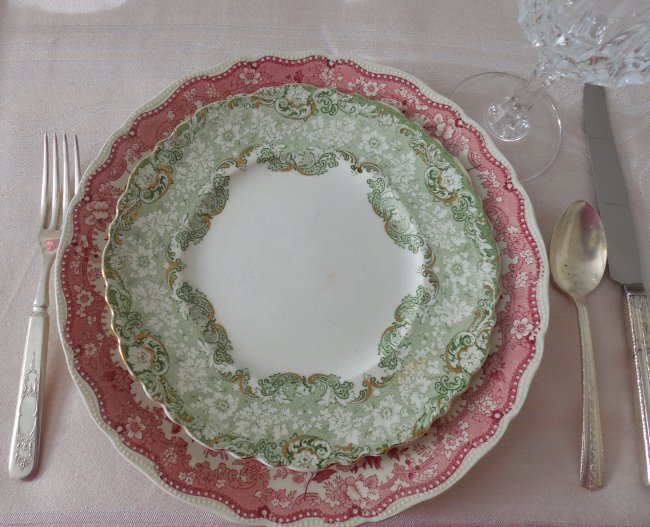
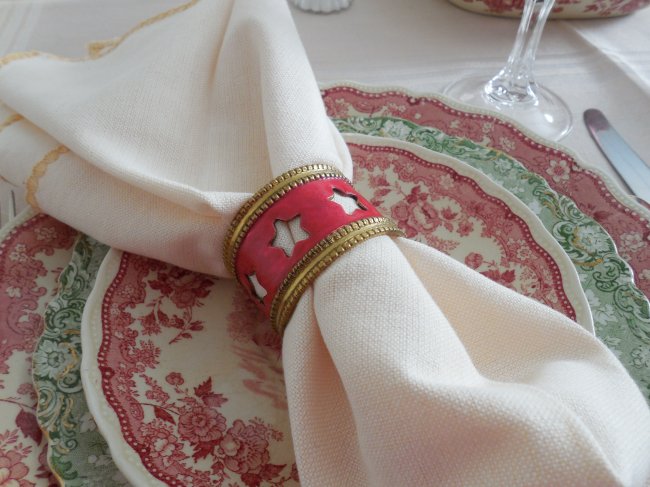
Here is a better view of the Roxbury –
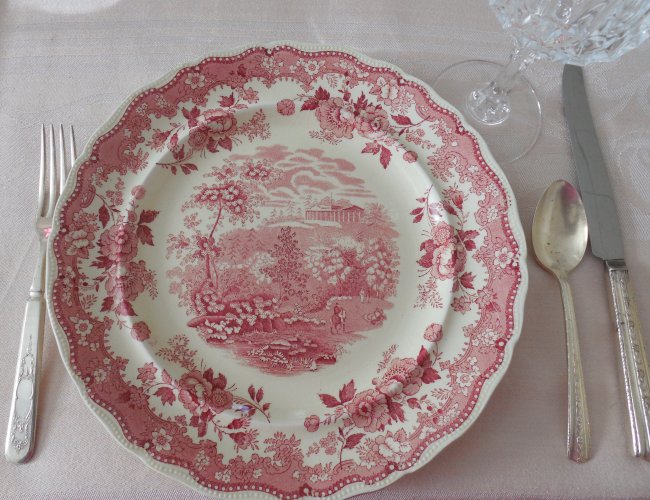
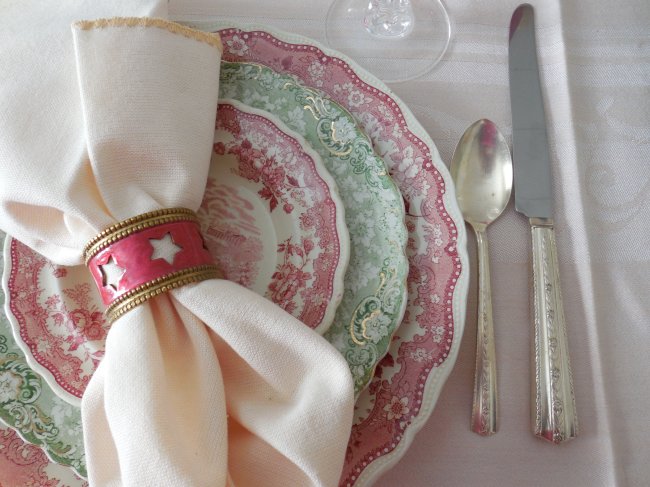
And the Shannondale dinner plate –
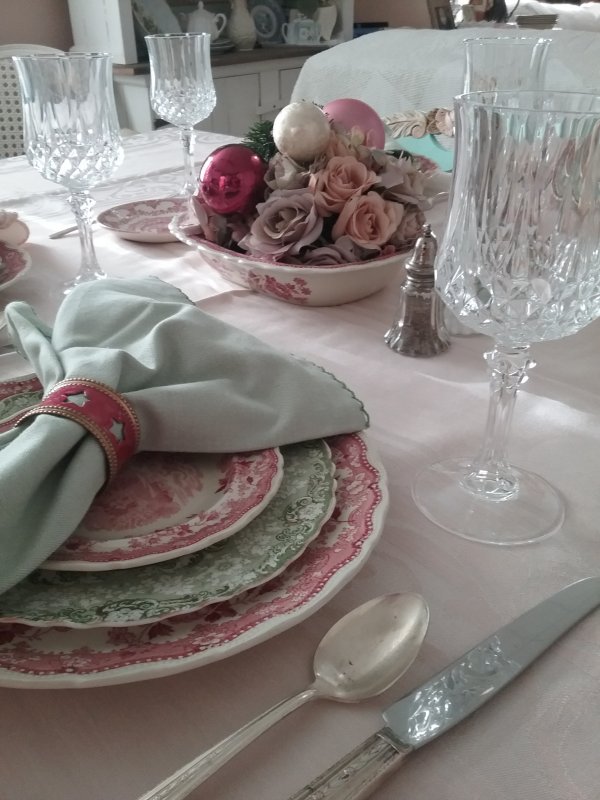
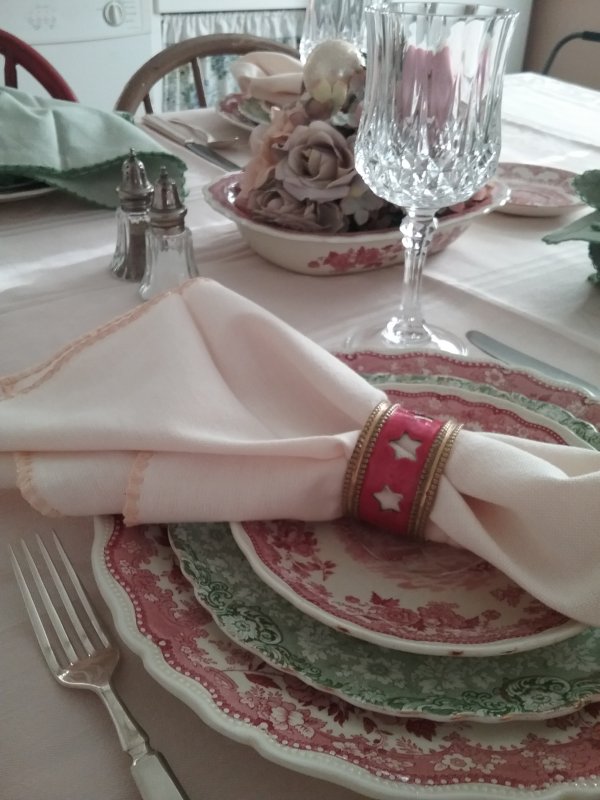
The tablecloth is a very light pink and was a garage sale find this year. I should have ironed it – I actually do not own a regular ironing board, and my present iron does not have a non-stick surface, so I was reluctant to try. I alternated napkins in a very light green and light cream color – they are by Pier 1. I would have liked to have done all green – alas, I only have two of those on hand, thus the need to bring in another color. The napkin rings were a flea market find; I love that they echo the red from the plates and evoke a bit of Christmas with the star motif. (They also sort of look like the drums used in a marching band – Fourth of July table, perhaps?)
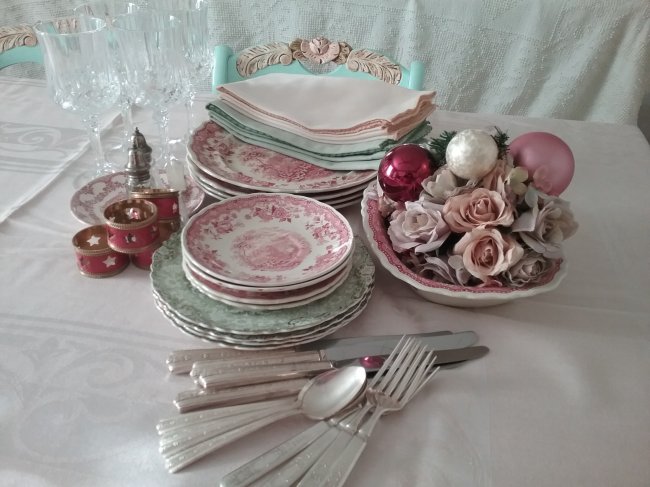
Flatware is genuine silverware via this past summer’s flea market trips, and drinkware is thrifted crystal (possibly Waterford? I’m not sure).
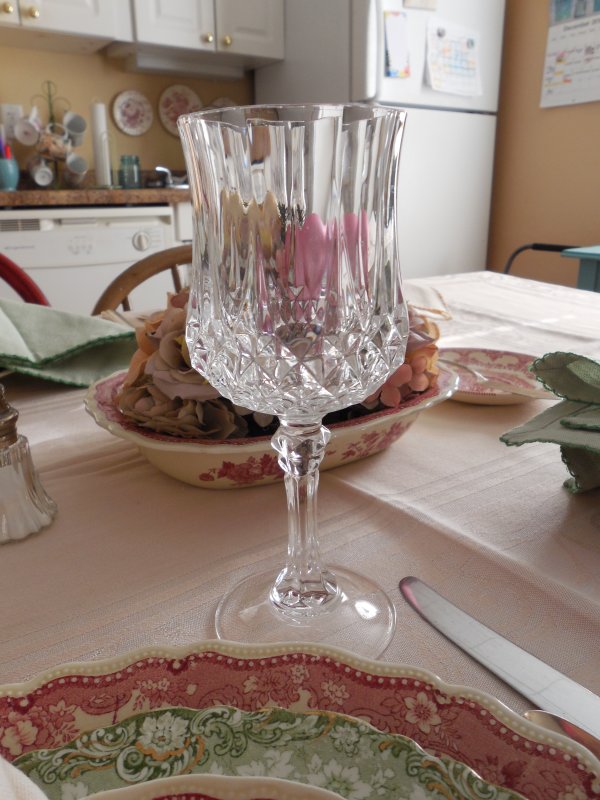
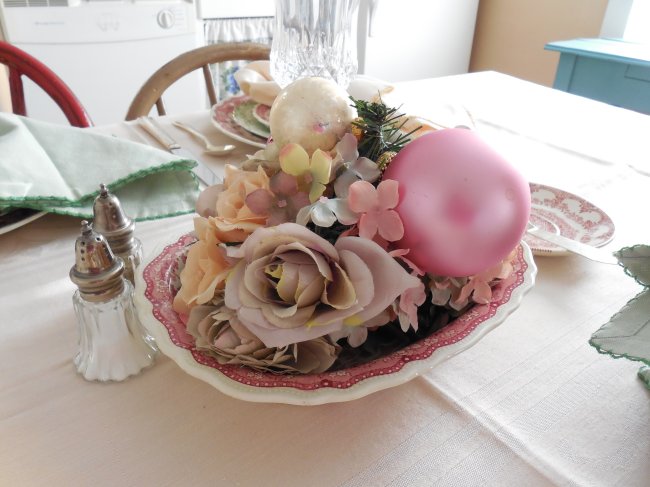
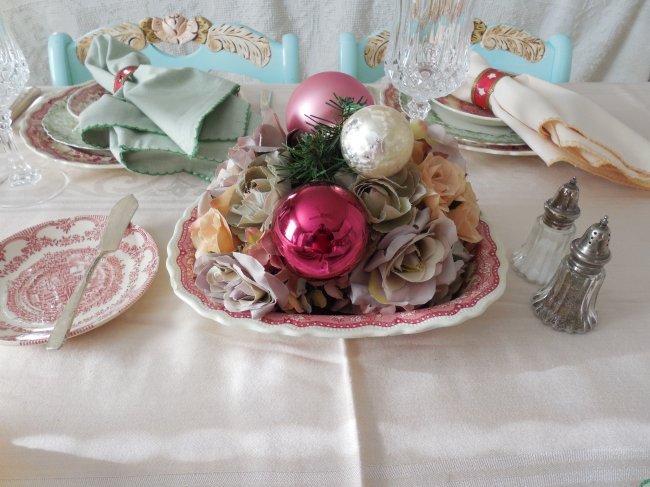
Our centerpiece is very simple – a Shannondale bowl filled with silk tussy-mussies and a few Christmas baubles. There is also a different pattern used for the butter plate (with silver server) – it is stamped on the bottom, “English Ironstone England.” I love the home depicted in the center – it is quite charming! The plate itself is actually a saucer; I would love to find the teacup that goes with it.

Here are a few more views –
Finally, here is the “mood board” or put-away shot for this table. I love how pretty everything looks when gathered together like this!
Are you serving up any special Christmas brunches or luncheons? Will you be hosting a Christmas dinner in your home? I’d love to know your plans!
I am sharing this sweet luncheon table for Tablescape Thursday over at Between Naps on the Porch.
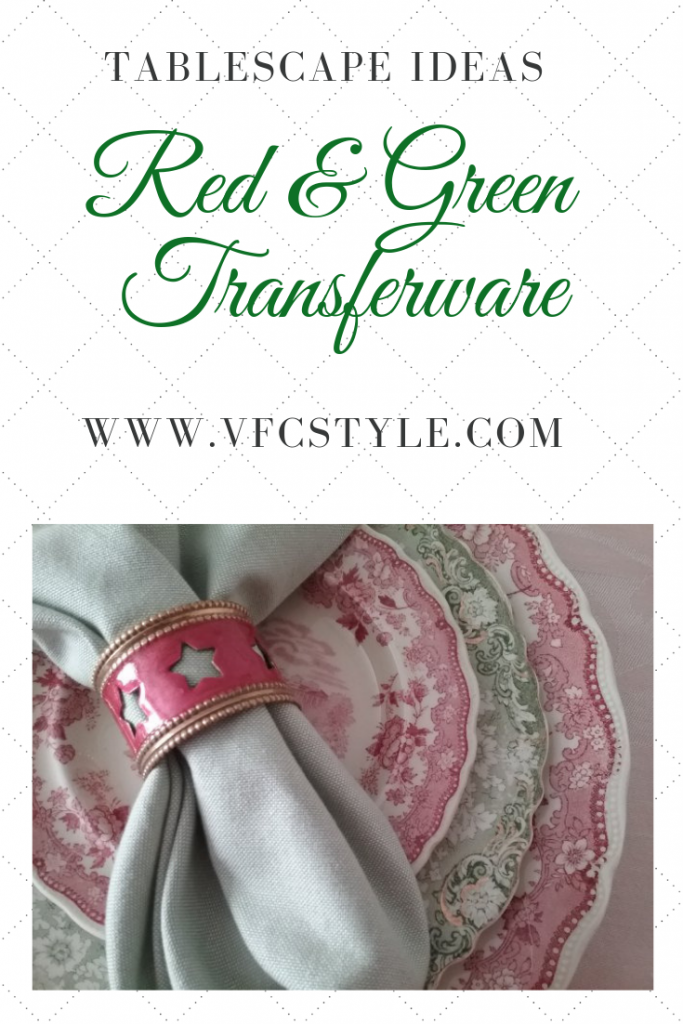
Here is an image to Pin in case you would like to save this post for future inspiration!
I’ve always been a project-starter, since ancient grade-school times when I would get bored and decide to “make a magazine” or write a short story or even get out Dad’s circular saw and build a bookcase (age 16 – can’t believe I did that, today I’m kind of terrified of saws!). These days I love to take on repurposing projects – start with something old and turn it into something new and useful – that’s actually one of the cornerstones of cottage style!
Of course, Pinterest is a great source of ideas for this, but sometimes I can even come up with my own ideas. Here are a few of my favorite projects – although trust me, if a saw was involved, I probably had help!
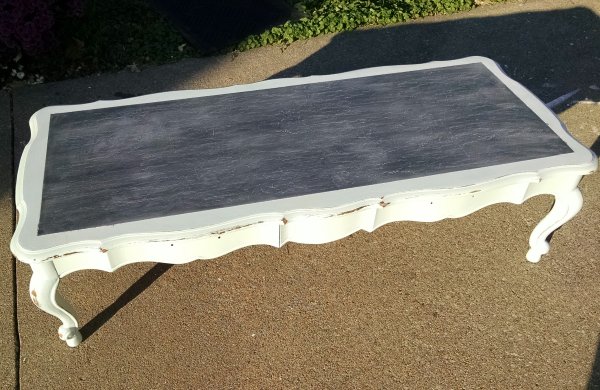
Country style coffee table turned kids’ activity table – This was a quick and easy repurposing project that I completed in just a few hours. We picked this honey-pine coffee table off the curb and it was in fine shape, just out-dated. I used chalkboard paint for the center section and Fusion Mineral Paint (lightly distressed) for the rest of it, turning it into a playroom table that kids could draw on – “sidewalk chalk for rainy days”!
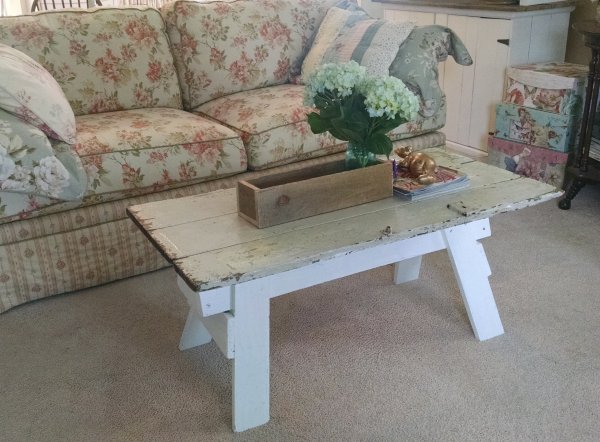
Sawhorse coffee table – This piece came about when I acquired a must-have white painted sawhorse and a right-sized barn door with perfect chippy patina. Two items you would not think belonged in the living room, but together they are perfect in front of my cottage sofa!
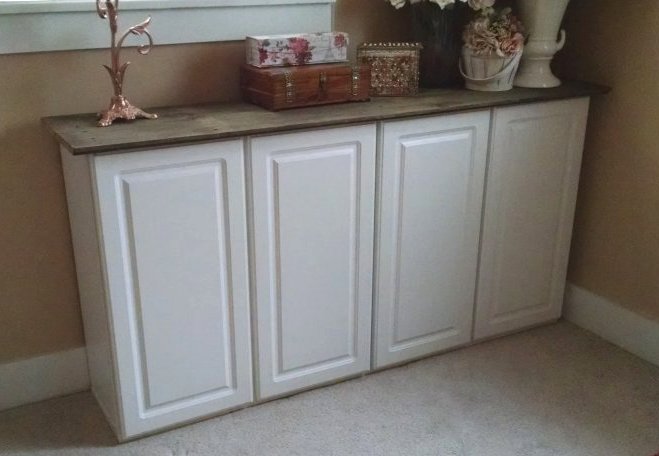
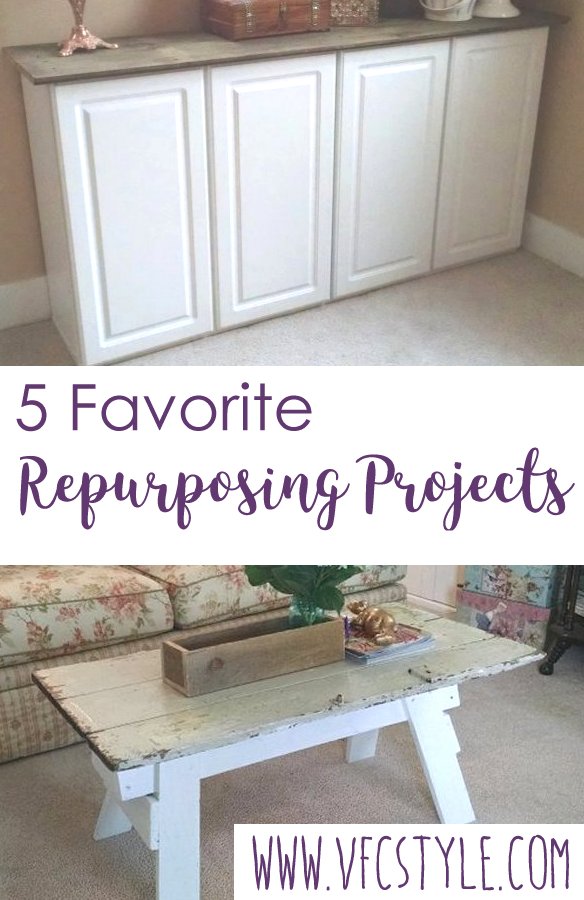
Kitchen uppers & vintage carsiding to custom dish storage – I freely and unashamedly admit it, I’m addicted to vintage dinnerware! And my kitchen cupboards (and homebuilt primitive hutch) were already full of my collected pieces, so I dreamed up a way to get additional storage for super-cheap: I sourced two matching kitchen upper cabinets in decent condition from the local Habitat for Humanity Re-Store, and had Greg join them together with some scrap wood and some cool old carsiding for the top. It makes for a perfect storage piece without sticking too far out in to the room, and the top adds a bit of vintage character.
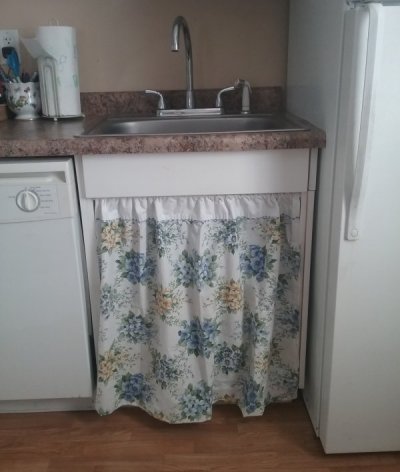
Pillowcase to cottage sink skirt – I wanted just a small touch of “cottage” in my rental house kitchen, so awhile back I took off the cabinet door under the sink and made a sink skirt. Then at the beginning of this year I decided it was time to change out the fabric, so I used a standard pillow case with pretty details to make a new skirt. It’s stretched across the opening on a tension rod. One of the easiest repurposing projects I’ve ever done!
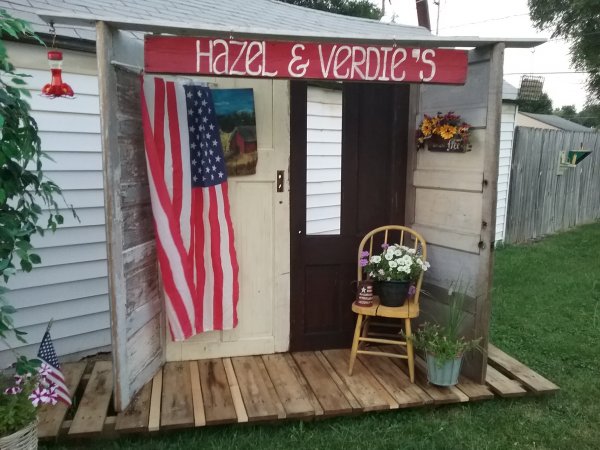
Old solid wood doors, pallet and trellis to outdoor garden structure – I really wanted to build a she-shed this year. But then I researched the cost and put the idea on the back burner. Then one night perusing my Pinterest board of garden junk, I saw that I had pinned something like this almost-shed. We had curb-picked some doors already, and bought a couple additional ones for $15 each… had a chunk of trellis already in my stash that we used for the roof, as well as curb-picked scrap lumber used to hold it together, and had all the décor already on-hand. We got the pallet floor for free from a local business. It’s my almost-shed, built for under $50, and just as much fun!
How about you – what is your favorite re-purposing project you’ve ever made? Do you do a lot of projects? Do you generally start them at 9 o’clock at night like I do? 🙂 I’d love to know!
Here’s a Pinnable image in case you’d like to save these projects for future ideas!
|
|
|
|
|
|
Click the book cover image to purchase for just $2.99!