Here’s a really easy Christmas craft if you are in the mood to make some floral arrangements! (Seriously – no excuses, just make one. I promise they are simple!)
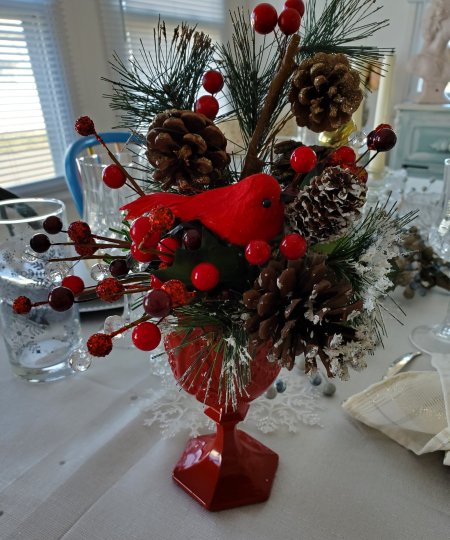
You can use these anywhere you need a little Christmas floral accent, or even give them as gifts. They are so stinkin’ easy – you do not need to be a floral designer (there’s a shortcut) and guess what – they don’t have to be perfect to be beautiful, festive, and fun! Here’s a sample:
I had an idea around Halloween that I wanted black goblets for my spooky Gothic tablescape, but I didn’t want the cartoony plastic ones with fake bony fingers wrapped around them. I wanted cool, creepy looking drinkware that had a real haunted house vibe. I had some glass goblets that would have worked (one of each in several different patterns – why? Don’t ask.), but they were clear glass. I had the bright idea to spray paint them, but quickly realized they’d no longer be safe to drink from if I did that. I did not literally want guests dropping over dead from drinkware poisoning… so I ditched the “black goblet” idea and used the smoke colored ones I had from Dollar Tree instead.
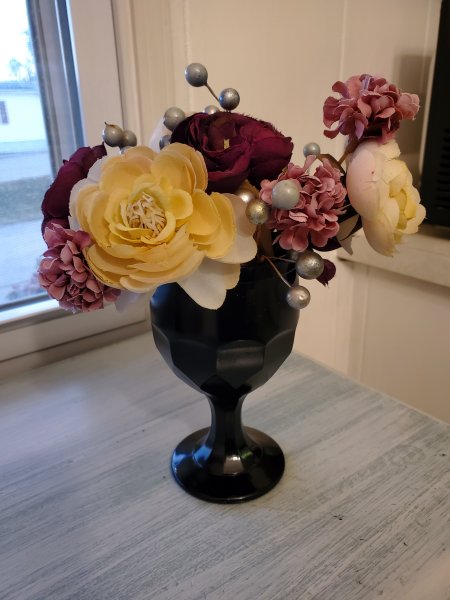
But the idea of cool, creepy black goblets stuck with me, and I decided to go ahead and paint a few, and use them for floral arrangements. Here’s one just to show you the concept:
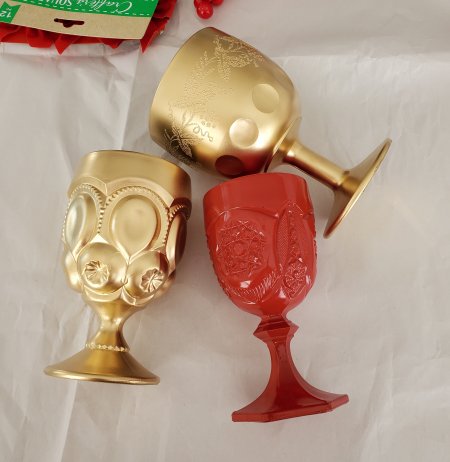
At that point I thought they were really neat and I thought, heck why not use up a few more of these goblets and turn them into a Christmas craft! So I painted a few red and a few gold back when the weather was still good, and saved them til I was ready to get the Christmas stuff out. (Hint: that wasn’t October, but I was – for once – thinking ahead!) Here’s how you can make this super-simple project!
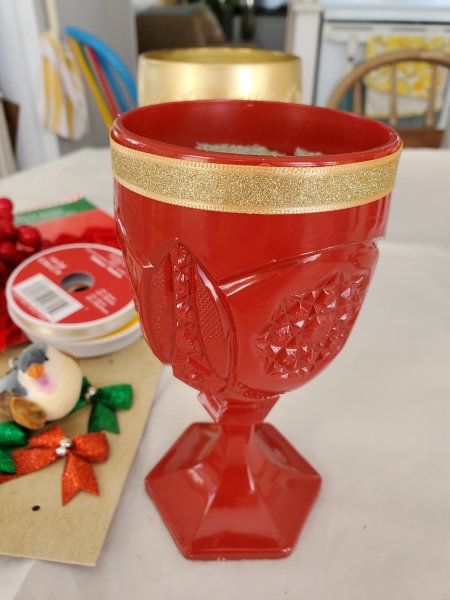
Started with some spray-painted goblets! If it’s too cold to spray paint, try doing it in the basement (just wear a mask and/or ventilate well) or even paint outside but bring it in right away to dry.
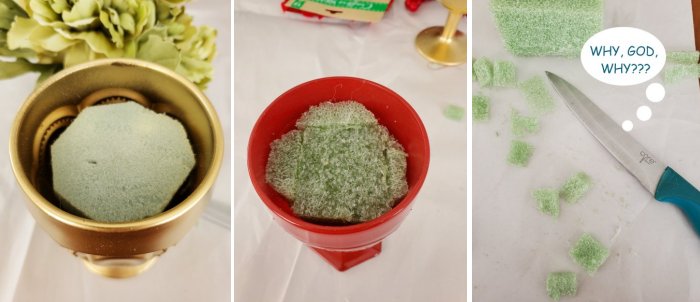
Cut pieces of floral foam with your good kitchen paring knife and hot glue those down into the goblets. I did use two different types of floral foam for mine, because I used what I had on hand. I believe one type can be wetted for keeping flowers fresh, but we are using silk flowers and we will not be submerging them this time around. After cutting chunks and wedges of this material, I don’t think my knife is speaking to me any longer.
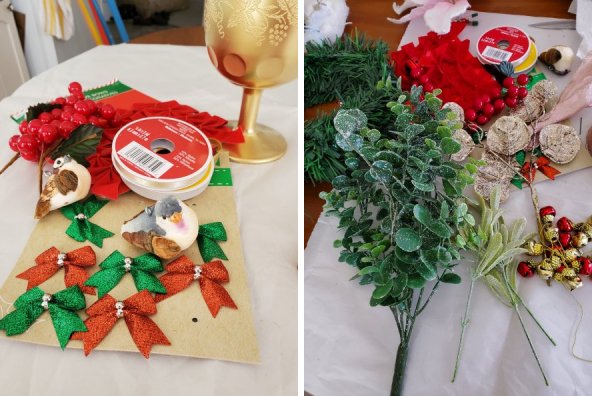
Now here’s the secret to why I say you don’t have to be a floral designer to do this project: You’re going to use ready-made faux-flower stems, bunches, and “picks,” so the design work has already been done for you! You can also use any Christmas craft stuff you already have on hand like ribbon, bows, jingle bell garland in a conveniently knotted mess, glitter (OH GOD, THE GLITTER!) etc.
One of the easiest ways I add touches of Christmas around the house is just by sticking Christmas picks and baubles into existing vessels and floral arrangements. It Christmases up the house but I don’t have to redecorate the whole place to get a festive vibe. Plus it gives me something to hunt for around the house long after all the other Christmas stuff is put away, kind of like the confetti we used to throw around as kids on New Year’s Eve, which my mother would be vacuuming up even into June some years. But I digress.
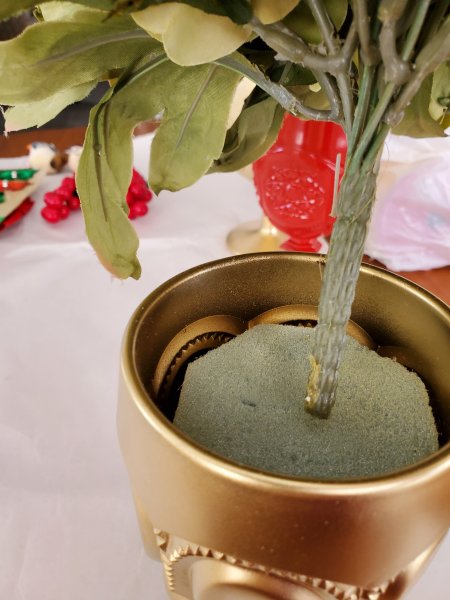
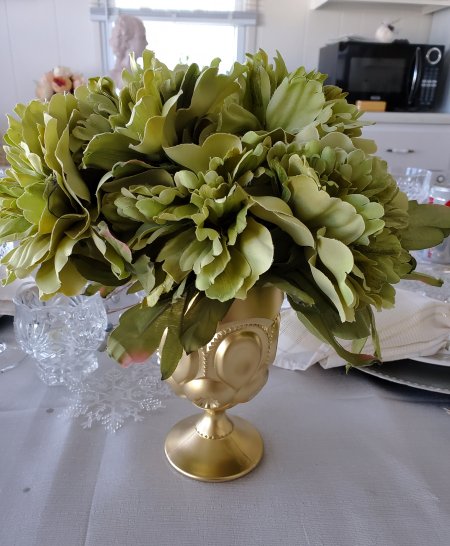
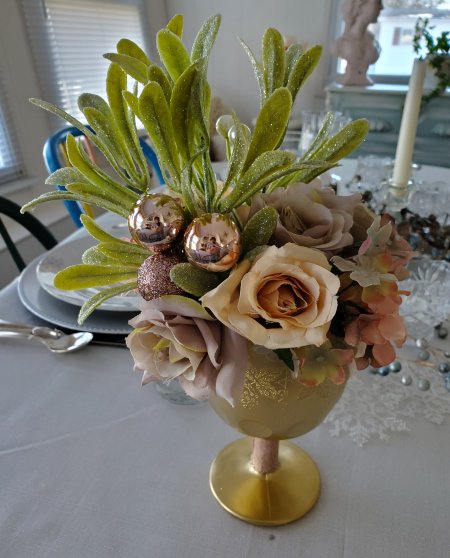
ANYHOO… because I have a lot of gold-painted accents in my home already, I decided to make my gold goblets non-seasonal. This way, I could customize just by adding a Christmas (or even other holiday) bauble when needed. Of course, you can make yours any way you like! To do this, I just pushed ready-made bunches of silk flowers (acquired at thrift stores super-cheap) down into the foam of the gold goblets. Seriously, this cannot be any easier! Now the photo below is just for reference – trust me, you have to shove the stem all the way down into the foam unless you want it to be irrationally precarious.
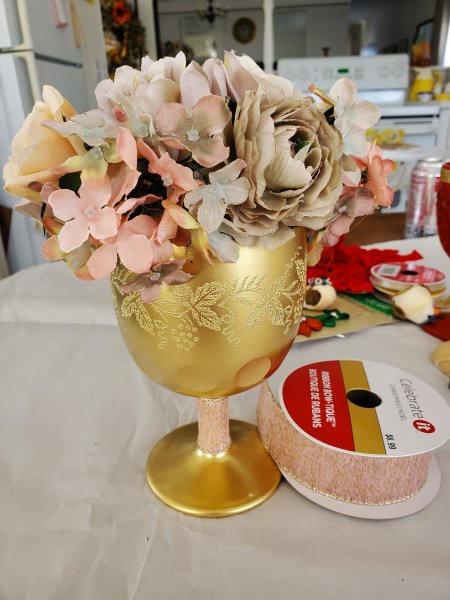
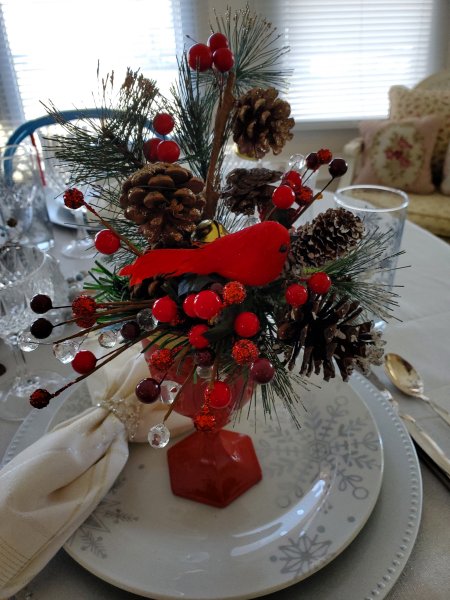
For the red goblet, I decided to make this one All-Christmas-All-the-Time. I started by hot-gluing a bit of thin gold ribbon around the rim. (Oh! I also hot-glued some PINK ribbon around the gold stem, as you can see above. ^ I really should add a bow to that one, but I’m still trying to get the hang of making a finger bow as demonstrated in numerous TikTok videos.) Again: gold ribbon as shown below.
I love anything Christmas-themed featuring branches and birds because, after all, isn’t Advent about preparing our hearts, making a nest for the Savior to dwell, like a bird preparing a nest for its young? I know – adorable! So I made sure to use a pick that had a little faux cardinal on it (because I mean, a real cardinal just wouldn’t be very practical – he’d be flying around all the time, hitting the windows and pooping everywhere, and besides my cat was here first so it really wouldn’t be fair.)

Anyway, if you’ve read this far, you’ve already realized that this Christmas craft project involved 1.) Spray-painting goblets; 2.) Hot-gluing floral foam into said goblets; and 3). Sticking ready-made floral picks and faux flowers into the foam; 4.) Being intimidated by a cranky old cat; 5.) Making a nest for the baby Jesus because Advent; and 6.) Accepting the kudos and compliments of your friends and family because THIS CRAP YOU MADE LOOKS FREAKING AWESOME!
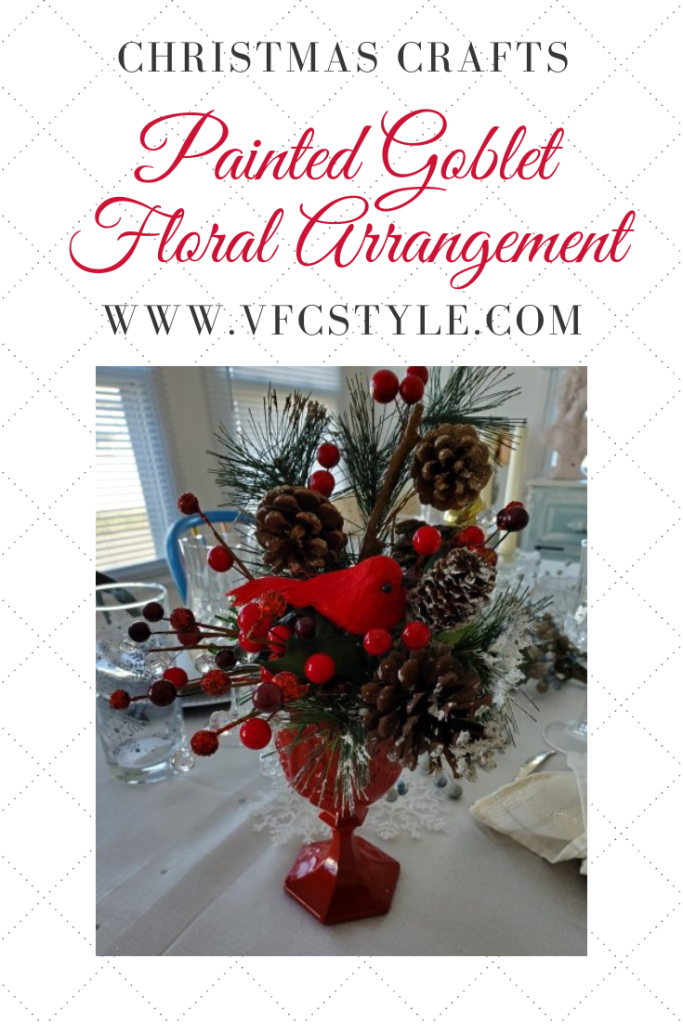
Here’s an image you can Pin if you’d like to save this easy Christmas craft for future inspiration!