Here’s a fun way to add an extra layer of “oooh and ahhh” to your Christmas table this year: the Christmas tree napkin fold! I discovered this fold years ago while searching on Pinterest for other things (you know how that goes!), and I’ve used it several times because it looks adorable and it’s SO easy to do! (Also check out my new free PDF tutorial, “5 Fun, Easy Napkin Folds” for this and other lovely napkin ideas!)
(This post contains affiliate links. If you make a purchase by following my link, you pay nothing extra but I earn a small commission. Thank you for using my link!)
Napkins are a necessity on the table if you want your guests to stay tidy during the meal, and there are lots of options for making them look special: they can be laid next to the plate, under the flatware; they can be set under the salad plate; they can be popped into a pretty napkin ring and laid casually across or above the plate.
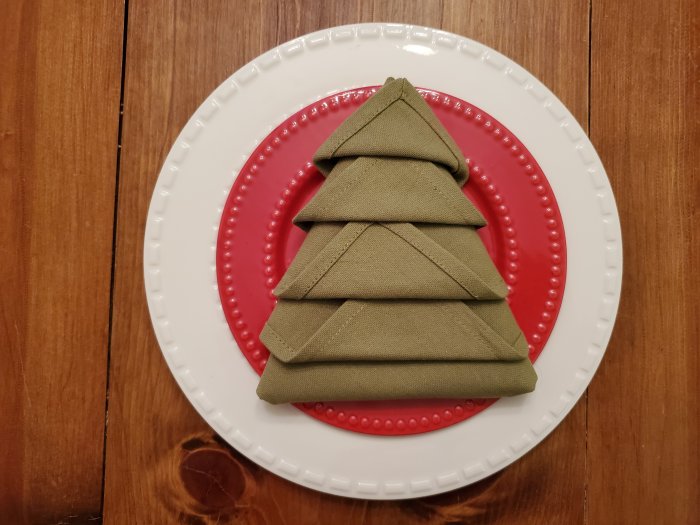
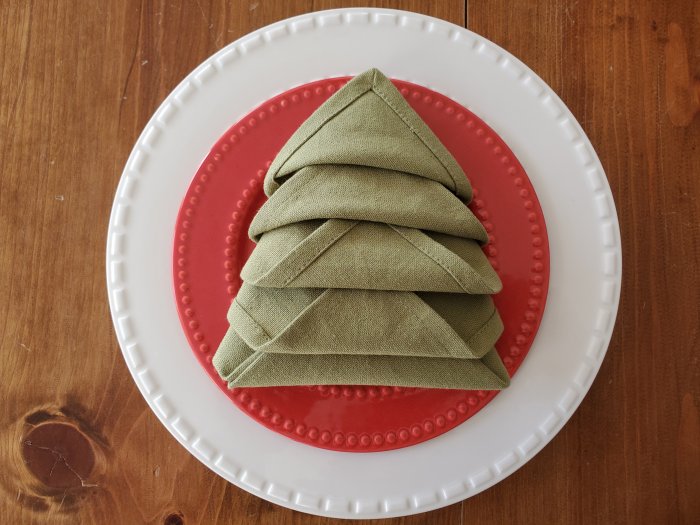
They can also be folded in clever ways, and this particular fold is the perfect touch for a Christmas table. Here’s how to fold a napkin like a Christmas tree!
A solid color napkin or one with the pattern on both sides of the fabric works best for this fold, because both sides are going to show. (Try this link for a variety of colorful cloth napkins –> Buffalo Check (& Other) 20 x 20 Cotton Napkins)
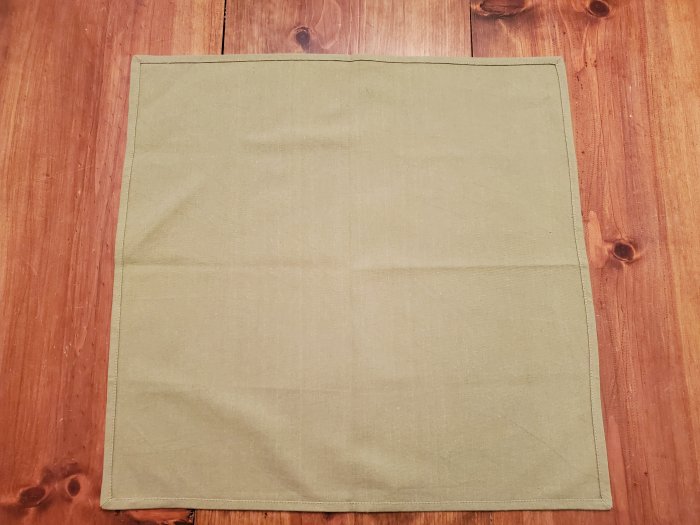
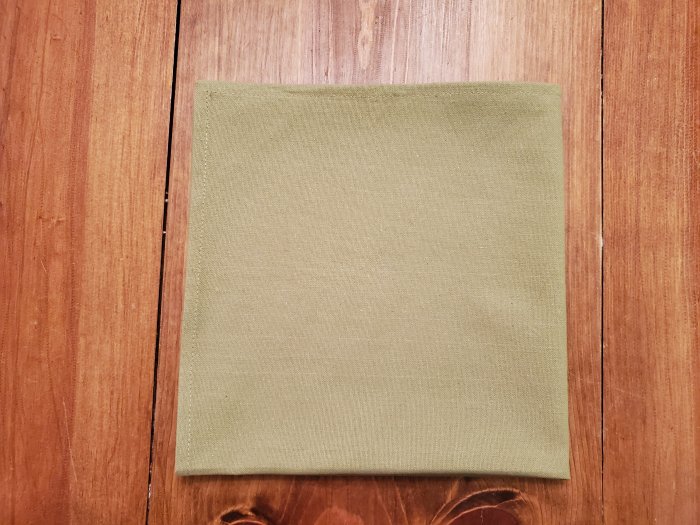
^ Begin with your napkin flat. This one is a solid color, but the hem shows on one side. So I’ve got it placed hem-side up.
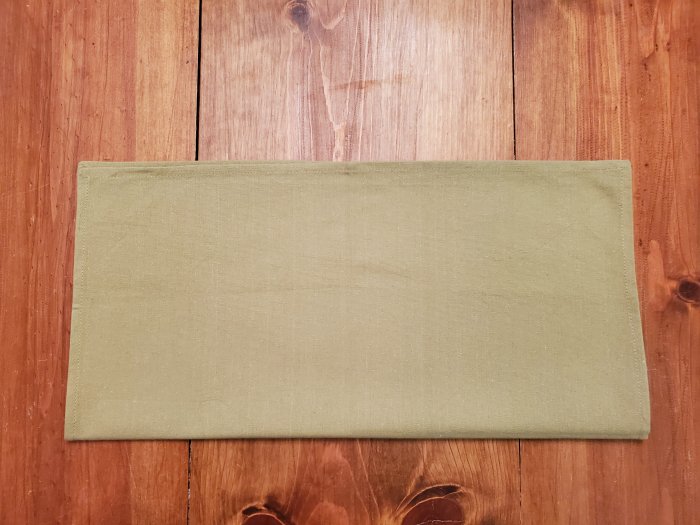
^ Fold the napkin in half, bringing the bottom up to the top.
^ Fold the right side over to the left so the napkin is now one-quarter of its original size.

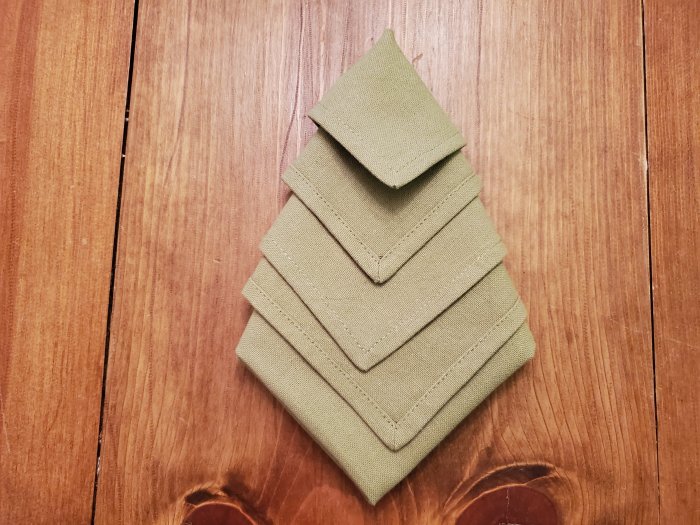
^ Turn the napkin on a diamond, loose points at the top, and bring the first point down toward the bottom to within a half-inch of the bottom corner.
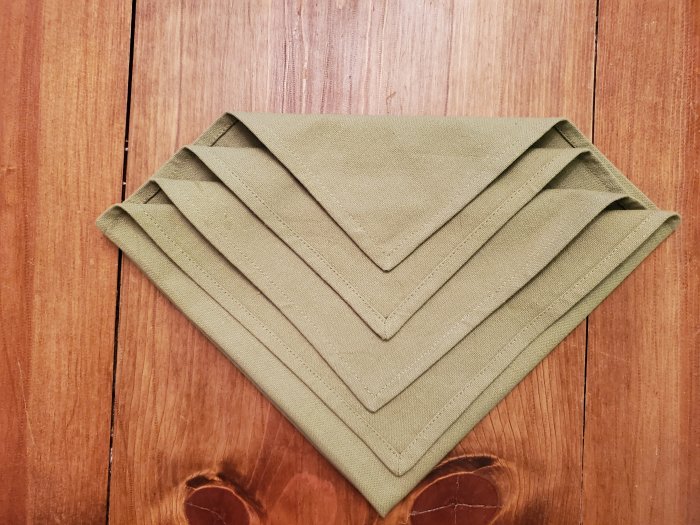
^ Bring the remaining points down toward the bottom, layering them as shown above. It’s at this point you will realize that most “square” napkins aren’t entirely square! That’s okay, it’s still going to look great!

^ Carefully turn the packet over so it’s smooth side up.
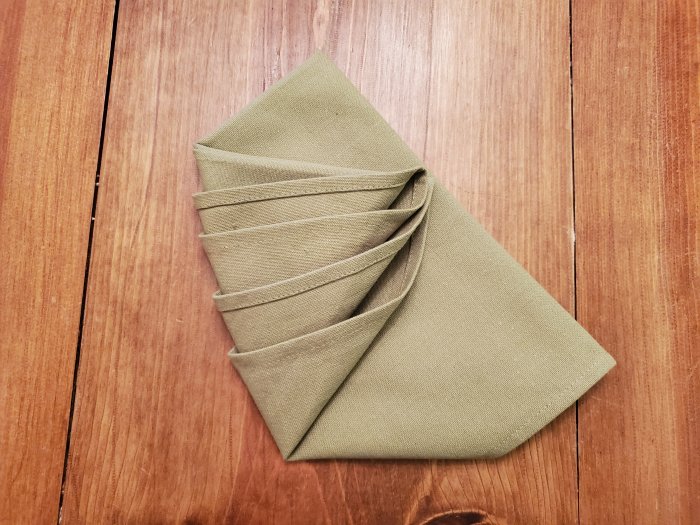
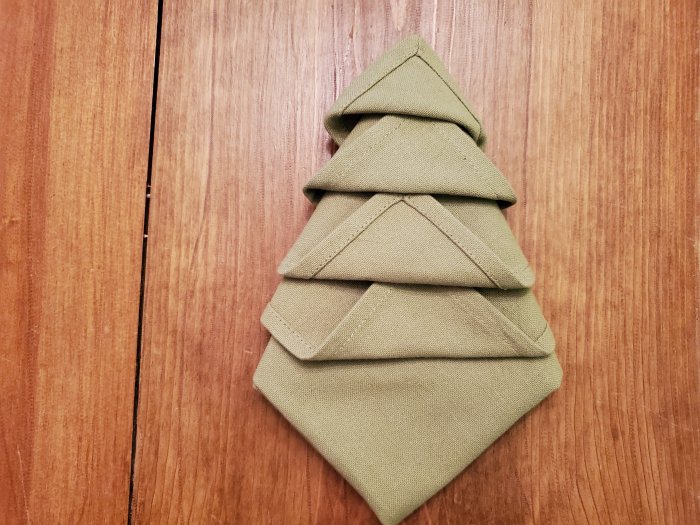
^ Bring the left side straight across over to the right.
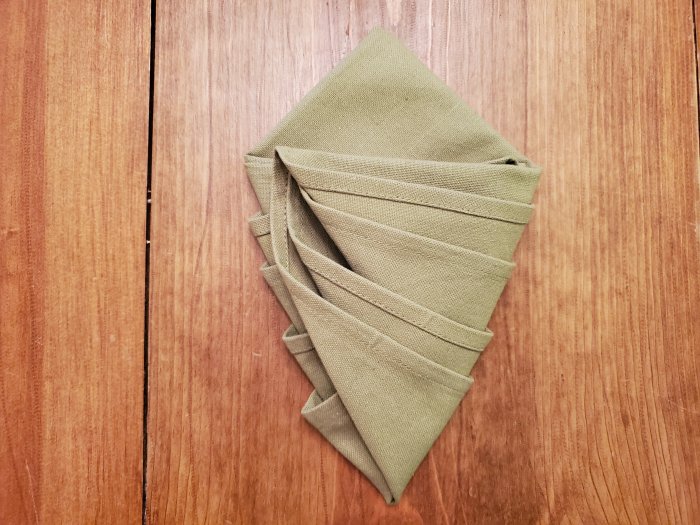
^ Bring the right side straight across over to the left .
^ Carefully turn the packet over .
^ Pull the top flap up to make the treetop, then bring each point up and tuck it part way under the pocket above it.
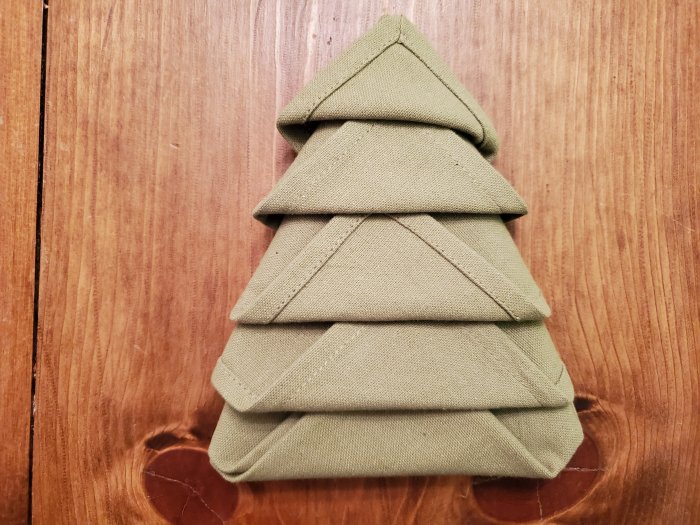
^ Finish your tree by bringing the bottom point up and tucking it into the remaining pocket.
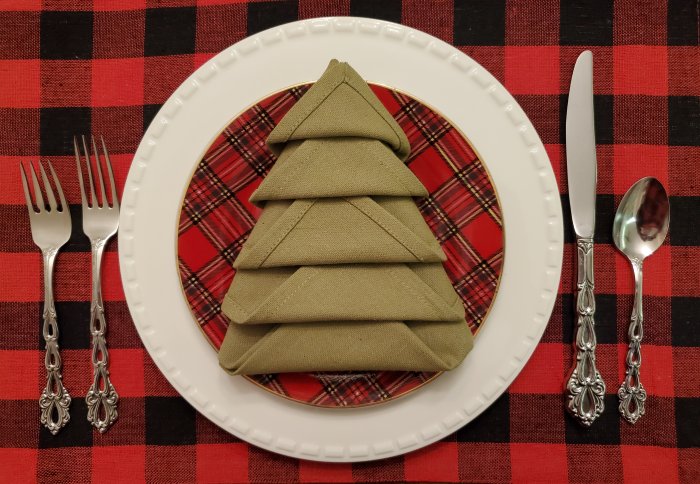
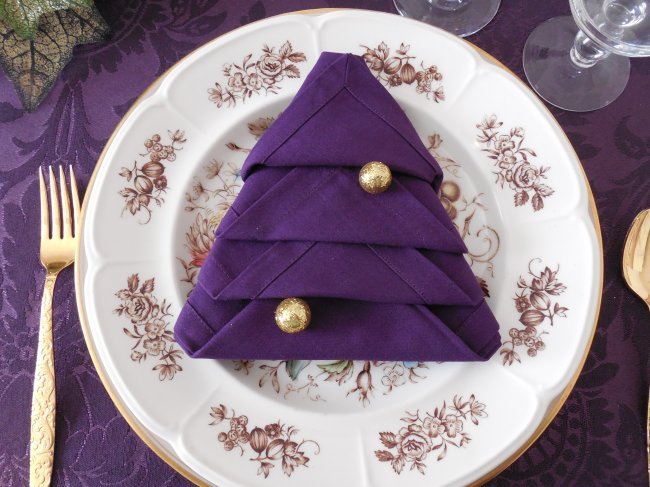
Try it with various place settings – it would look great with a “woodland” theme, or it can look more modern too! One year I even “decorated” my tree with little gold balls from a sparkly craft pick!
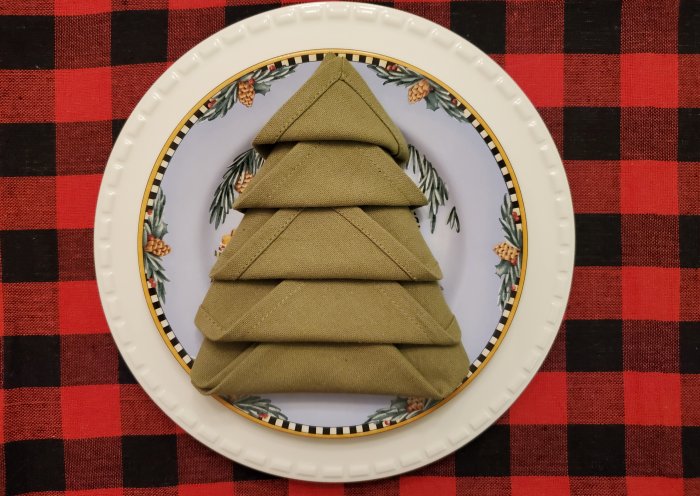
You can also try this slight variation if you like the look better: instead of folding the bottom point up in front, try folding it to the back and tucking it in. It makes a smooth bottom layer to the finished tree.