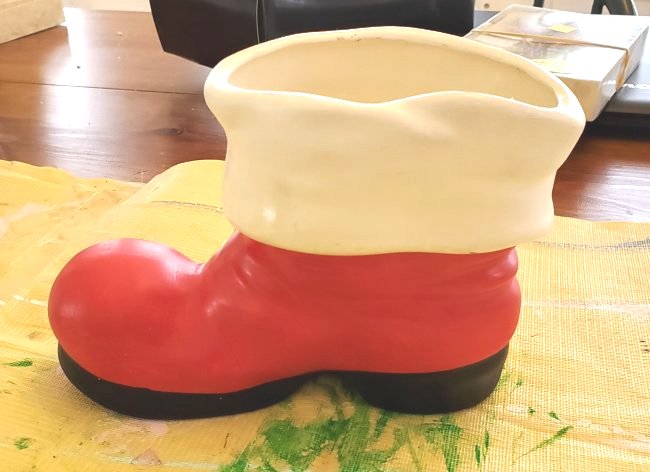
Found this cute ceramic Santa boot at Goodwill awhile back, and I bought it to do an easy flip since my Christmas color palette leans more toward (wayyyyy more toward) pink, white, and gold. It’s a pretty good size, and in very good condition – certainly suitable for a floral arrangement, or possibly a seasonal pen cup. Here it is sitting on my painting mat:
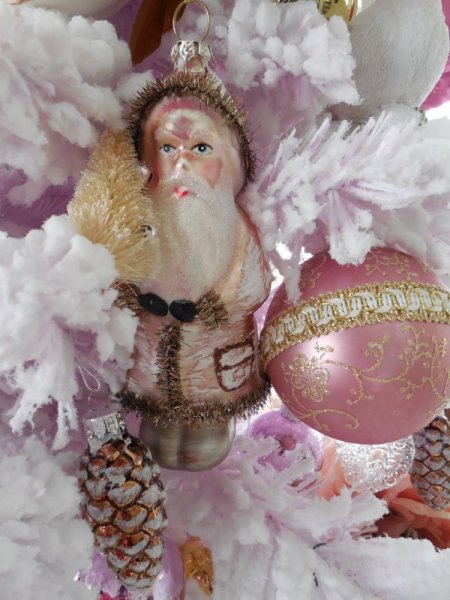
Now I’m not saying Santa would actually wear pink boots – I mean he’d have to change up his whole outfit, which I doubt he’s willing to do just for me. In fact, the only pink Santa outfit I ever remember seeing was this one on my own tree – I personally like this look, but he might not:
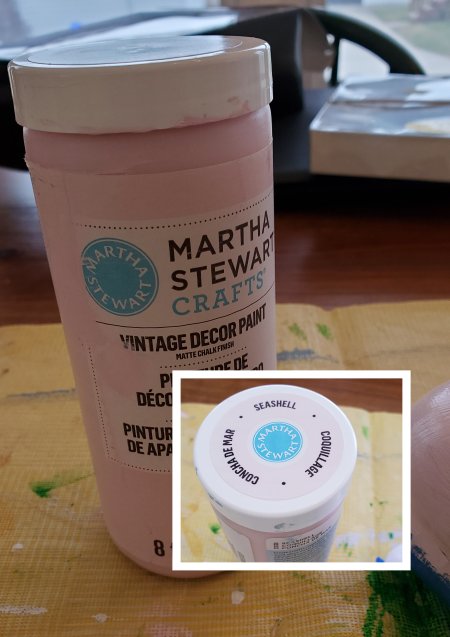
Still, if I’m going to have an object representing Santa’s boot, then I’m for sure going to make it match the rest of my Christmas decor! I actually did not paint the black part at all. I did cover one tiny scuff mark using black Sharpie. By the way, the paint I used for the pink part is Martha Stewart Crafts chalk paint, in the color Seashell. This is the same paint I use for my frothy pink Christmas village.
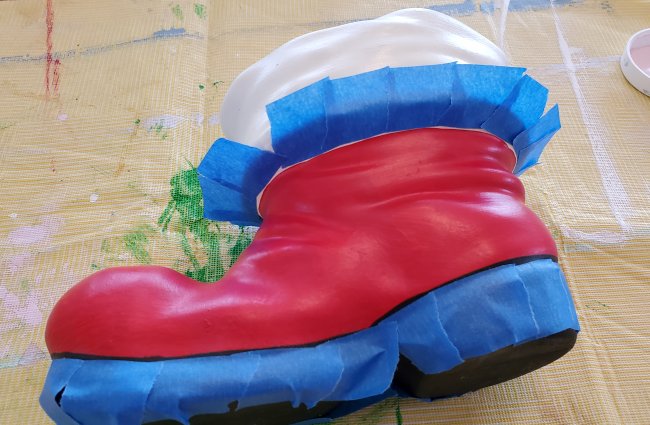
Ok here is the boot all taped off. Now hear me out: I did it this way on purpose, even though it took much longer, because I really wanted to do a nice job on this so I wanted to get all the curves just right without finding later that I had missed a spot with the tape. It was so much better to do it in tiny pieces like this so I could carefully place each one.
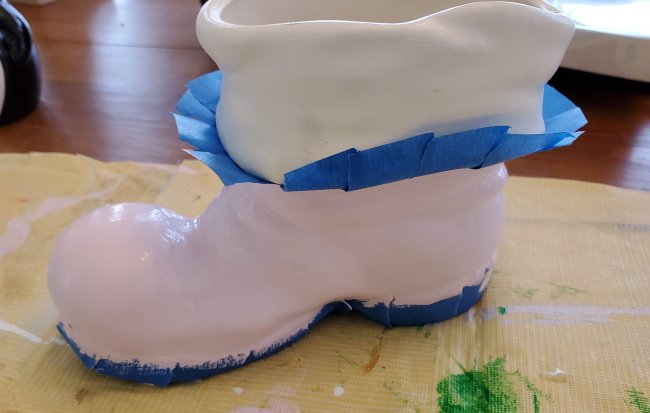
Here it is after one coat. I ended up doing two. This step sort of makes me think I could do a lace ruffle under that top cuff. I suppose Santa wouldn’t like that either! (Hmmm….)
Once all the paint was dry, I pulled off the tiny pieces of tape (admittedly not as satisfying as pulling off one long piece) and decided it needed something more.
Glitter. Yay!
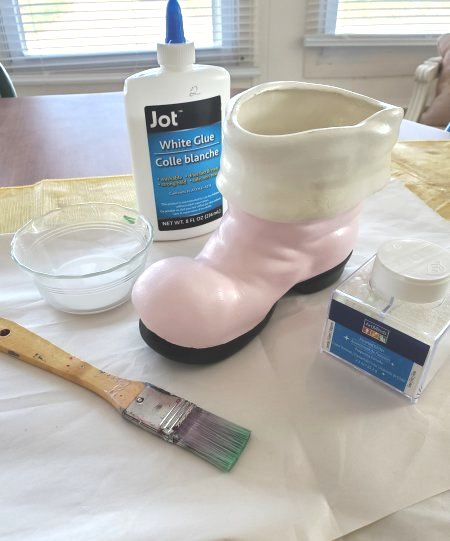
Adding glitter is as simple as brushing on some plain old white glue (Elmer’s or… “Jot” brand, which is from Dollar Tree) and then dousing the whole thing with your choice of either fine powdery glitter or whatever size you like. I used a throw-away brush for this but I did rinse it out really well in hopes of re-using it later – you could also use a small sponge brush.

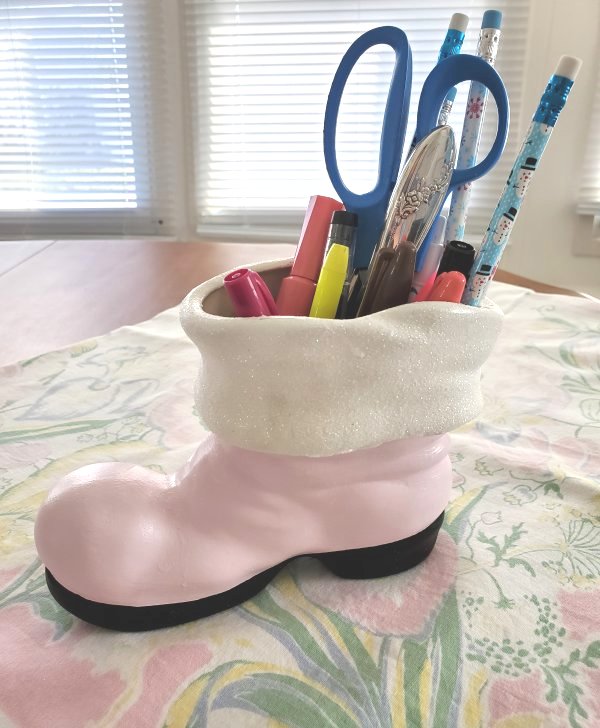
This project was so easy, I don’t even think you can call this post a proper tutorial. It’s literally just “buy a thing and paint it, then add glitter.” But I mean that’s precisely the point I’m trying to make – buy a thing and paint it! Add glitter! And make Christmas truly personalized by customizing the stuff you find so it fits your style, your color palette, and your taste.

Now keep in mind, I chose to paint my piece to make it go with my color scheme. But I could just as easily have painted peppermint stripes, or skipped the paint and added faux fur or ribbon or any other embellishments instead – or in addition!
What are your thoughts? Will you try your hand at customizing a thrift store piece? What are your Christmas colors?
As for me, I would totally be Santa’s helper, and work all night on Christmas Eve, if I could wear boots like these! Well, almost like these. I don’t think ceramic boots would be very practical for sliding down chimneys or leaping out of the sleigh, and I certainly don’t think they’d be warm. And if it’s one thing I really hate, it’s when my feet are cold.
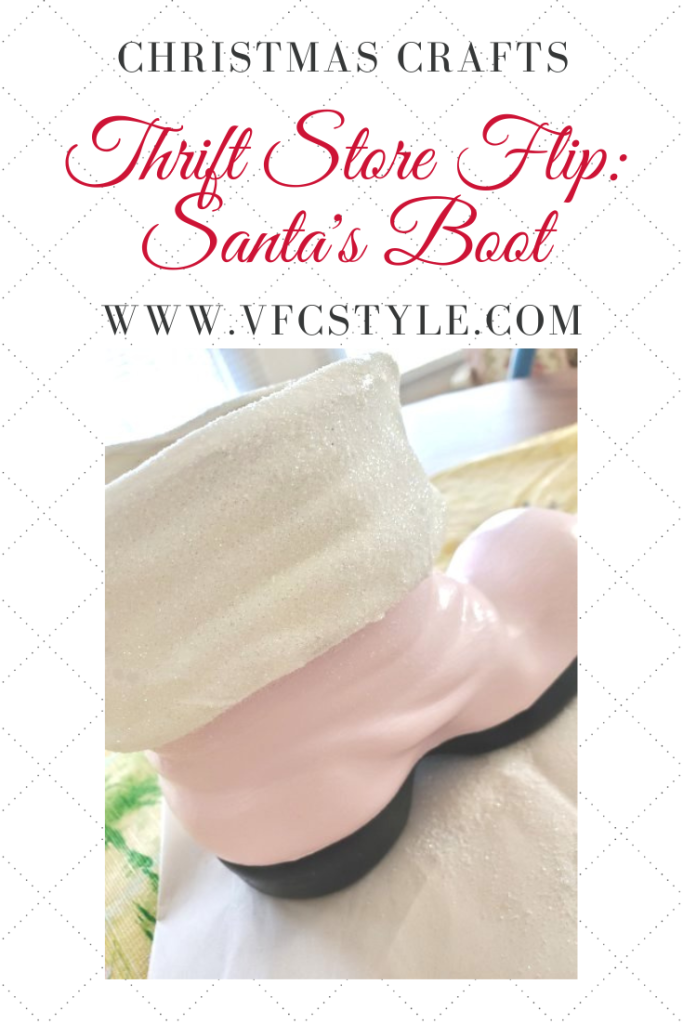
Oh! P.S., here’s an image you can use if you’d like to Pin this Santa Boot *cough* tutorial *cough* for future inspiration!