
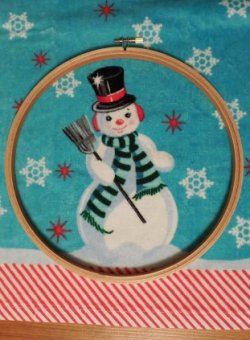
 This is a craft that I first learned to do back around 1991. They are simple little wall hangings, made from a kitchen towel. You stitch around the main part of the design, fill the stitched part with stuffing, and then frame up the whole thing inside an embroidery hoop with some trimming around the edge.
I like this project because it is a good way to use many of the fun seasonal kitchen towels that seem to come out each year. I had not made one of these for many years, but last year at Walmart I saw this cute snowman towel, and I knew it would be perfect in this format so I bought two of them – one to use in my kitchen and one to quilt and frame.
To make your own quilted kitchen towel wall hanging, you will need:
- A kitchen towel with a design that lends itself to being framed and quilted.
- A scrap piece of fabric for the backing, large enough to cover the area to be framed plus some overage.
- A large embroidery hoop, 8 to 10 inches wide depending on the design of your towel and the desired finished size of your project.
- A piece of trim such as eyelet, enough to go around the perimeter of your embroidery hoop.
- Needle and thread
- A small bit of fiber fill or other stuffing
- Ribbon to make a loop for hanging
- Any other embellishments you desire
- White glue
- Hot glue
Steps:
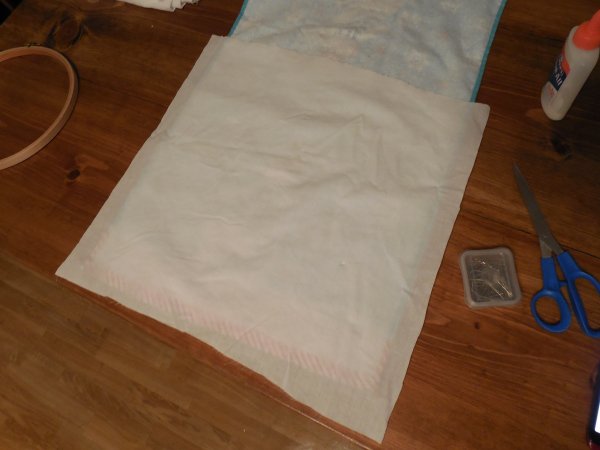
Lay your towel face down and then lay the backing piece so that the half of the towel you are using is fully covered by the backing piece.
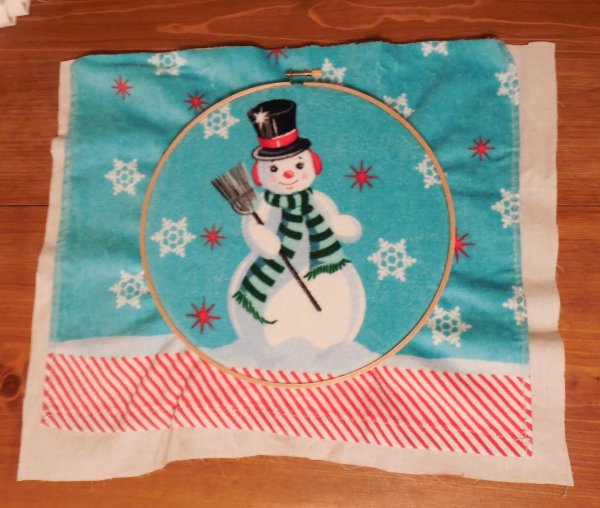
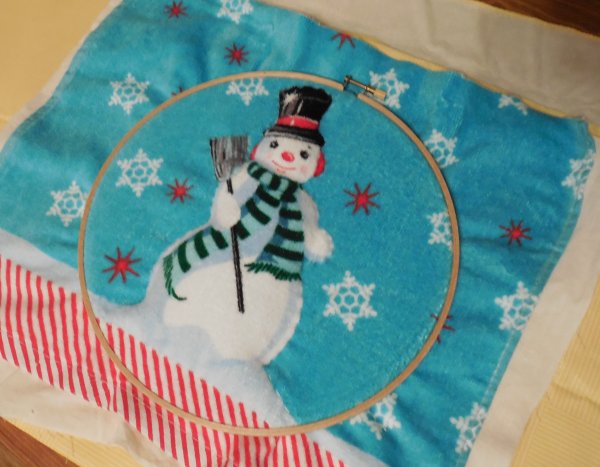
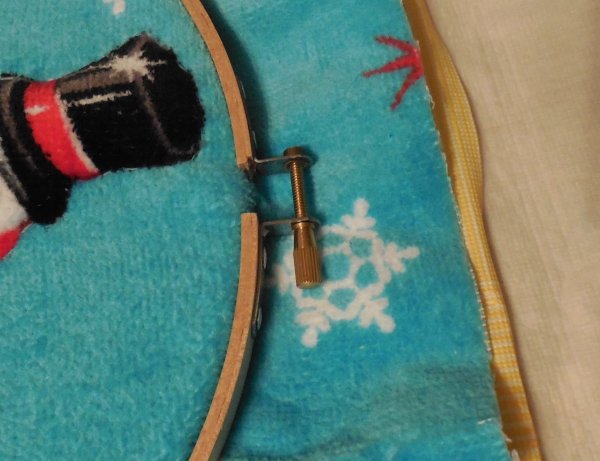
Take your embroidery hoop apart, then press the towel and backing into the hoop with the design aligned the way you want it. Close the hoop by tightening the screw at the top. Cut off the unused half of the towel.
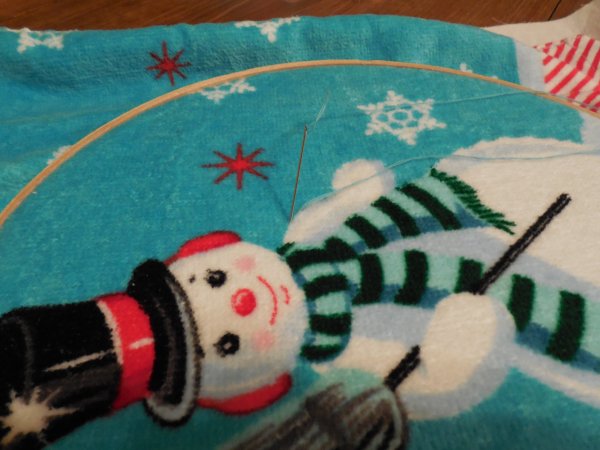
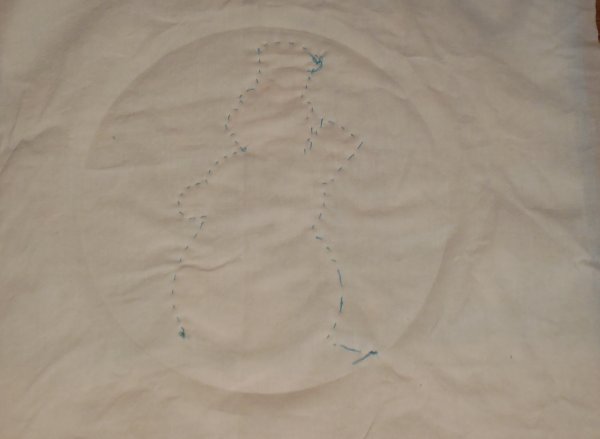
Using your needle and thread, stitch around the outline of the design that you wish to quilt. Leave an opening somewhere in the design so that you can poke some stuffing into it.
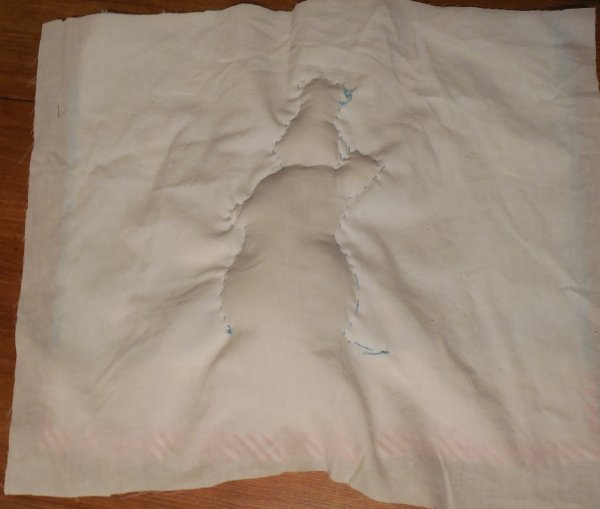
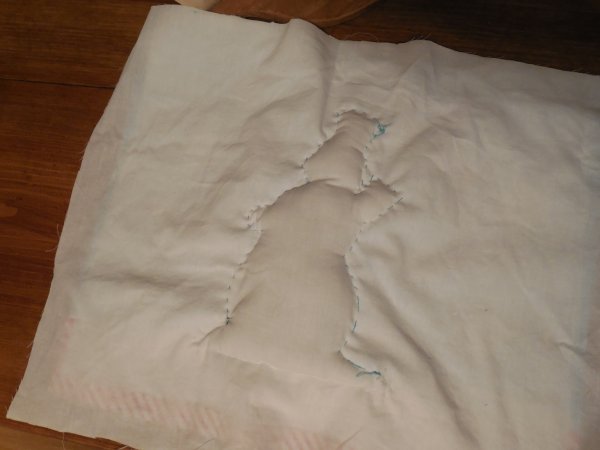
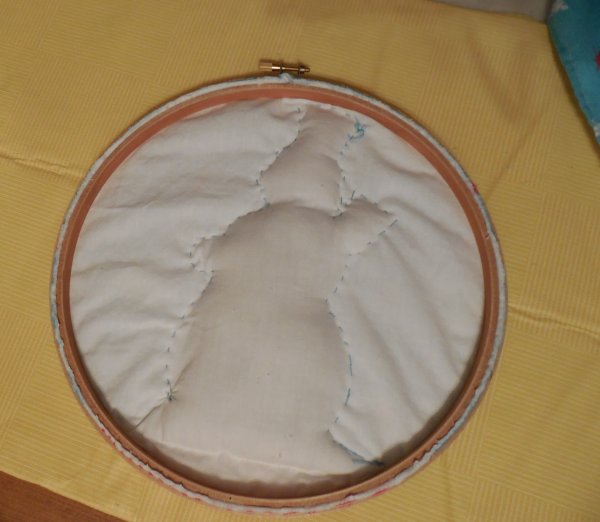
Here is what it will look like on the back when you have stitched around and left an opening.
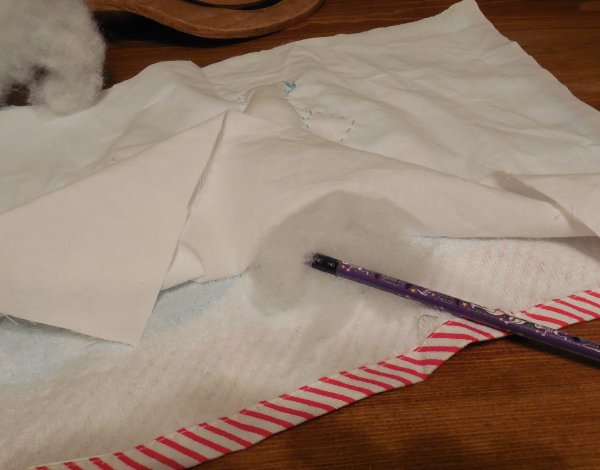
Remove the stitched fabric from the embroidery hoop, then poke stuffing into the opening so that it creates a puffy area inside the stitched outline. I like to use a pencil for this part because the eraser will catch some of the stuffing and allow you to poke around into the corners of the design without poking through the fabric. Work the stuffing around so that all the parts of your stitched outline are filled.
Stitch up the opening. (I used a different thread color for this part so it would not be seen in the design on the front.)
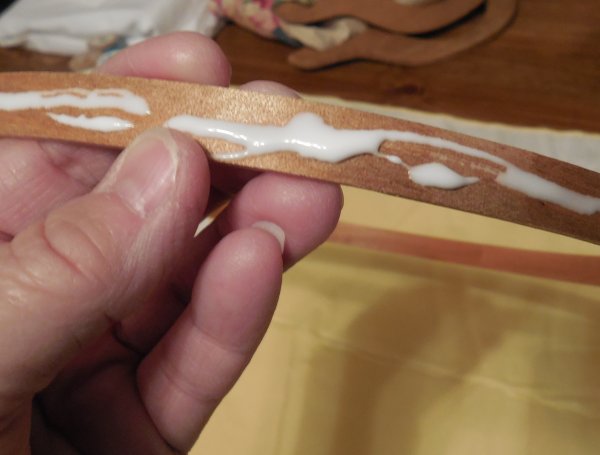
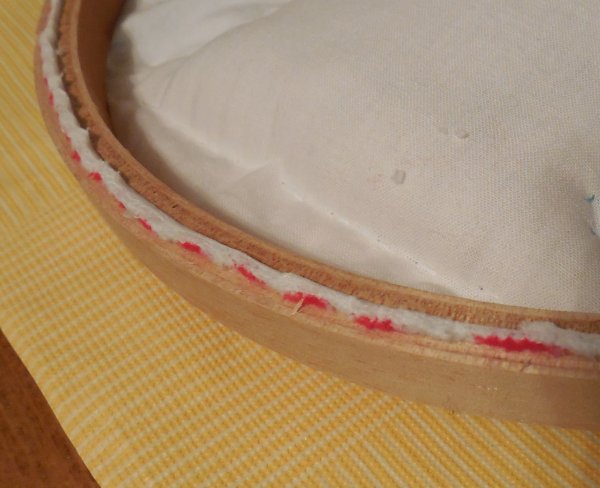
Add a bead of white glue around the edge of the inside piece of the embroidery hoop. I like to then flatten out the bead of glue for better coverage on the hoop.

Now carefully lay your project back down over the inner hoop, and add the outer hoop down over it. Tighten the screw at the top so it presses all layers together against the glue on the inner hoop.
Let this dry, then trim off all the excess towel and backing as close to the backside of the hoop as you can.
Run a bead of glue around the back side of the hoop and press your trimming into place. I use hot glue for this step, working in short sections, because it dries quickly. Flip your piece over, add a little embellishment to the front if you like, and then add a small length of ribbon for hanging.
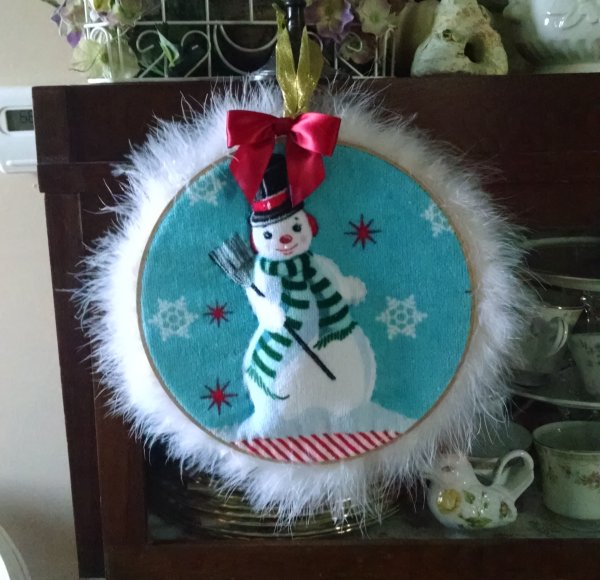
Voila!
Now a funny story:
I made several of these shortly aftter learning how to do them – they were probably the first “grown-up craft” that I remember making. I very proudly took one to my mother that I had made using a towel with a cute little country cat design. (Yes, 30 years old and I was still bringing my mother my craft projects!) I knew she would think it was kind of silly, because she was not the type of person who cared much about decor and decorating. But I knew she would appreciate the effort, and the cat. When I gave it to her she said it was cute, then wagged her thumb at the door to my sister’s former bedroom, and said, “Hey if you’re going to make crap like this, your sister left a bunch of supplies in there.”
I pointed out that she had just referred to my handmade project as crap, and we got a good laugh knowing it was not her intention to degrade my gift – it was just the way she talked. But forevermore, since that day, I have referred to craft projects as crap projects, and I have referred to Michael’s and Hobby Lobby as “the crap store.”
So now you know how “crap” can become a term of endearment!
P.S. – I linked this post to two wonderful blog link parties! Please pay a visit to these lovely gals for more Christmas inspiration!
1. Debby from Debby Goes Shabby – “A Shabby Christmas” link party!
2. Carol from Art and Sand – “A Homemade Christmas” link party!
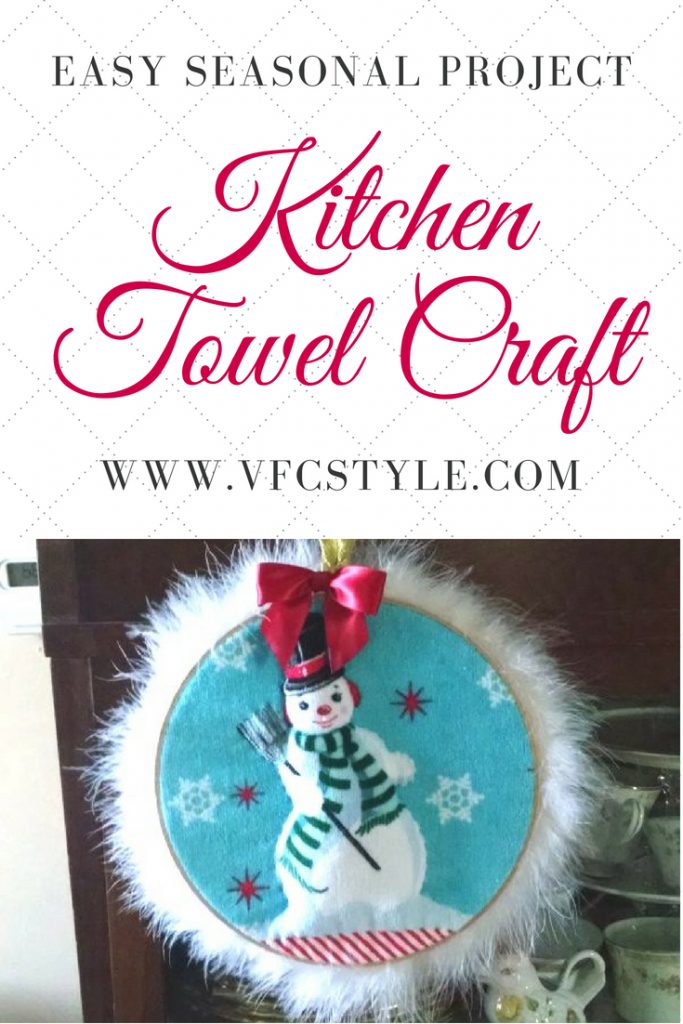
P.P.S. – Here is an image you can pin to Pinterest if you would like to save this project!


That’s adorable. I love the fluffy trim.
Aww thank you!
Very cute! I am an aqua lover so of course this towel stole my heart. The story about your mother made me laugh so hard! Sometimes we call it crapping instead of crafting. 🙂 The theme for Creating Christmas over at Carol’s blog (Art and Sand) is “a Homemade Christmas”. You should link this there.
hugs,
Jann
Thank you so much, Jann – glad to know I’m not the only one who refers to my own handmade stuff (lovingly, of course) as crap! LOL I think I did link to Carol’s blog as well – but I’ll double check. Thank you for visiting!
Janet
So simple and sweet! Lovely Christmas craft you can make in a small amount of time and would make a great gift. Thank you for sharing your Shabby Christmas on the party today. Merry Christmas!
Debby
Debbygoesshabby.blogspot.com
They DO make sweet gifts, and take only about an hour to make… less than that, if you’re a quicker stitcher than I! LOL Thanks again for the link party!