For decades (decades, people!) I created flower beds wherever I lived using a very labor-intensive method: I’d overturn individual shovel-widths of sod, break up the chunks by hand to preserve as much soil as possible, and discard the remaining grass clumps. This was boring, ache-inducing, time-consuming work, and it left my beds prone to weeds even after the grass had been removed.
I had read about an easier way online, but somehow always forgot about it whenever I’d get the urge to create a new bed. Until this year, when I decided I wanted to create a bean-shaped bed around the coach light in my front yard. I had already made three new smaller beds this season using my old method, and I was so discouraged at the thought of having to do it again.
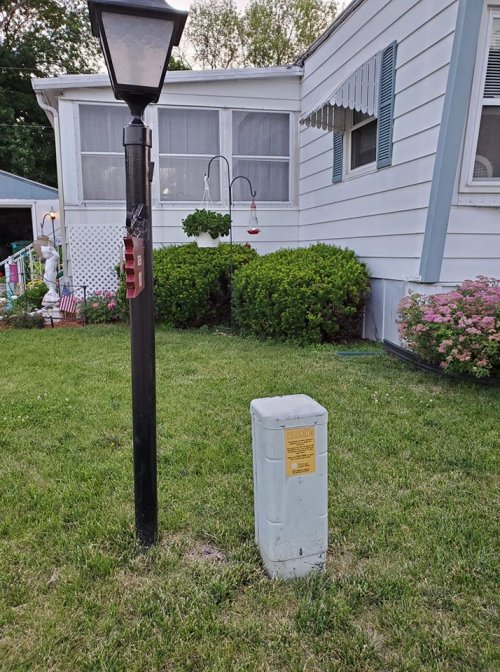
Then I remembered the cardboard method and I decided this was the year – and the space – in which to try it.
The results have been spectacular!
This method is so simple – of course I wish I’d tried it years ago! Basically you’re going to convert a patch of lawn to a flowerbed by smothering the grass with cardboard. I’m told you can also use newspaper, but I don’t subscribe to the paper anymore so I don’t have a stash of that. I DID have a large appliance box that I had already cut up into large panels, stored in my garage. It worked perfectly!
Here’s the “cardboard method” for creating a new flower bed!
Cardboard Flower Bed Preparation
Determine your flower bed shape and size, and note your measurements.
Mow the lawn first so your grass is short – there will be less material to break down.
Gather a few bricks or rocks to use in anchoring the cardboard temporarily.
Creating Your Cardboard Flower Bed
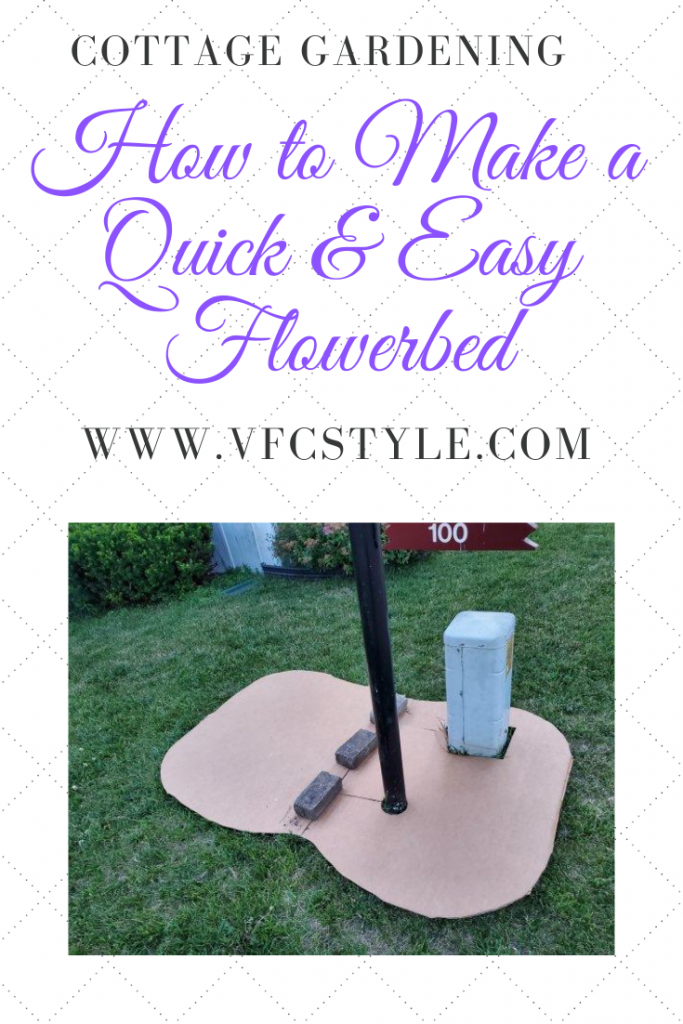
Cut your cardboard to fit the shape and size needed. You can use multiple pieces to cover a larger area. I had to do a bit of measuring to account for the coach light and a communications box (which I needed to leave accessible), and a bit of cutting to round the corners. Plain brown cardboard is best because it’s going to break down and amend your soil. White coated cardboard is not going to break down as quickly.
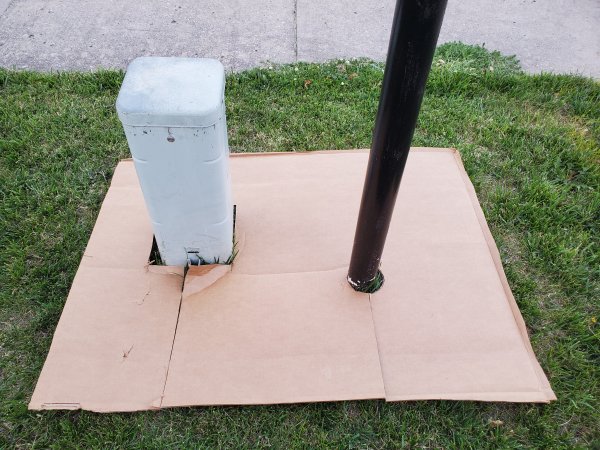
Lay your cardboard where you want it directly over the grass. Anchor it temporarily with bricks.
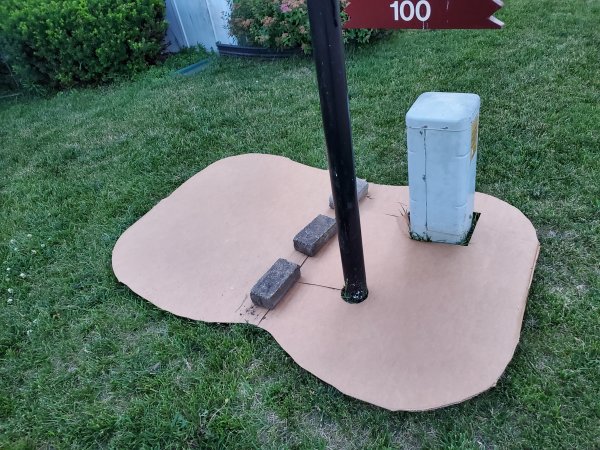
Water the cardboard thoroughly.
Put flower bed edging around the bed. This helps corral the soil you’re going to add to it.
Add soil to the bed, removing any anchor rocks or brick as you go. I filled mine about 4 inches deep with regular garden dirt from a drainage project taking place elsewhere in my yard. You can also use purchased garden soil or potting soil.
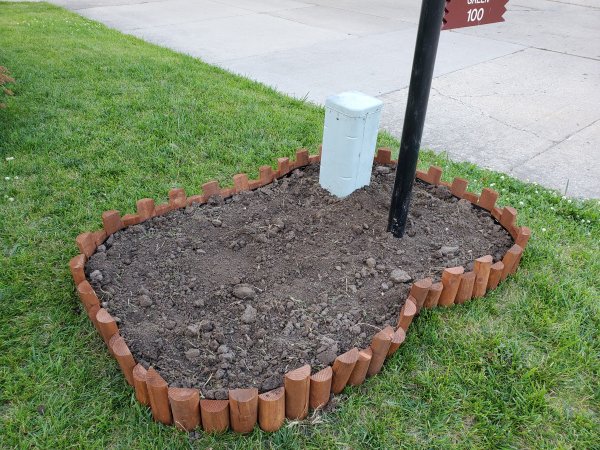
Water the bare soil, to help settle it and contribute to the break-down process.
Scatter seeds or plant bedding plants to fill your flower bed.
Don’t over-water, but keep the bed evenly moist while things establish. You can put bedding plants directly into the added soil. The cardboard will break down and roots will eventually get down into the deeper soil below.
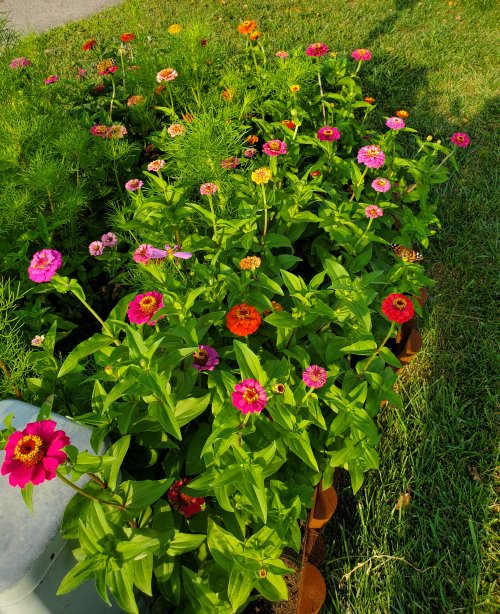
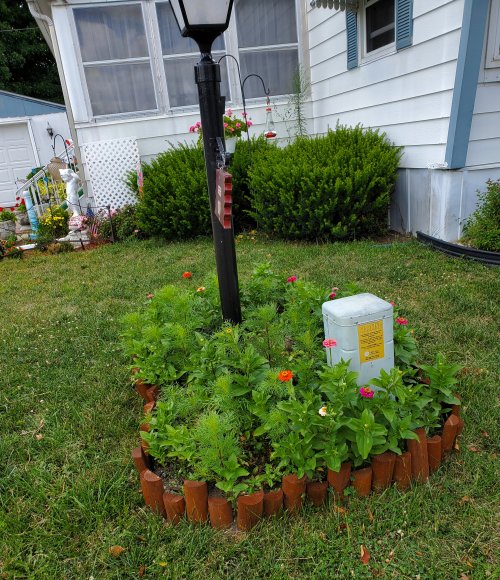
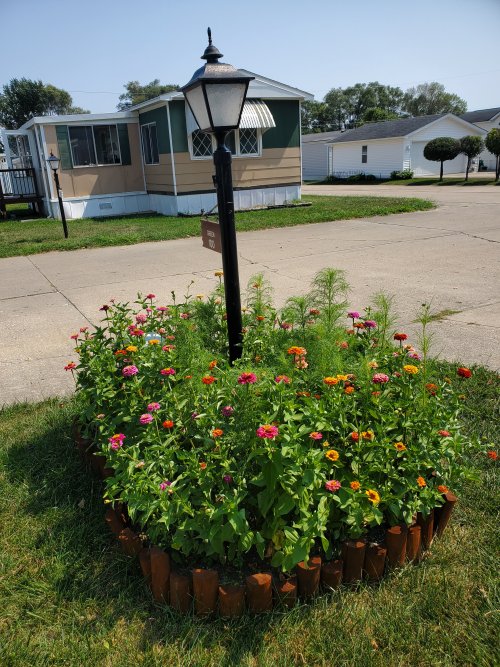
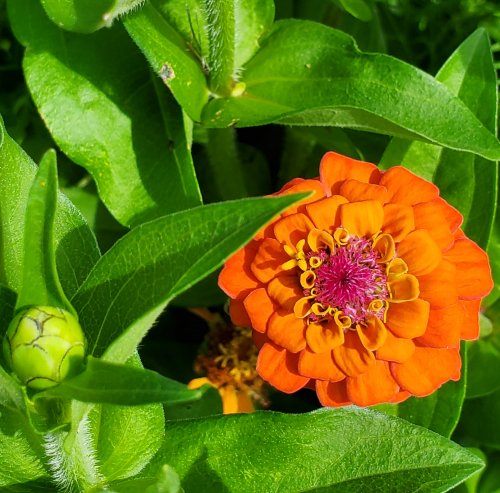
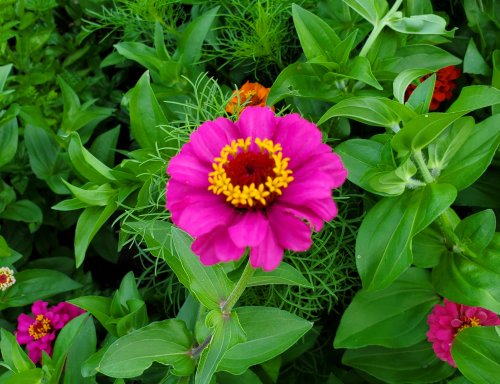
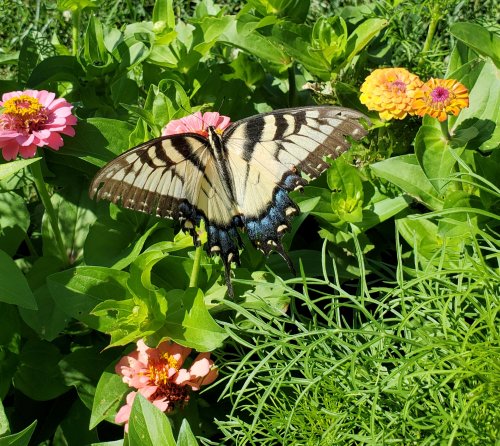
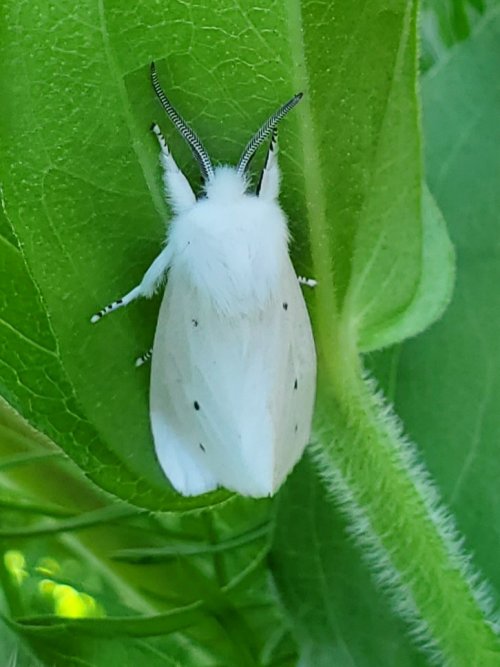
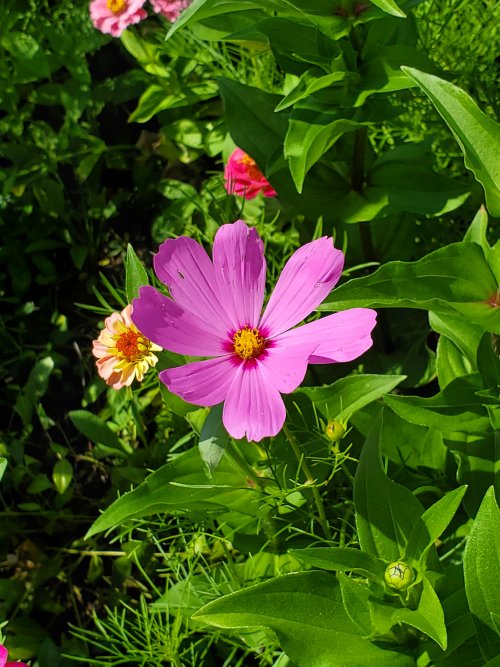
I filled mine with two large packages of wildflower and pollinator mix seeds. This patch went from bare lawn to blooming garden in just 60 days!
Here are some progress shots. The pollinator seed mix did great, particularly the zinnias – one of my favorite, easiest-to-grow summer flowers!
Here’s an image to pin on Pinterest if you’d like to save this how-to for a quick and easy flowerbed for future reference!
Have you tried this method of creating a cardboard flower bed? Have you ever tried it with newspaper? I hope your results were as satisfying as mine have been so far!





Thank you for this post. will try your method.