Recently at work our maintenance team gifted me with a small empty wooden cable or wire spool. (Do they know me or what!?)
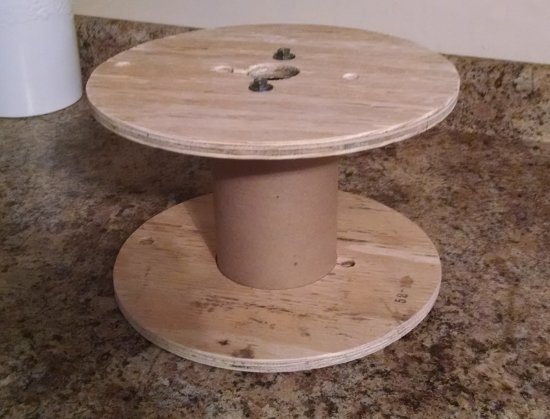
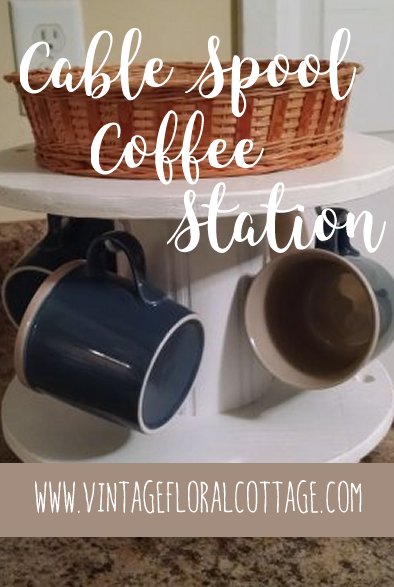
I had seen so many examples of the larger spools being repurposed into tables, and I knew there must be a use for this size too. A quick review of Pinterest yielded several good ideas, but my favorite was the creation of a countertop coffee station. It seemed simple enough, and after some planning I decided my coffee station needed to meet the following criteria:
- Be as compact as possible to save countertop space.
- Spin for easy access to all the cups.
- Decoratively corral supplies on top so they would not “fly off” while spinning.
- Have a “vintage cottage kitchen” look.
Here are the steps I used to complete my coffee station!
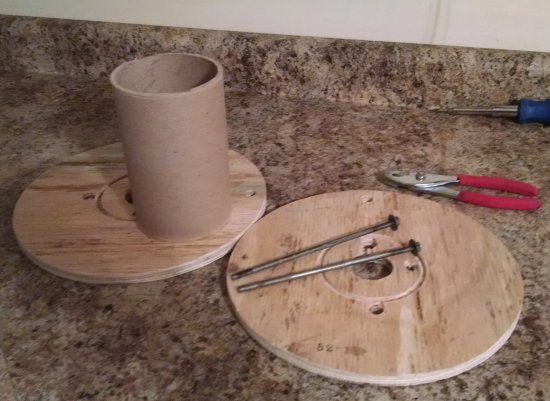
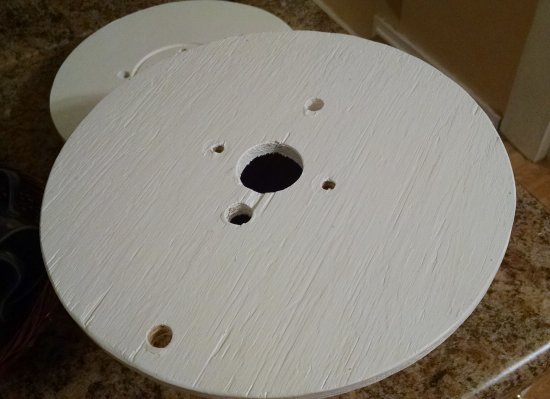
I removed the two full-length bolts that held the cardboard center tube in place, and retained those for a future project. I pulled the tube loose easily from the top and bottom wooden pieces.
Using spray adhesive, I wrapped the tube in a carefully measured and cut piece of textured wallpaper that I had on hand.
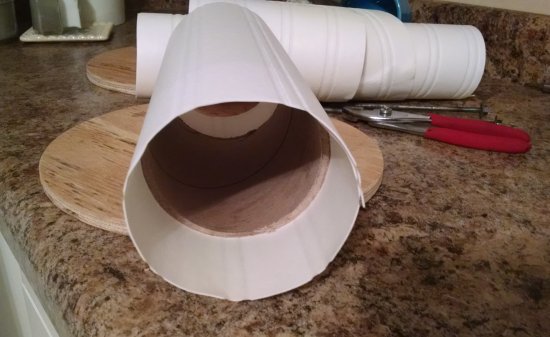
You could also paint the center tube, cover it in Contact paper, wrap it in nautical-style rope, or even wrap it in a mosaic tile sheet finished with grout – whatever suits the look you’re going for. I trimmed the excess off the ends so the paper was flush with the cardboard tube.
I sanded both sides of each of the wood pieces, and painted both pieces top and bottom with three coats of leftover white paint.
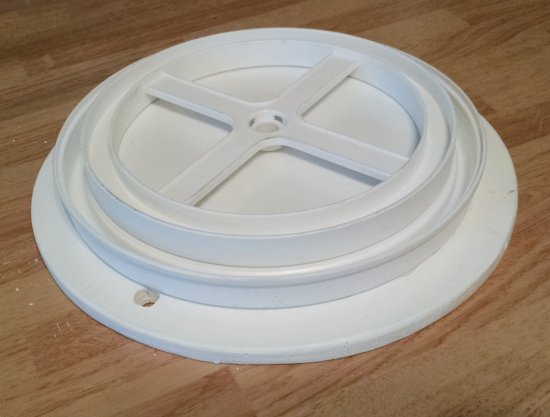
I used my E-6000 glue to attach a spinning spice rack to the underside of the bottom piece of wood. Mine was already white – you might have to paint yours depending on what color you need it to be.
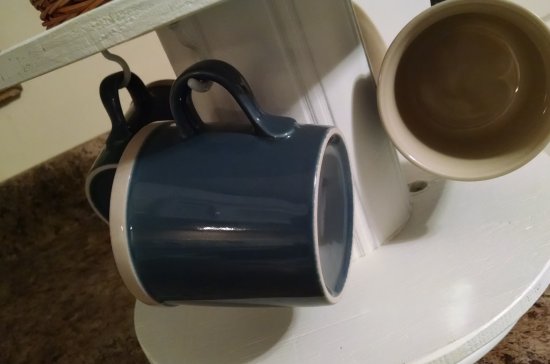
I attached white screw-in cup hooks to the underside of the wooden top, using my trusty “eyeball-it” method and a stand-in stunt mug to figure out the spacing of the hooks.
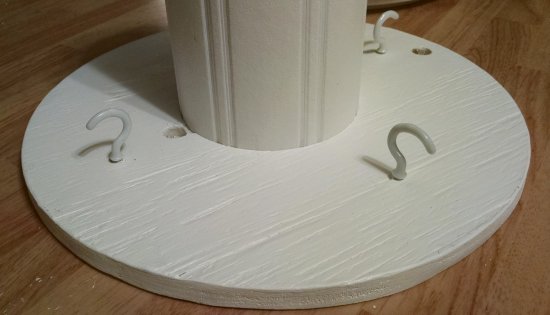
The key here is to make sure the cups don’t touch or clink together, so be sure to use your largest cup as your stunt mug. I set my hooks far enough in so the cups would hang under the top edge, as this would save space. I also had to experiment with a variety of hook sizes so that the hook would fit my cup handles but not drop the cup so far down that it touched the wood base. (I now have a lifetime supply of cup hooks of varying sizes and finishes that were used in testing!)
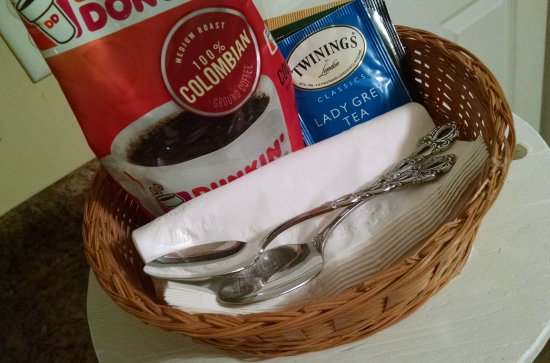
The top also needed to corral supplies such as sugar and creamer packets. For this purpose I attached a decorative basket to the flat surface of the top, using small dots of hot glue around the perimeter of the basket bottom. This could also be a small wooden box painted to match, a small bin, or any small container that fits the surface and your design theme.
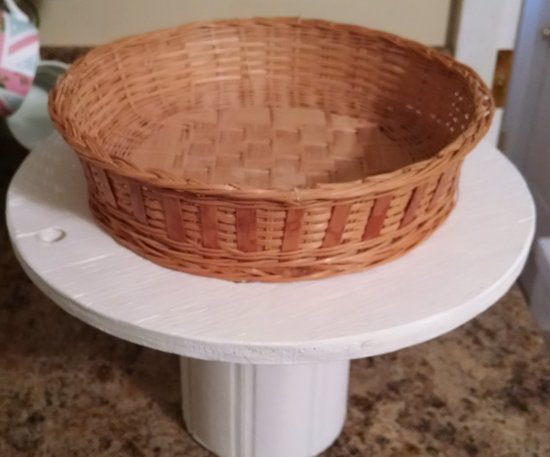
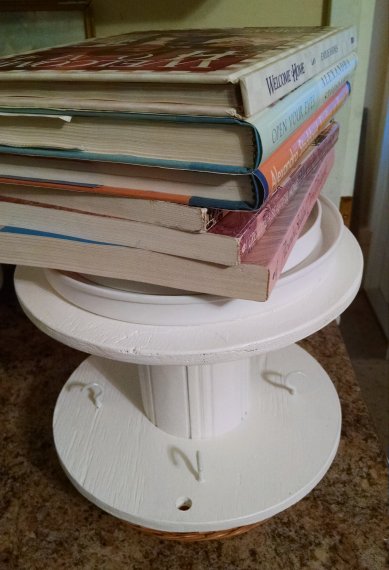
With the individual sections now complete, I used my E-6000 glue to re-attach the center tube to the wooden top and bottom sections. I used books as weights to hold everything solidly in place as it dried.

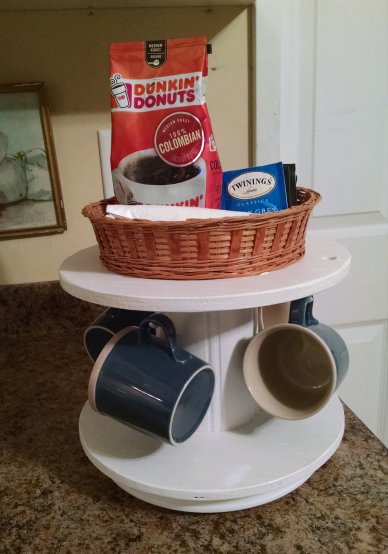
Once it was dry, I simply stocked my coffee station with mugs, coffee, and other supplies. It sits neatly under the kitchen cabinetry and keeps everything within easy reach.
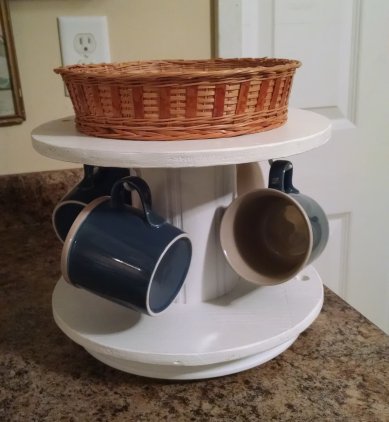
This piece could also be used for tea or hot cocoa supplies – customize for your beverage of choice!
I’ll be sharing my repurposed wooden spool coffee station at these fun DIY parties.
- DIY Salvaged Junk Projects (Funky Junk Interiors)
- Inspire Me Tuesday (A Stroll Thru Life)
- Metamorphosis Monday (Between Naps on the Porch)